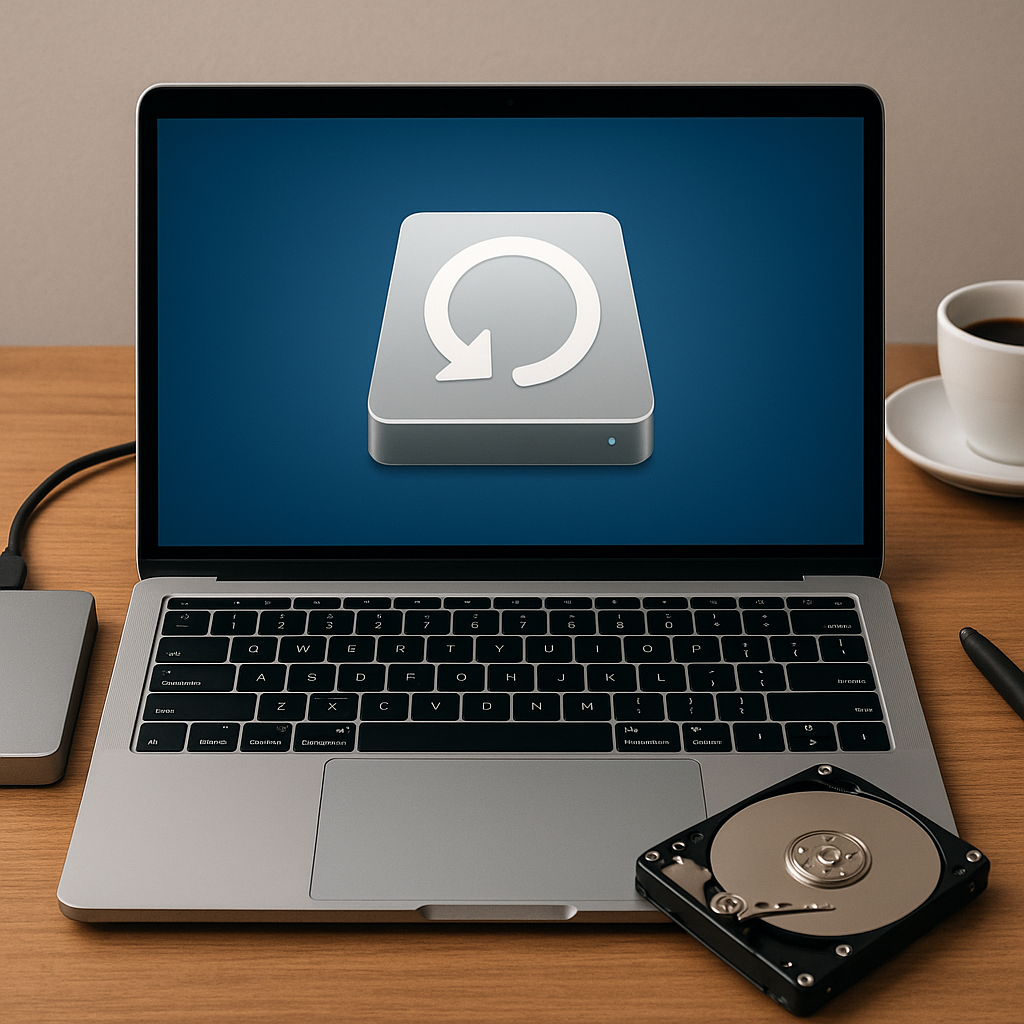
Accidentally deleting a crucial partition can feel like a digital disaster. However, with the right approach and powerful recovery tools, you can often restore lost data and regain access to your files. This article explores the causes of partition deletion, essential features to look for in recovery software, a detailed step-by-step recovery guide, and advanced tips to enhance your chances of successful restoration.
Understanding Partition Deletion and Data Loss
What Happens When a Partition Is Deleted?
When a partition is deleted, the operating system’s partition table entry is removed or marked as unused. Contrary to common belief, the actual file contents usually remain intact on the storage device until they are overwritten. The file system’s metadata—including directory structures, allocation tables, and partition signatures—is no longer recognized by the OS, making the volume inaccessible.
Common Causes of Partition Loss
- Accidental deletion during disk management tasks
- Corrupted partition table or MBR/GPT due to power failure
- Malicious software or virus attacks targeting the file system
- Unexpected system crash while resizing or formatting partitions
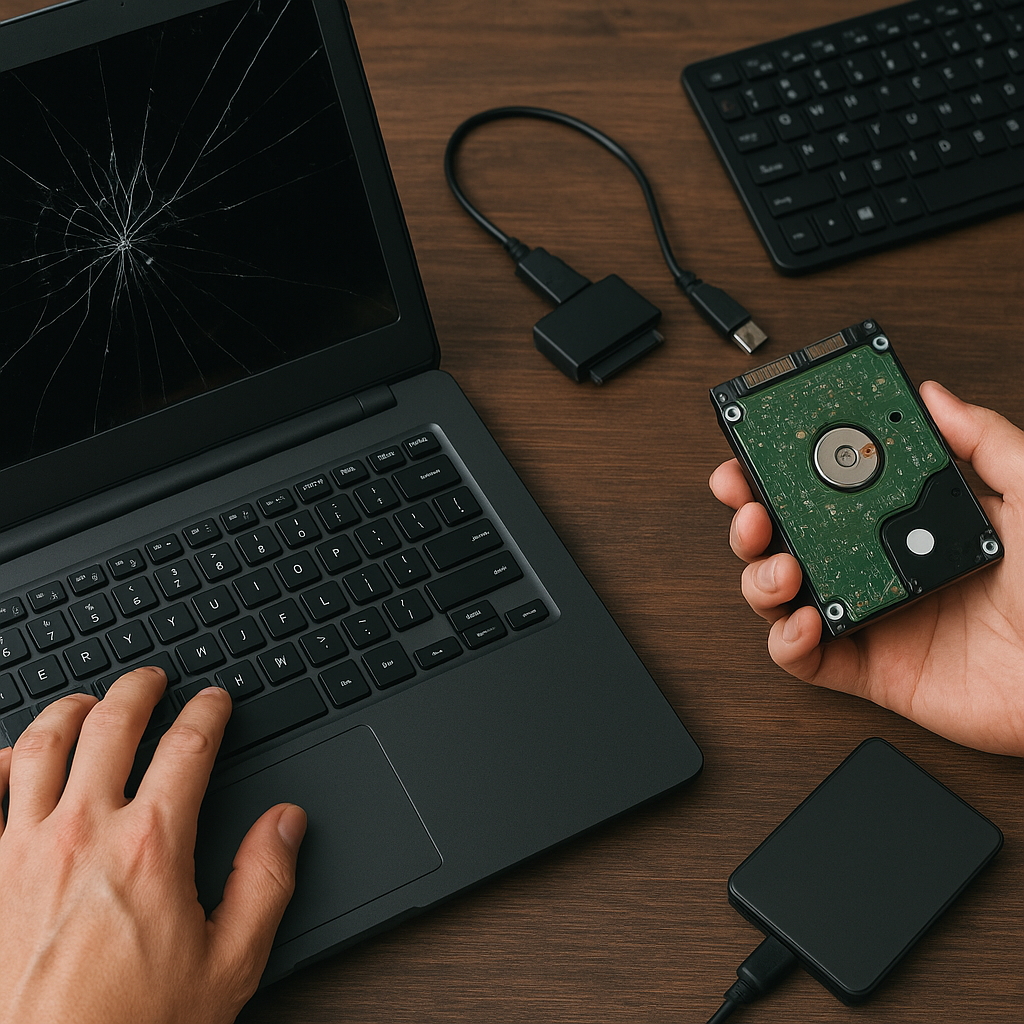
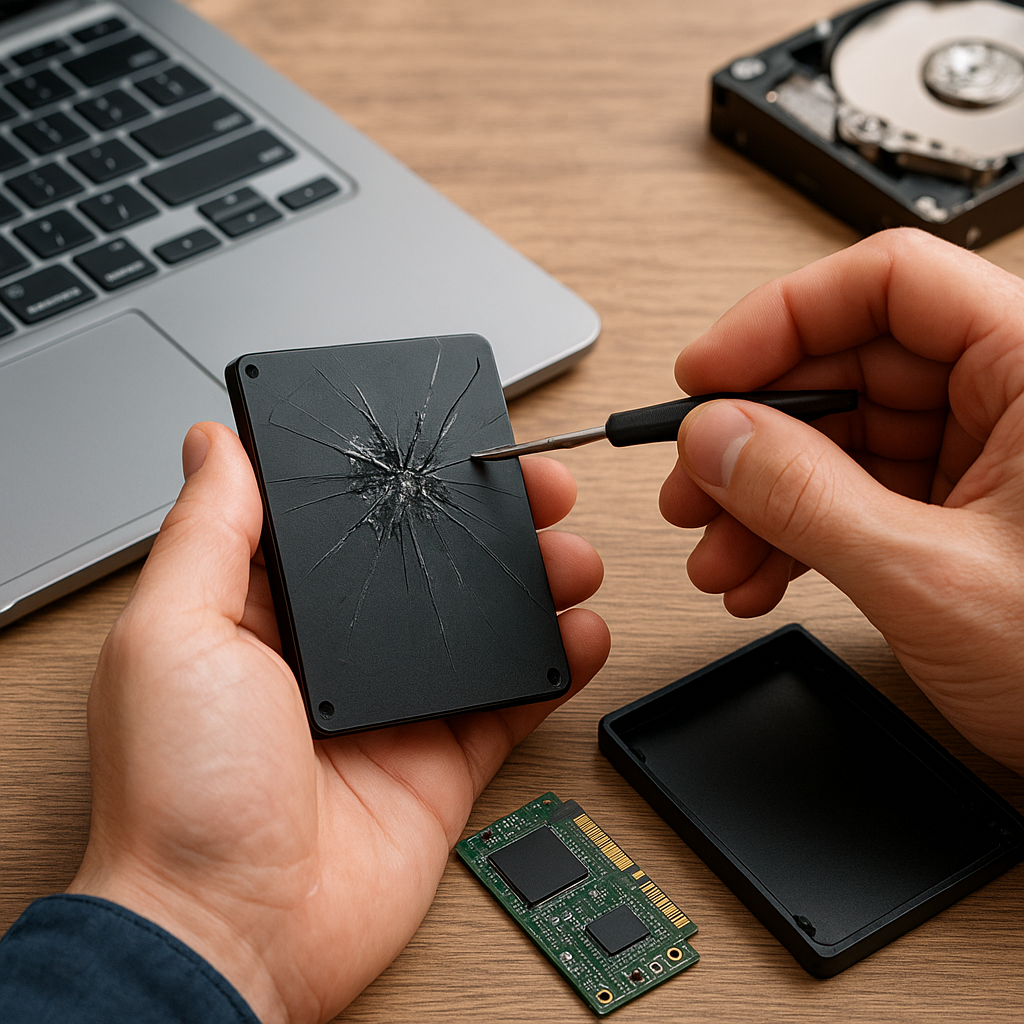
- Hardware issues such as bad sectors or failing disks
Signs Your Partition Has Been Deleted
If your system suddenly shows “unallocated space” in disk management or you receive an error when accessing a drive letter, these are strong indicators that a partition has been removed. Tools like Disk Management (Windows) or Disk Utility (macOS) can confirm the disappearance of the volume.
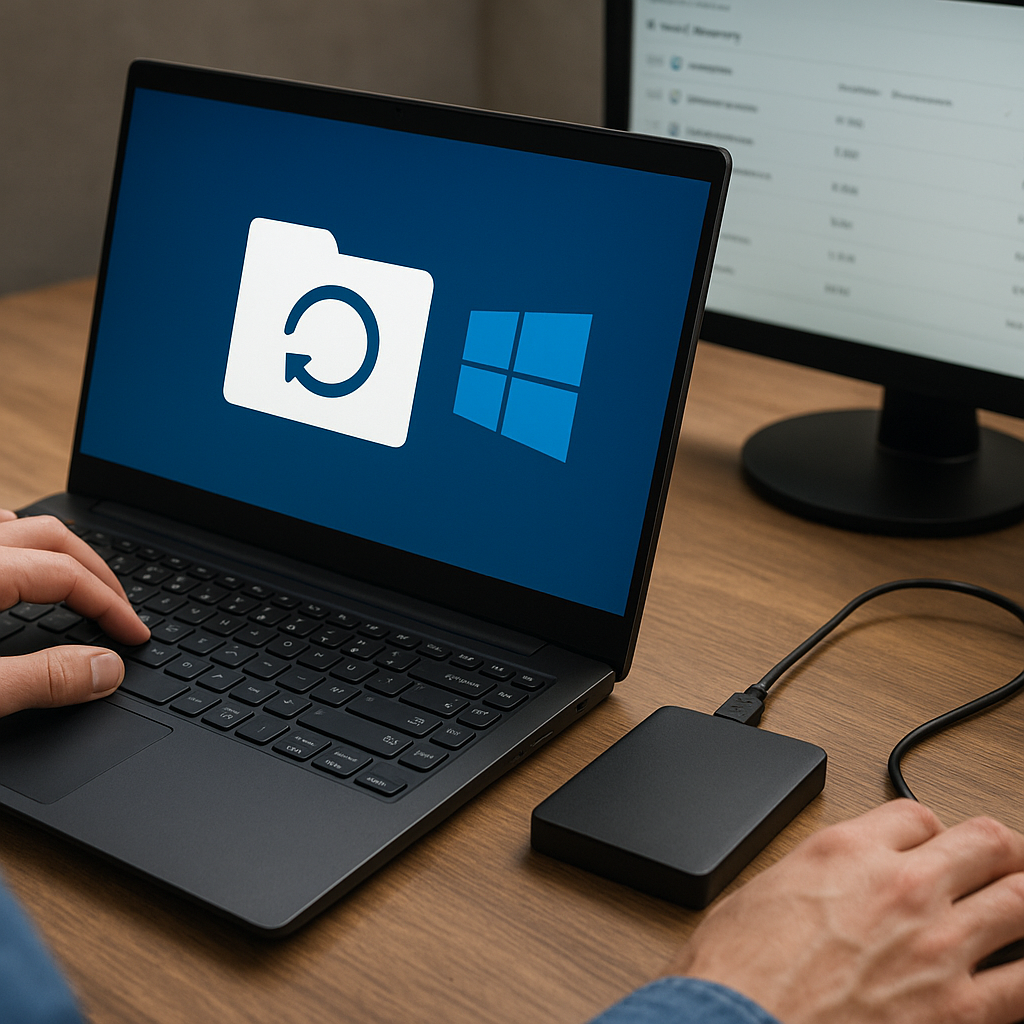
Choosing the Right Recovery Software
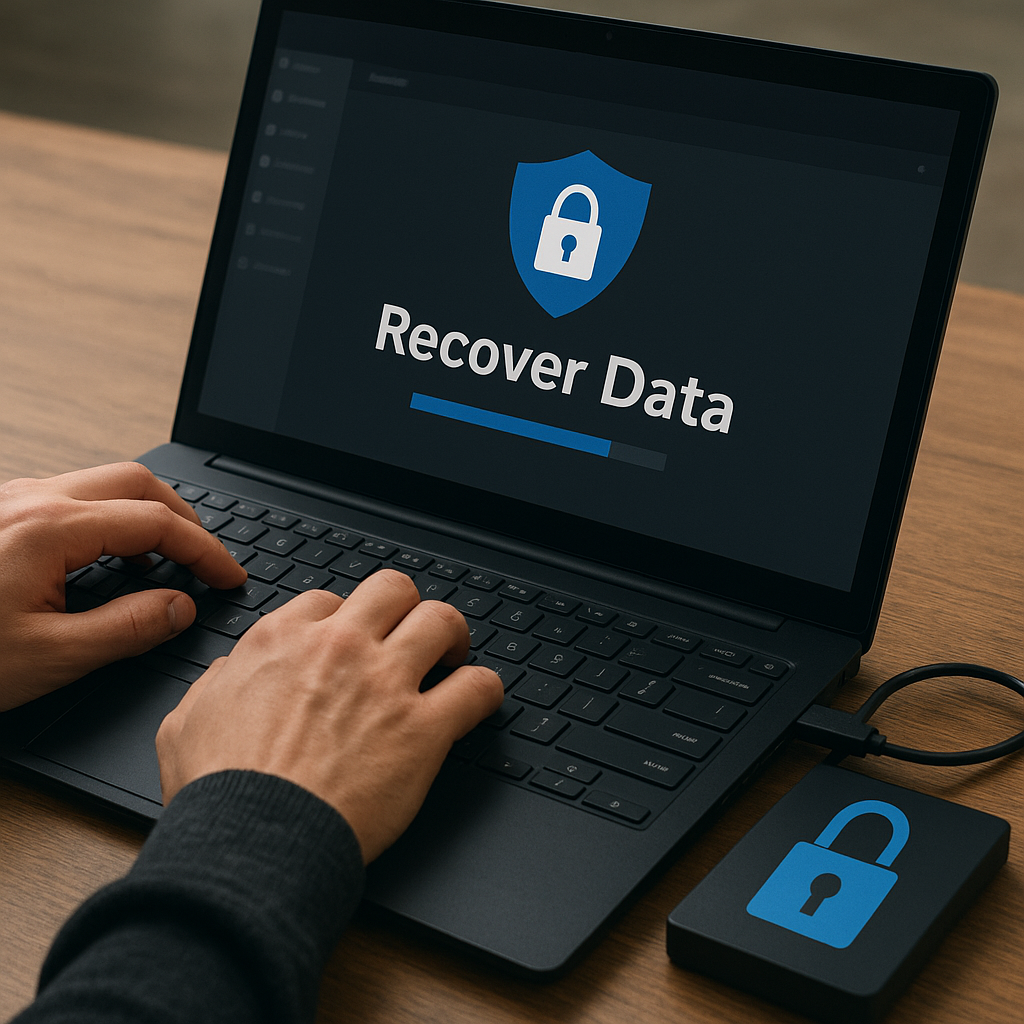
Not all recovery tools are created equal. Selecting software with advanced scanning algorithms and a user-friendly interface can greatly increase the odds of retrieving your lost files. Below are key criteria to consider:
1. Deep vs. Quick Scan Modes
- Quick Scan: Rapidly locates recently deleted partitions and files by analyzing file system records.
- Deep Scan: Performs a sector-by-sector search for file signatures, recovering data even when metadata is gone.
2. Supported File Systems and Devices
Your recovery software should support a wide range of file systems—NTFS, FAT/exFAT, HFS+, EXT—alongside various storage media, including HDDs, SSDs, USB drives, and memory cards. Compatibility ensures the tool can handle your specific scenario.
3. Preview and File Filter Capabilities
A reliable solution offers a built-in preview function, allowing you to verify the integrity and content of recovered items before restoration. Advanced filters (by file type, size, date) streamline the process and reduce unnecessary file recovery.
4. Safety and Read-Only Operations
Look for software that operates in a pure read-only mode to prevent further damage to the drive. Writing new data to the affected disk can overwrite the very sectors you want to recover.
5. Ease of Use and Technical Support
An intuitive interface with step-by-step wizards helps beginners navigate complex recovery tasks. Additionally, round-the-clock technical support or detailed documentation can be invaluable when encountering unexpected issues.
Step-by-Step Guide to Recovering Deleted Partitions
Step 1: Cease All Write Operations
Immediately stop using the affected drive. Continued writing—even saving a tiny file—can overwrite lost partition sectors, making restoration impossible. If possible, disconnect the disk and connect it to a secondary system for recovery.
Step 2: Select and Install Recovery Software
Choose a reputable tool that meets the criteria above. Install the application on a different physical drive to avoid contaminating the lost partition. Many solutions offer free trial versions that allow you to scan and preview recoverable data.
Step 3: Perform a Comprehensive Scan
- Launch the software and choose the “Deleted Partition Recovery” or equivalent mode.
- Select the unallocated space or the entire disk containing the lost partition.
- Begin with a quick scan to locate recently deleted partitions.
- If the partition is not found, switch to a deep scan to identify file signatures and hidden volume remnants.
Step 4: Analyze Scan Results and Preview Files
Once the scan completes, the software will list detected partitions and directories. Browse through the recovered items using the preview pane to confirm the presence of important documents, photos, or system files. Filter by file type or date to narrow down the results quickly.
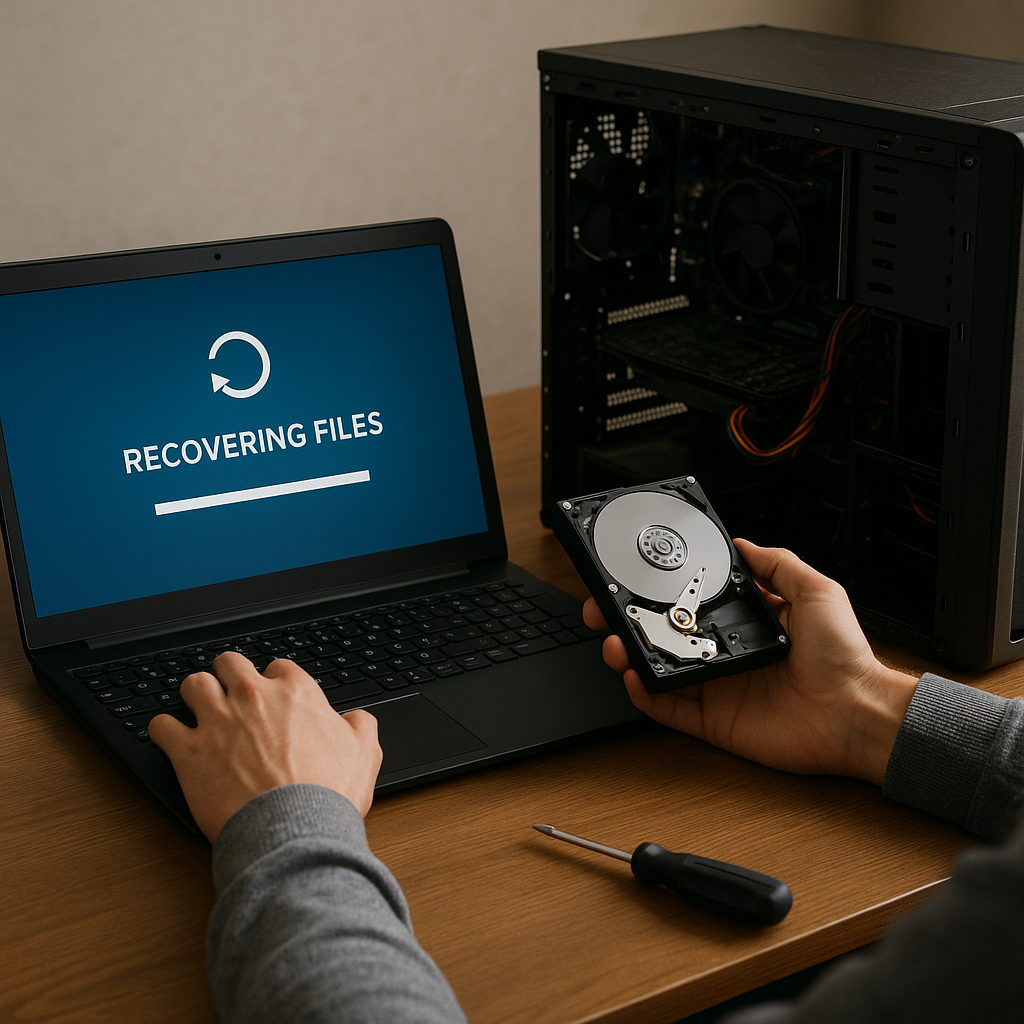
Step 5: Recover and Export Data
- Select the partition or specific files you wish to restore.
- Choose an alternate destination drive with sufficient free space. Never restore to the original drive to avoid overwriting.
- Begin the recovery process and monitor progress. Large partitions may require considerable time.
- Verify the recovered files’ integrity by opening a few samples.
Advanced Tips and Best Practices
Create a Disk Image First
Before initiating recovery, create a sector-by-sector image of the affected disk. This ensures you have a backup snapshot in case the initial attempt causes further issues. Tools like ddrescue (Linux) or specialized imaging software can accomplish this.
Use Command-Line Tools for Experts
Advanced users may leverage command-line utilities such as TestDisk and PhotoRec for free, powerful recovery. TestDisk repairs partition tables and can detect lost partitions, while PhotoRec focuses on file signature searches. These applications provide granular control but require familiarity with terminal commands.
Maintain Regular Backups
Prevention remains the best cure. Implement an automated backup strategy using cloud storage or external drives. Regularly verify backup integrity and keep multiple restore points to minimize data loss risks.
Evaluate Recovered Data Thoroughly
After recovery, inspect files for completeness and corruption. Use checksum tools to compare recovered file hashes against known values where available. For critical applications, perform integrity checks before reintegrating data into production systems.
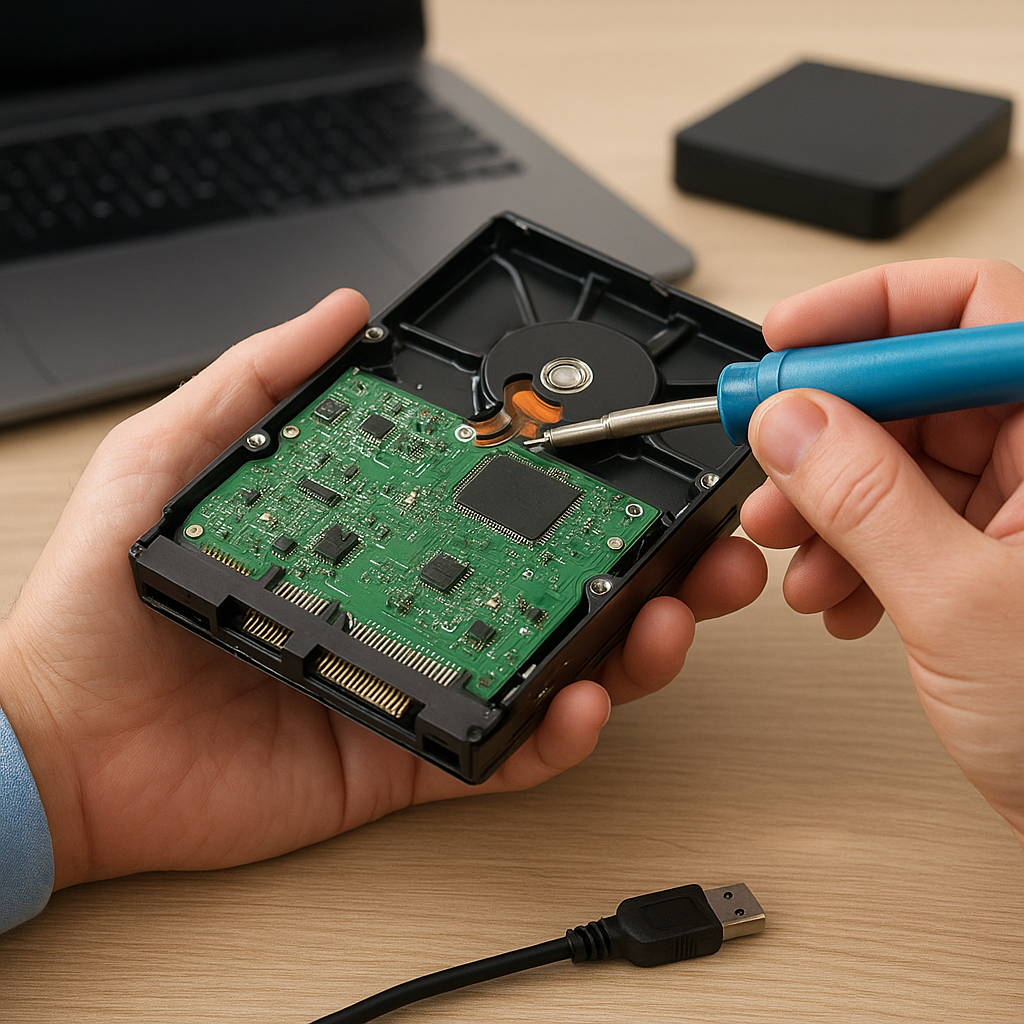
Seek Professional Help When Needed
If DIY methods fail or the drive exhibits mechanical failure (clicking noises, overheating), consult a certified data recovery service. Professionals have clean-room environments and specialized hardware to handle physically damaged disks.