Reinstalling an operating system often seems like the ultimate fix for stubborn errors or performance issues, but it can come at a high price when precious files disappear in the process. Understanding the mechanisms of file storage and adopting the right techniques can make the difference between permanent loss and a successful rescue. This comprehensive guide dives deep into the world of data recovery after a Windows reinstall, providing clear insights and practical steps to help you regain what seemed lost forever.
Understanding Data Loss during Windows Reinstallation
When you perform a Windows reinstall, the installer typically formats the system partition, wiping out critical file structures such as the Master File Table (MFT) and directory indexes. While the raw sectors containing file content often remain physically intact until they are overwritten, the logical pointers that inform the OS where to find these fragments are removed. If you act quickly, you can leverage specialized software that reconstructs these pointers and assembles the lost documents, photos or videos.
The Role of File Systems and Partition Tables
The majority of modern Windows installations rely on the NTFS file system. During a reinstall, the partition table may be rewritten, but the data blocks themselves persist in many cases. Understanding this distinction is essential: losing the partition table or file allocation table means losing the roadmap to your valuable data, not necessarily the data itself. Recovery tools scan raw sectors for known file signatures and metadata to rebuild that roadmap.
Why Immediate Action Matters
- Continued use of the drive can overwrite sectors that held deleted files.
- Installing new applications on the same partition increases the risk of permanent damage.
- Shutting down the system and switching to a recovery environment maximizes the chances of retrieving intact data.
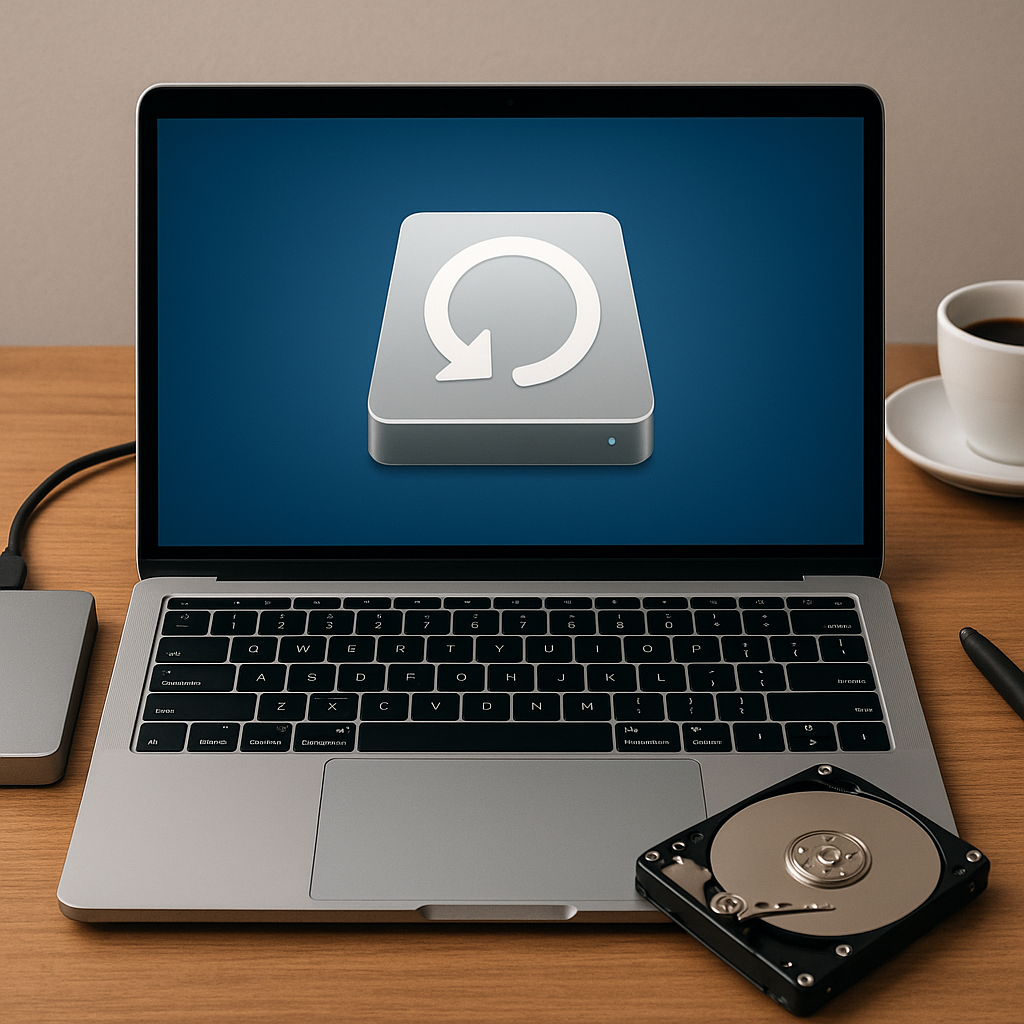
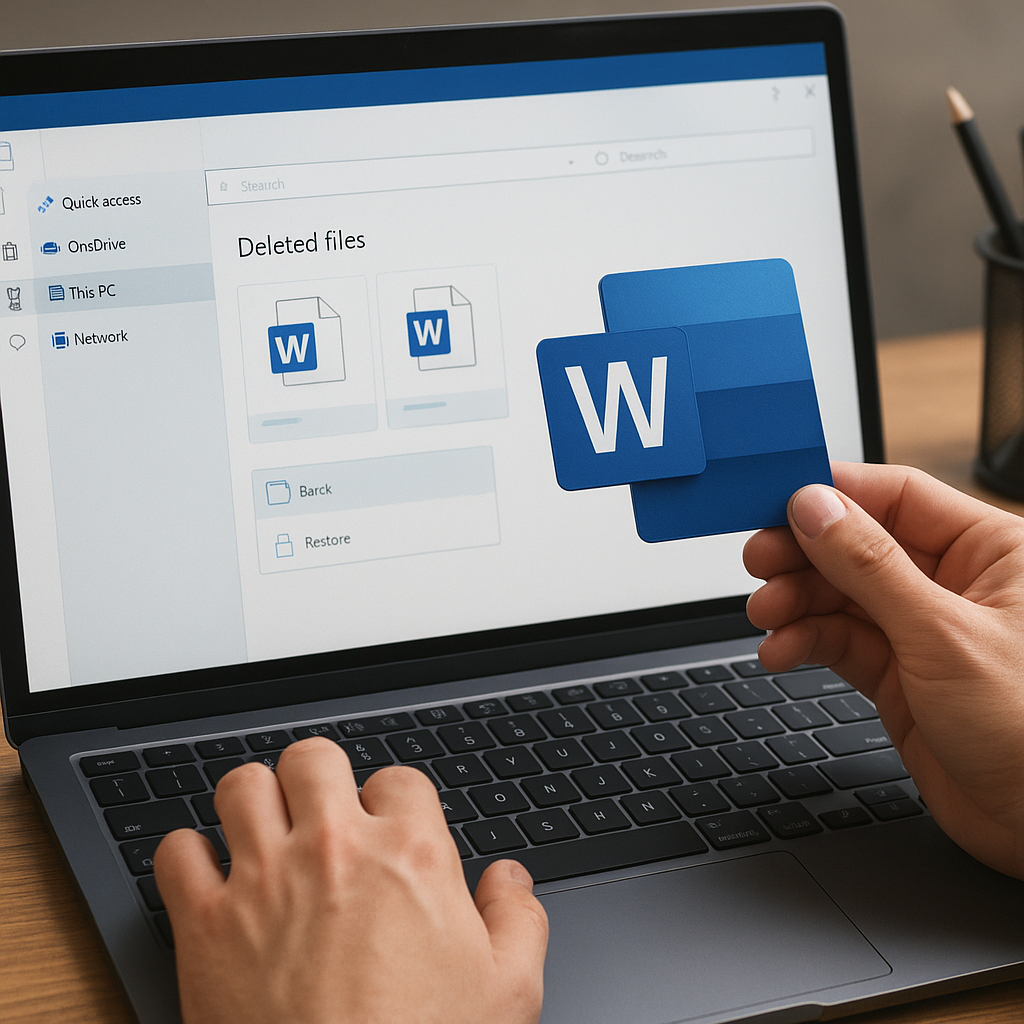
Choosing the Right Recovery Software
Selecting a robust solution is critical. Not all recovery programs offer the same depth of scanning capabilities or support for complex file systems. Key factors to consider include supported file systems, scan modes, preview functionality and export options. Top utilities in the industry can perform both a quick scan for recently deleted files and a deep scan that traces file fragments scattered across the disk surface.
Evaluating Core Features
- Scan Modes: Quick scan vs. deep scan for thorough recovery.
- File Signature Library: Recognizes a wide array of file types by their unique headers.
- Partition Recovery: Ability to locate and rebuild lost or corrupted partitions.
- Preview and Filter: Quickly identify which files are worth restoring before investing time in full recovery.
- Destination Selection: Ensuring you can restore to an external drive or separate partition to prevent overwriting.
Recommended Recovery Solutions
- EaseUS Data Recovery Wizard – User-friendly interface with strong signature-based scanning.
- Recuva – Lightweight freeware for quick recoveries, ideal for small recoveries.
- Disk Drill – Advanced features including byte-to-byte backups and customizable scan filters.
- R-Studio – Professional-grade tool supporting RAID and network recovery.
- PhotoRec/TestDisk – Open-source utility focusing on partition and file recovery via command line.
Step-by-Step Guide to Recovering Lost Data
This section outlines a systematic approach to maximize your chances of successful data retrieval after a Windows reinstall. Adhering to these steps ensures you maintain file integrity and avoid common pitfalls.
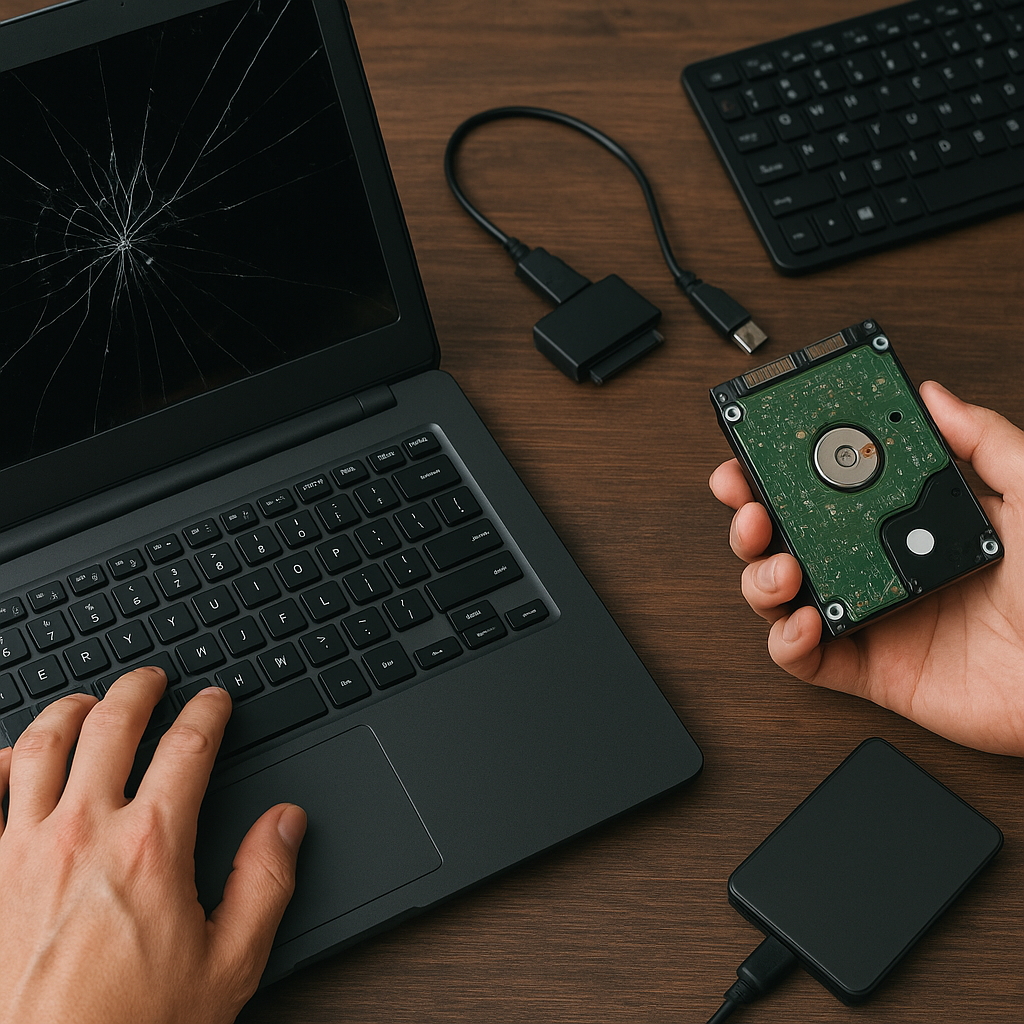
1. Immediately Cease Activity on the Affected Drive
- Power off the computer or remove the drive.
- Connect it as a secondary disk to another healthy system or use a bootable USB environment.
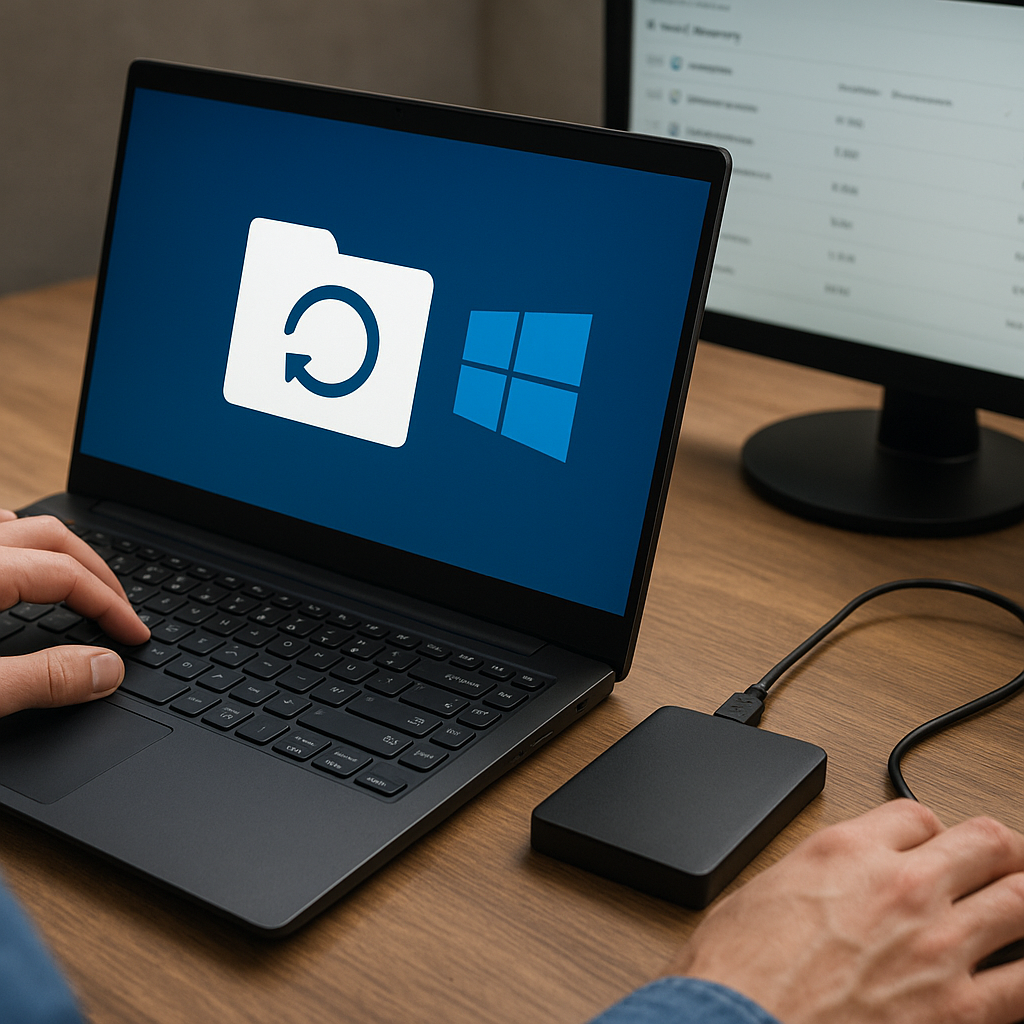
2. Create a Disk Image or Clone
Before scanning, generate a bit-for-bit image of your entire partition. Tools like ddrescue or commercial alternatives can create a safe copy, preserving the original drive from accidental writes. This image will serve as your working file during recovery, ensuring the source media remains untouched.
3. Perform an Initial Quick Scan
Launch your chosen recovery tool and select the imaged partition. Begin with a quick scan to locate recently deleted entries. This mode is faster and ideal if the reinstall happened moments ago.
4. Analyze and Preview Recoverable Files
- Use built-in previewers to verify file integrity, especially for documents, images and videos.
- Filter by file type or date to narrow down results and save time.
5. Execute a Deep Scan if Necessary
If the quick scan yields limited results, switch to a deep scan. This process can take hours depending on disk size and fragmentation level, but it’s essential for rebuilding severely damaged directories or partitions.
6. Select a Safe Recovery Destination
Always restore files to a different drive or external storage. Writing to the same partition risks overwriting the very sectors you need. Label the recovery folder clearly to avoid confusion during the restoration process.
7. Verify Recovered Data
After recovery completes, systematically open a sample of restored files to confirm readability and completeness. Pay attention to potential corruption, especially in large video and archive files.
Best Practices to Prevent Future Data Loss
While mastering recovery techniques is invaluable, proactive measures remain the most reliable defense. Implement the following strategies to safeguard your digital life:
- Regular Backups: Adopt automated backup solutions that copy your data to local and cloud destinations on a scheduled basis.
- Disk Imaging: Create periodic system images that include OS, applications and user files, enabling a seamless roll-back instead of a full reinstall.
- Partition Strategy: Maintain separate partitions for the operating system and personal data. This isolation reduces the scope of any OS-level operation.
- Version Control: For critical documents, consider versioning tools or cloud services with built-in revision history to recover previous edits.
- Disk Health Monitoring: Utilize S.M.A.R.T. and third-party utilities to anticipate drive failures before they occur.
Equipped with a thorough understanding of how Windows handles file systems, the right solution for your recovery needs, and disciplined backup habits, you can confidently navigate the aftermath of a system reinstall without losing your most important files. By following structured recovery steps and embracing preventive measures, you turn what might seem like a catastrophic event into a manageable obstacle.