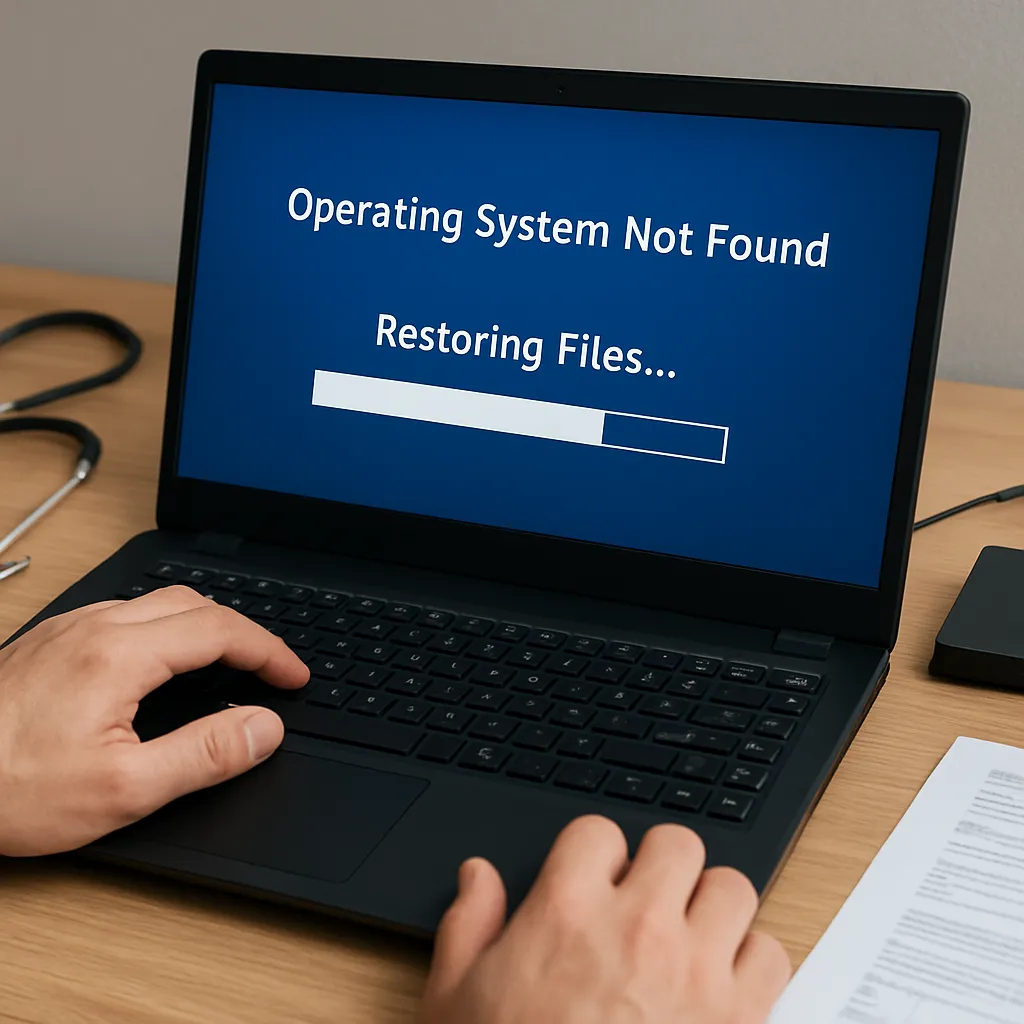
Software updates are crucial for keeping systems secure and efficient, but sometimes they can go awry, leading to missing files, corrupted partitions, or an unbootable machine. Recovering lost data after a botched update may seem daunting, but with the right tools and procedures, you can retrieve your precious documents, photos, and applications with minimal stress. This article explores the mechanics of update failures, showcases powerful recovery software, and guides you through a proven recovery workflow.
Understanding Software Update Failures
Before diving into recovery methods, it’s essential to grasp why updates can fail and what typically happens to your data during the process. A software update can malfunction due to insufficient power, interrupted downloads, incompatible drivers, or abrupt system restarts. The result may be partial writes, improper metadata changes, or even deleted files.
Causes of Update Malfunctions
- Power outages during critical write operations
- Sudden reboots triggered by hardware or firmware errors
- Corrupted update packages from unstable network connections
- Conflicts with existing drivers or system libraries
- Insufficient free space to apply the update fully
Impact on Storage and Filesystems
Whenever an update process halts unexpectedly, there’s a risk of corruption in the filesystem journal or allocation tables. In NTFS or ext4 systems, for instance, metadata inconsistencies can render entire directories inaccessible, even if the underlying data blocks remain intact. Recognizing that the raw data might still be salvageable is the first step to successful recovery.
Common Recovery Software Tools
Choosing the right recovery solution can make a significant difference in the salvage rate of your files. Below are some of the most trusted applications in the industry, each designed to address specific aspects of data rescue.
Comprehensive Recovery Suites
- Recuva: A user-friendly Windows tool that excels at undeleting files from hard drives, USB sticks, and memory cards. It features deep scan modes to locate remnants of lost data.
- TestDisk: An open-source powerhouse offering partition recovery and boot sector repair. It’s especially effective at repairing corrupt tables and restoring lost partitions.
- PhotoRec: Paired with TestDisk, PhotoRec specializes in recovering a variety of file formats by bypassing the filesystem and working directly at the block level.
Specialized Utilities
- R-Studio: Advanced recovery software that supports dynamic disks, RAID arrays, and networked machines. Its powerful reconstruction algorithms can piece together fragmented files.
- Disk Drill: Available for both Windows and macOS, Disk Drill offers an intuitive interface and a robust backup feature called Recovery Vault, which tracks and protects deleted files.
- EaseUS Data Recovery Wizard: Known for its clean interface and step-by-step wizard, EaseUS can recover from lost partitions, formatted drives, and corrupted filesystem structures.
Step-by-Step File Recovery Process
Implementing a structured approach not only raises the chances of successful retrieval but also minimizes the risk of further data loss. Follow this protocol:
1. Stop Using the Affected Drive
Immediately cease all read/write operations on the impacted disk. Continued usage can overwrite deleted data blocks, reducing the odds of a complete recovery. If possible, clone the faulty drive to a separate device and perform recovery tasks on the copy.
2. Assess the Damage
- Check for signs of physical damage or unusual noises.
- Review system logs or update error messages to pinpoint failure points.
- Note whether the drive appears in BIOS/UEFI and if partitions are still visible.
3. Select and Install Recovery Software
Install your chosen tool on a different drive or external medium. Running software from the same disk can overwrite the very data you aim to rescue. Many applications offer portable versions—opt for these whenever possible.
4. Perform a Detailed Scan
Initiate a comprehensive scan rather than a quick one. Although deep scans require more time, they search through all sectors, increasing the likelihood of uncovering fragmented or hidden files. During this phase, the software rebuilds directory structures and locates lost file headers.
5. Preview and Recover Files
Most recovery suites let you preview recoverable items before extraction. Prioritize high-value files—documents, images, and project databases. Choose a safe destination on an unaffected disk or external drive to store recovered data, preserving the integrity of the original medium.
Advanced Techniques and Best Practices
When standard procedures don’t yield satisfactory results, consider these specialized strategies to boost your recovery rates:
Creating and Using Disk Images
- Use tools like ddrescue or Clonezilla to create a sector-by-sector copy of the failing drive.
- Work exclusively on the image, leaving the source untouched to avoid accidental damage.
- If imaging errors occur, configure retry options and error skipping to maximize data capture.
Repairing Filesystem Structures
In cases of severe metadata corruption, run filesystem-specific repair utilities:
- Windows: chkdsk /f or /r to locate bad sectors and restore integrity.
- Linux: fsck or e2fsck for ext4, xfs_repair for XFS, and btrfs check for Btrfs volumes.
Handling RAID and Virtual Disks
Recovery on RAID or virtualized environments introduces additional complexity. Ensure you document the original array configuration—stripe size, order, and parity. Many professional tools like R-Studio and ReclaiMe provide modules to reconstruct arrays virtually, enabling file extraction as if the array were still intact.
Preventive Measures for the Future
- Maintain a routine backup schedule, using both local and cloud-based solutions.
- Test backups regularly by performing trial restorations.
- Keep recovery software licenses current, so you have immediate access to full features.
- Enable journaling or copy-on-write filesystems where possible to reduce corruption risks.