Encountering a malfunctioning USB drive can trigger a wave of concern, especially when vital documents, cherished photos, or essential project files are at risk. This comprehensive guide explores a variety of recovery strategies, from basic troubleshooting to advanced software solutions. By following these detailed steps, you can enhance the likelihood of successfully retrieving your lost data and safeguarding your digital assets.
Common Causes of USB Drive Failures
Understanding the root causes of USB drive malfunctions is the first step toward effective data recovery. Drives can fail for numerous reasons, each requiring a tailored approach:
- Physical Damage: Dropping, bending, or exposing the drive to liquid can harm internal components.
- File System Corruption: Unexpected interruptions during read/write operations often lead to a corrupted partition table.
- Bad Sectors: Repeated use can wear out certain areas on the flash memory, rendering them unreadable.
- Firmware Glitches: Faulty or outdated firmware may cause the drive to be unrecognized by the operating system.
- Electrostatic Discharge (ESD): Sudden electrical surges can damage sensitive circuits inside the USB stick.
Identifying Symptoms
Before initiating any recovery process, confirm the nature of the issue. Common signs include:
- Drive not appearing in File Explorer or Disk Management.
- System prompts to format the drive.
- Strange clicking or buzzing noises (if enclosed in a larger USB hard drive).
- Frequent read/write errors or slow performance.
Preparation and Preliminary Steps
Proper preparation can significantly improve your chances of retrieving lost files. Begin with the following precautions and checks:
1. Stop Using the Affected USB Drive
Continued use may overwrite sectors containing your lost data. Immediately eject the drive to preserve its existing state.
2. Connect to a Reliable Host
Use a working computer with a stable operating system. Avoid random ports or hubs; connect directly to a known-good USB port.
3. Gather Diagnostic Tools
Essential utilities include:
- Disk Management (Windows) or Disk Utility (macOS) for initial status checks.
- CHKDSK for scanning and repairing file system errors on Windows.
- Third-party tools like HDDScan for identifying bad sectors.
Recovery Methods Using Software Tools
Software-based recovery methods are often the most accessible and cost-effective. Below are several proven approaches:
1. Leveraging Built-In Operating System Tools
Windows CHKDSK can detect and repair minor file system issues:
- Open Command Prompt as administrator.
- Type
chkdsk X: /f(replace X with the drive letter) and press Enter. - Allow the scan to complete and review any corrections made.
On macOS, you can use Disk Utility’s First Aid feature to repair logical errors:
- Open Disk Utility from Applications > Utilities.
- Select the USB drive and click First Aid.
- Run the tool and follow on-screen instructions.
2. Employing Dedicated Recovery Software
Several commercial and open-source programs specialize in deep scanning and file restoration:
- Recuva – A user-friendly Windows tool capable of recovering documents, images, and more.
- PhotoRec – An open-source, platform-independent utility that bypasses the file system to retrieve files based on sector signatures.
- EaseUS Data Recovery Wizard – Offers a guided interface with a high success rate for various file types.
- R-Studio – Suitable for professional-grade recovery with advanced algorithm support for RAID and network drives.
General steps when using recovery software:
- Install the tool on a different drive than the one you wish to recover.
- Initiate a deep scan to locate remnant files.
- Preview recoverable items before restoring to avoid salvaging corrupted data.
- Save the recovered files to a new, healthy storage device.
3. Handling Partition Issues
If the USB drive’s partition table is damaged or missing, consider these approaches:
- Use TestDisk to analyze and rebuild the partition structure.
- Run a scan to detect lost partitions and restore them with a few clicks.
Advanced Techniques and Professional Services
When software solutions fall short, more advanced or professional intervention may be necessary:
1. Hex-Level Data Extraction
Specialized utilities and firmware tools allow direct reading of the drive’s raw memory. This method is intricate and involves:
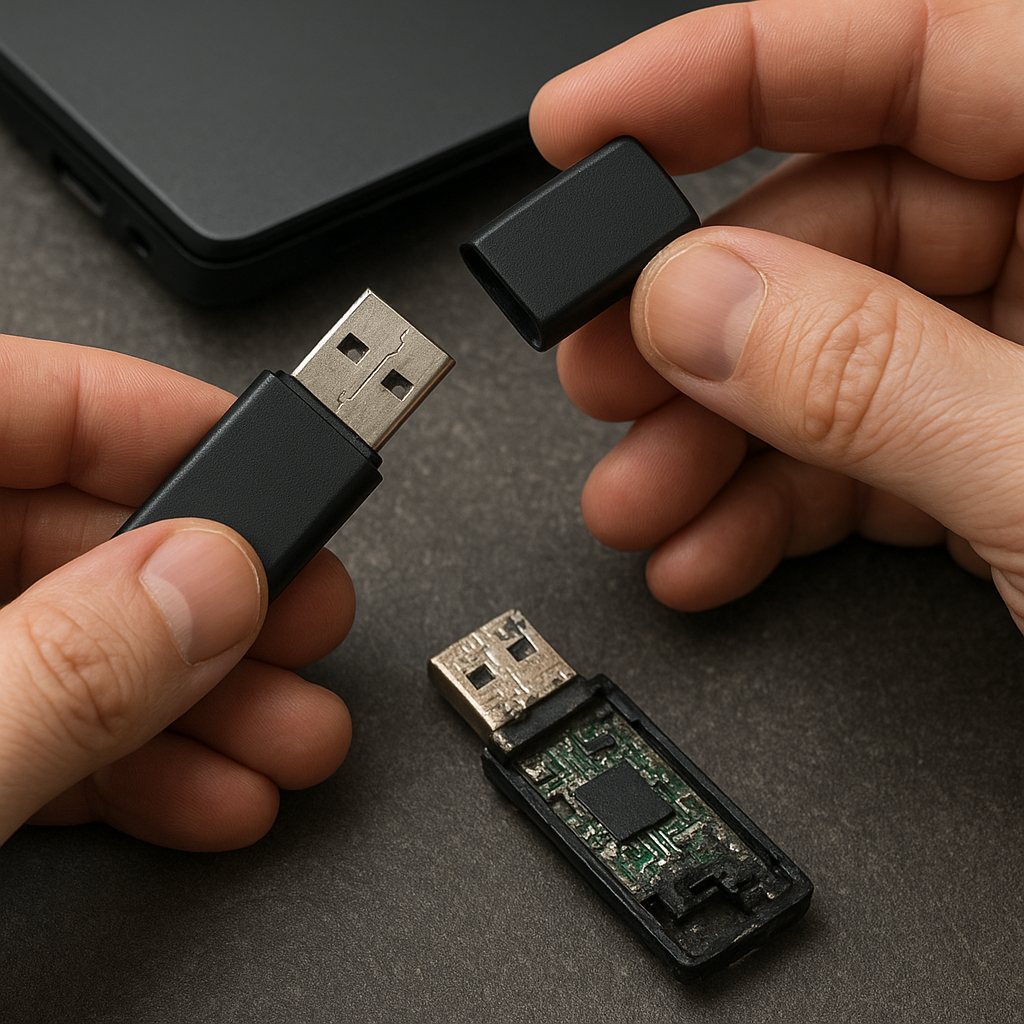
- Accessing the drive via a hardware-level interface or “chip-off” method.
- Extracting raw binary data for external analysis and reconstruction.
- Reassembling file fragments based on known file signatures.
2. Clean Room Professional Repair
For drives with physical damage, lab-based recovery services offer:
- Repair or replacement of controller boards in an ESD-controlled environment.
- Cryogenic freezing to stabilize failing flash chips.
- Chip-off recovery conducted in certified clean rooms to prevent contamination.
These services can be costly but often represent the only way to salvage data from severely compromised hardware.
3. Mitigating Future Risks
After successfully recovering your files, prioritize data protection strategies:
- Regular Backups: Maintain at least two copies of critical data on different media.
- Use Quality Drives: Invest in reliable USB brands with robust warranties.
- Periodically run diagnostic checks to detect emerging bad sectors early.
- Implement encryption cautiously to avoid complicating future recovery efforts.