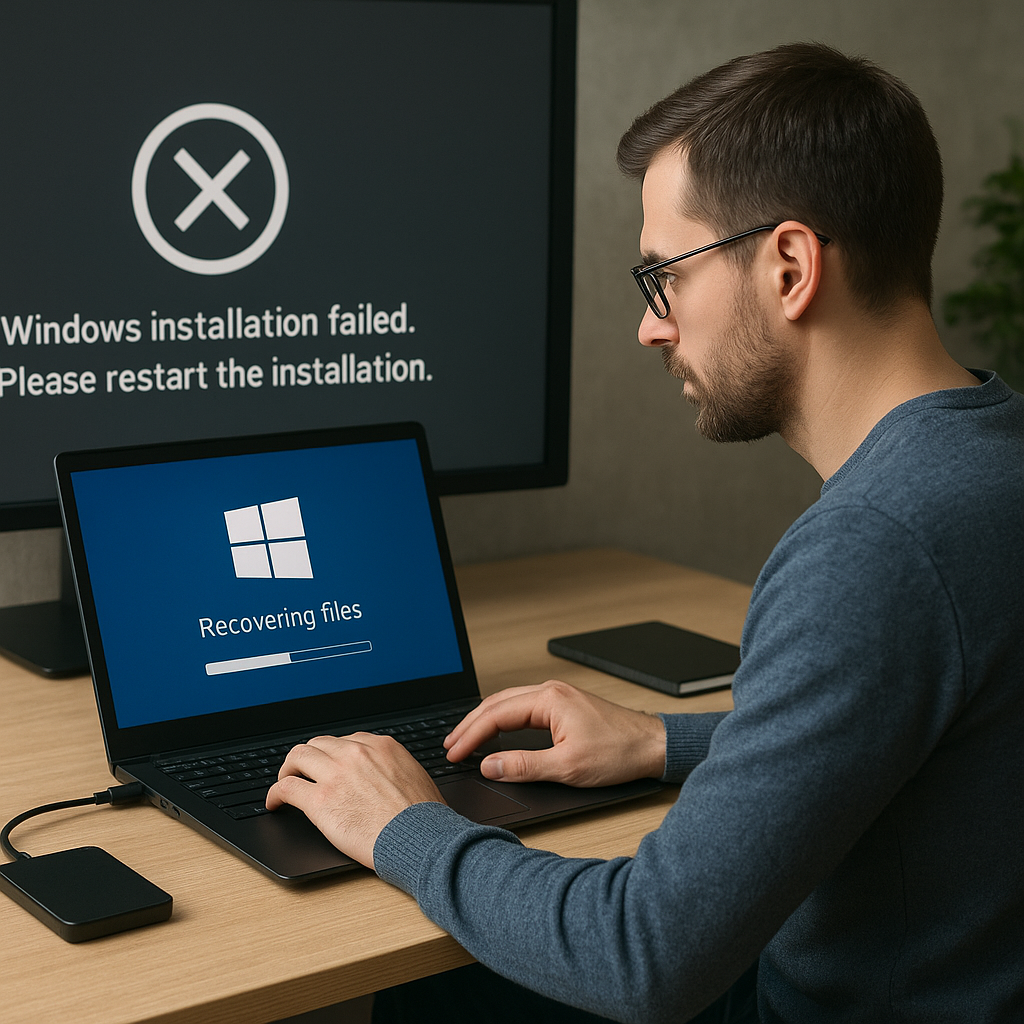
Recovering files from a drive that suddenly appears as RAW can be a daunting task. When a drive loses its recognized filesystem, operating systems often prompt to format it before use, putting precious data at risk. This guide outlines steps and best practices to restore access and retrieve your files using professional recovery software.
What Happens When a Drive Becomes RAW
A drive is considered RAW when the operating system cannot identify its filesystem type or structure. Instead of showing NTFS, FAT32, exFAT or other supported formats, the system labels the volume as RAW. Although this makes the drive inaccessible, the underlying data often remains intact on disk sectors. The key is to avoid overwriting data and to employ effective tools that perform sector-by-sector analysis.
Common symptoms of a RAW drive include:
- File Explorer reporting the volume as RAW and offering a format prompt
- Disk Management showing “RAW” or “Unknown” filesystem
- Error messages such as “drive not formatted” or “data inaccessible”
- Disk scanning utilities detecting bad allocation table entries
Understanding the RAW state is crucial. It indicates that the metadata describing file locations, directory entries, and allocation maps has been corrupted or lost. The raw data clusters may still exist, but without a recognized structure, they remain hidden.
Identifying the Cause of RAW Conversion
Before launching any recovery effort, it is helpful to determine why the drive turned RAW. This insight helps select the right approach and reduces the risk of further damage. Typical causes include:
- Sudden power failures during write operations
- Accidental removal of external drives without safe ejection
- Virus or malware attacks targeting partition tables
- File system corruption due to bad sectors
- Failed partition resizing or dual-boot installation
Virus infections may overwrite critical boot records, while bad sectors physically damage portions of the disk, leading to read errors. Partitioning tools and OS-level resizing utilities can miscalculate boundaries or leave inconsistent entries in the Master Boot Record (MBR) or GUID Partition Table (GPT).
Identifying bad sectors early helps preserve overall integrity. Running a non-destructive surface scan can pinpoint unstable areas. If hardware issues dominate, consider imaging the entire RAW drive onto a healthy disk before proceeding.
Preparation Before Running Recovery Software
Taking preparatory steps is essential to maximize the chances of successful file retrieval. Prior to invoking any recovery utility, follow these guidelines:
1. Create a Disk Image
Generating a full disk image or clone ensures that your original data remains untouched. Use a tool that performs a sector-by-sector copy, capturing even damaged areas. Store this image on a separate drive with enough capacity.
2. Check Drive Health
- Use SMART diagnostic tools to evaluate drive reliability
- Run a surface scan in read-only mode to detect bad sectors
- Review any error logs to gauge the extent of physical damage
3. Allocate Enough Time and Resources
Recovery processes can be time-consuming. Ensure your computer has sufficient CPU power, memory, and disk throughput. Avoid running other disk-intensive tasks simultaneously.
4. Avoid Formatting or Writing to the RAW Drive
When the OS prompts to format, always choose “Cancel”. Formatting writes new data structures that overwrite metadata locations and reduce recovery success rates. Refrain from copying new files onto the RAW volume.
Steps to Recover Data with Software Tools
Using reliable recovery software is the most effective way to access files on a RAW drive. Below is a generalized recovery workflow:
Step 1: Attach the Drive Safely
- Connect the RAW drive as a secondary device, not the system disk
- Use a stable USB bridge or SATA cable to minimize connection errors
- Disable any background antivirus scans that might interfere
Step 2: Initiate a Pre-Scan or Heuristic Analysis
Select the software’s Heuristic or Deep Scan mode. This approach checks each block for known file signatures (e.g., JPG, DOCX, PDF headers). Although slower, it often locates files that standard directory-based scans miss.
Step 3: Review Detected Files and Folders
- Browse the recovered directory tree in the preview pane
- Use file type filters to narrow down critical formats
- Mark items for restoration but avoid bulk recovery of unknown files
Step 4: Save Recovered Data to a Different Drive
Export files only to a separate storage device. Overwriting the RAW drive risks corrupting additional areas. Confirm that the destination drive has adequate free space and a compatible filesystem.
Step 5: Verify File Integrity
Open recovered files and run checksums where possible. Ensure documents are readable, images display correctly, and video/audio files play in full. If certain files are corrupted, consider rerunning the scan with adjusted settings.
Troubleshooting Common Challenges
Even with professional software, unexpected obstacles may arise. Here are solutions to typical issues:
- If the initial scan fails due to read errors, reduce scanning speed or switch to a lower-level mode that retries problematic sectors multiple times.
- When file previews do not render properly, update the software to the latest version, which often includes improved file signature databases.
- In cases of extreme fragmentation, segment larger files into smaller recovery batches to reduce memory footprint.
- If directory structures remain corrupted, rely on raw file recovery and reassemble file hierarchies manually based on timestamps.
Mitigating Future File Loss
After successfully retrieving files, implement preventive measures to avoid RAW states and data loss:
- Schedule regular backups using automated imaging solutions
- Enable journaling filesystems where possible (e.g., NTFS) to improve resilience
- Run periodic integrity checks and monitor SMART attributes
- Avoid abrupt power-offs; use an uninterruptible power supply for critical systems
- Keep recovery software updated and perform occasional trial scans on test media
By combining careful preparation, the right recovery software, and ongoing maintenance, you can turn a RAW drive scenario from a crisis into a manageable task. Developing a robust data protection strategy ensures that your files remain accessible and your storage systems stay healthy.