Recovering data from an aging storage device can feel like a daunting challenge, especially when precious memories or business documents hang in the balance. With the right approach, understanding of underlying principles, and use of advanced tools, you can significantly increase your chances of success.
Preparing for Recovery
Assessing the Drive’s Condition
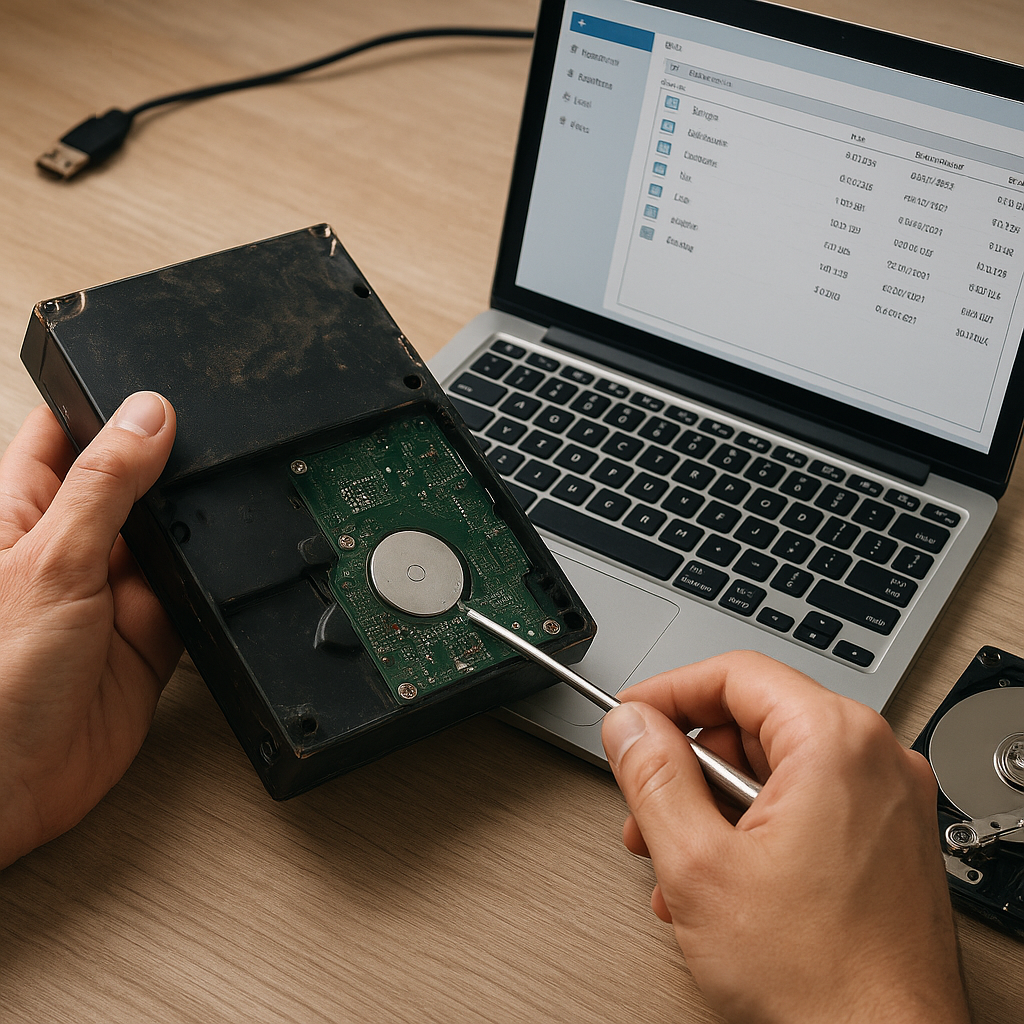
Before diving into any software solution, take a moment to perform a gentle physical inspection. Check the drive for unusual sounds such as clicking or grinding, which may indicate serious mechanical faults. Verify that all cables and power connectors are properly seated. If the drive remains undetectable in your operating system, consider connecting it via an external USB adapter or docking station to rule out interface problems.
Creating a Forensic Clone
Working on the original media increases the risk of further damage. Use a reliable disk imaging tool to produce a bit-by-bit copy. By operating on the clone, you preserve the integrity of the original data. Look for software that supports cloning with error handling, such as read retries and bad sector marking. A successful clone ensures that subsequent recovery attempts won’t exacerbate any corruption already present on the drive.
- Mount the target clone on a separate storage device at least as large as the source.
- Choose an image file format that retains metadata, timestamps, and partition tables.
- Keep read-only access on the original drive to avoid accidental writes.
Using Professional Recovery Software
Selecting the Right Tool
Not all recovery applications are created equal. Some specialize in logical recovery, while others handle deeper file carving on damaged volumes. Seek out solutions with support for a wide array of file systems, such as NTFS, FAT32, exFAT, HFS+, and even more niche formats. Premium offerings often include features like encryption support and customized sector recovery that free tools lack.
- Verify that the software can handle the file types you need—documents, images, databases, and multimedia.
- Look for a preview feature to check file content before full extraction.
- Confirm that the tool provides progress reporting and detailed logs of read failures.
Running the Initial Scan
Begin with a quick scan to detect existing file records and recover recently deleted entries. If the quick scan fails to reveal the desired data, proceed to a deep or raw scan mode. This builds files from raw binary signatures rather than relying on intact file tables. While more time-consuming, deep scans can unearth data in severely damaged partitions.
- Set scan priorities to focus on critical directories and file extensions.
- Use adjustable scan profiles to balance speed and thoroughness.
- Monitor read error rates, pausing the process if the drive shows signs of overheating.
Recovering Data from Failing Drives
Handling Bad Sectors
Modern recovery software often includes algorithms designed to skip over recurrent bad sectors and consolidate readable fragments. When a sector repeatedly fails, the tool maps it as bad and attempts multiple passes before moving on. In many cases, successful recovery of surrounding sectors can yield much of the file, allowing you to reconstruct nearly intact documents.
Repairing Damaged File Systems
File system damage can prevent standard scanning methods from detecting any data. Look for utilities capable of reconstructing partition tables and rebuilding directory entries. This process sometimes involves rolling back file system journals or importing structures from compatible backups stored on the drive. Successful reconstruction can restore drive accessibility without needing a full data extraction.
- Analyse partition metadata and compare with known good configurations.
- Rebuild Master File Table (MFT) entries based on adjacent sector information.
- Employ recovery wizards to guide you through complex repair operations.
Best Practices to Avoid Future Data Loss
Regular Backups and Redundancy
Prevention remains the most effective strategy. Implement a multilevel backup scheme: local backups on NAS or external drives, along with secure cloud storage for critical files. Adopting the 3-2-1 rule—three copies, on two different media, with one off-site—ensures data remains safe even if one layer fails.
Monitoring Drive Health
Drive monitoring utilities can track firmware metrics like reallocation counts, spinning speed fluctuations, and temperature variations. Set up alerts to notify you when SMART values cross critical thresholds. Early detection of anomalies allows you to migrate data before catastrophic failure occurs.
Maintaining System Hygiene
Regularly defragment spinning hard drives to reduce wear from excessive head movement. Keep firmware and drivers up to date to avoid bugs that could lead to corruption. Finally, ensure that your system has adequate surge protection to guard against power-related incidents.
- Schedule automated health checks weekly or monthly.
- Maintain logs of drive performance for trend analysis.
- Store magnetic media in temperature-controlled environments.


