The following guide explores efficient methods to recover lost content from a Time Machine backup on macOS. Whether you need to retrieve an important document, an entire application, or system settings, this tutorial covers essential steps to ensure a smooth restore process. Each section details procedures, useful tips, and common pitfalls to help you master the art of data recovery with confidence.
Preparation for a Successful Restore
Before diving into the main operation, ensure you have all necessary prerequisites in place. Skipping any of these steps can lead to unexpected delays or incomplete recovery.
Confirm Backup Integrity
- Connect your Time Machine disk or network drive to your Mac.
- Open the Time Machine app from the Menu Bar or System Preferences.
- Browse a few snapshot points to verify files are accessible.
- Run a quick consistency check using Disk Utility to confirm there is no file system damage.
Check Available Space
- Navigate to About This Mac > Storage to view free space on your startup volume.
- Ensure you have at least as much free space as the size of the data you plan to restore.
- If necessary, free up space by moving files to an external drive or deleting unnecessary items.
Understand Permissions
- Some files may require administrator credentials to restore.
- Verify user permissions on the destination folder to avoid access issues.
- Use the Terminal command
sudo chown -R $(whoami) /path/to/folderif you encounter permission errors.
Accessing Time Machine for File Recovery
Time Machine offers a user-friendly interface to browse historical snapshots. Learning how to navigate it effectively saves valuable time when you need to retrieve critical data.
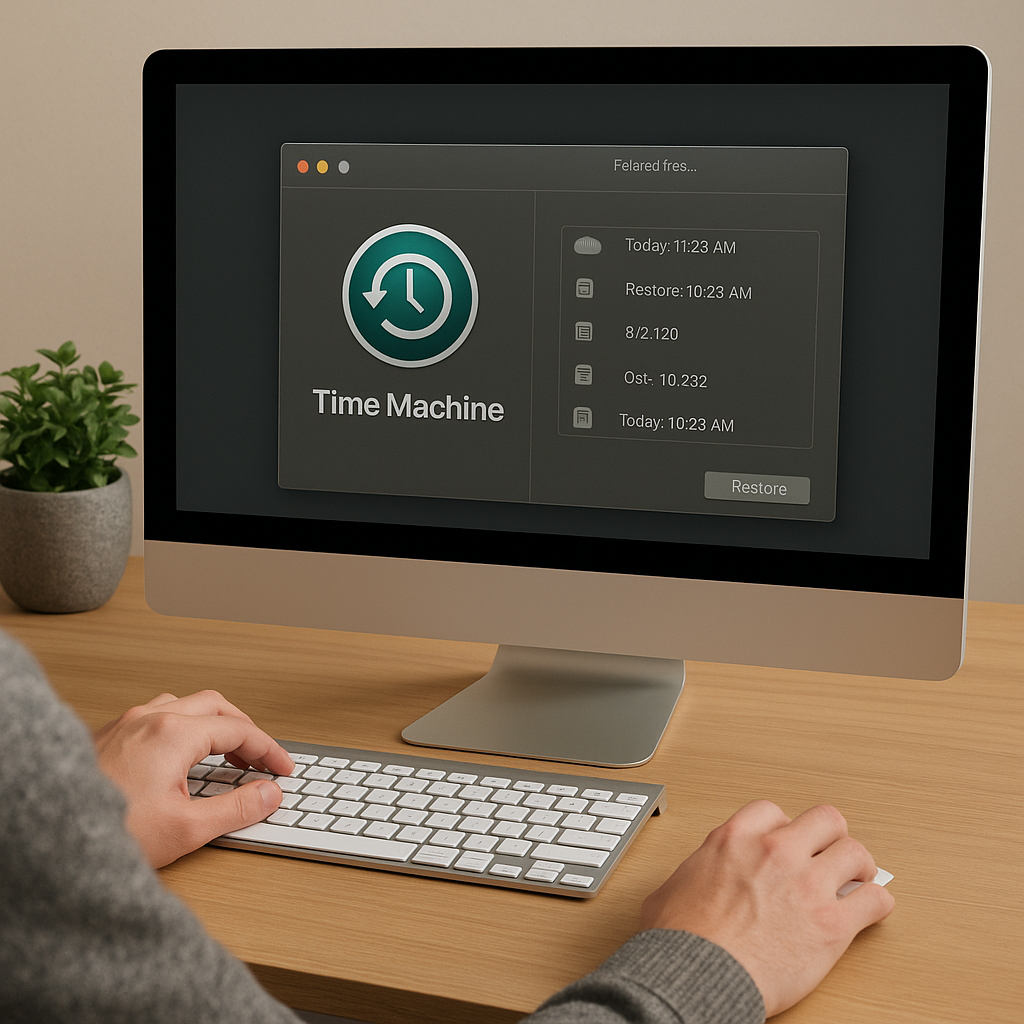
Entering Time Machine Interface
- Click the Time Machine icon in the Menu Bar and select Enter Time Machine.
- Alternatively, open the Time Machine app from Applications > Utilities.
- Use the arrow buttons or timeline on the right edge to travel through different backup instances.
Navigating Backups
When browsing, pay attention to file paths and timestamps:
- Use Finder windows within Time Machine to locate specific folders or files.
- Preview documents by selecting them and pressing the Spacebar to ensure you pick the correct version.
- Note version dates carefully, especially if you work on rapidly changing files.
Selecting Files and Folders
- Hold down the Command key to choose multiple items simultaneously.
- Right-click (or Control-click) on a file and choose Restore To… if you want to specify a custom destination.
- Use the search box in the Finder view to filter by name or file type.
Restoring Specific Files and Entire System
Time Machine excels both at granular file recovery and full-system reinstalls. We’ll cover both scenarios in this section.
Restoring Individual Files
For targeted recovery:
- Navigate to the folder containing the lost file within the Time Machine interface.
- Select the file, then click Restore. It returns to its original location.
- If the original directory no longer exists, Time Machine recreates the folder hierarchy automatically.
Restoring Multiple Items
- Select a folder instead of an individual file to recover entire directory contents.
- Use Command+A to highlight all items in a window, then click Restore.
- Monitor the progress bar to ensure a complete transfer before accessing restored data.
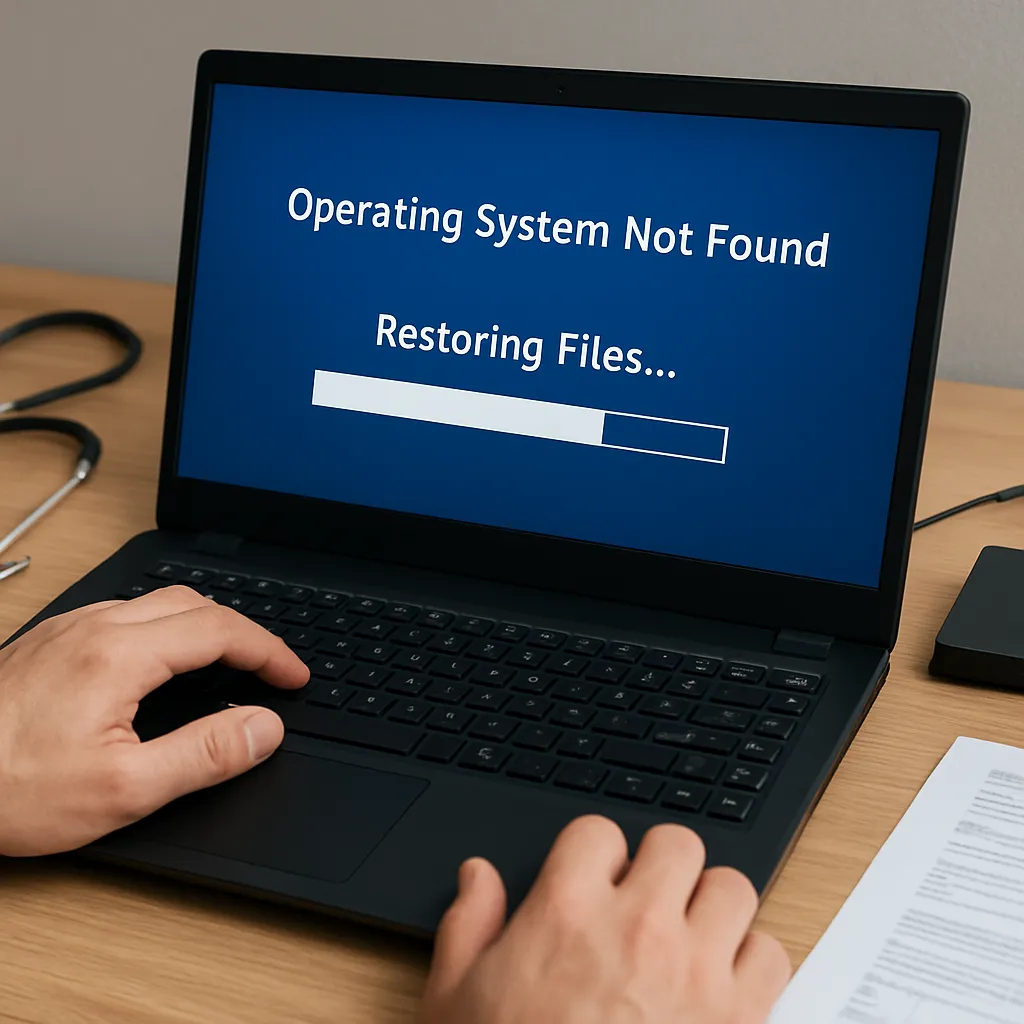
Full System Recovery
If your macOS installation becomes corrupted or you replace the internal drive:
- Restart your Mac and hold Command+R to enter macOS Recovery Mode.
- Select Restore from Time Machine Backup, then click Continue.
- Choose the appropriate backup source and a snapshot date to restore your entire macOS environment.
- Follow on-screen prompts to complete the reinstallation and system restore.
Troubleshooting Common Issues
Restoration processes are usually reliable, but occasionally you might face obstacles. This section offers solutions to the most frequent problems.
Backup Not Recognized
- Ensure the backup drive is powered on and connected via a compatible interface (USB, Thunderbolt, or network).
- Open Disk Utility to see if the drive mounts correctly. If not, try reconnecting or using a different cable.
- Repair the backup disk by selecting it in Disk Utility and clicking First Aid.
Permission Denied Errors
- Verify ownership of the destination folder using Get Info in Finder.
- Use Terminal commands to reset permissions:
chmodandchowncan fix most access problems. - If issues persist, create a new administrator user and perform the restoration under that account.
Incomplete File Copies
- Check the backup integrity: some files may be corrupted if the backup disk experienced errors.
- Attempt recovery on an alternative Mac to rule out hardware faults.
- Use specialized software tools designed for deep recovery of damaged Time Machine volumes.
Advanced Tips and Best Practices
Optimizing your backup and recovery strategy prevents data loss and streamlines the restoration journey. Consider the following recommendations:
- Regularly test backups by restoring random files to confirm reliability.
- Maintain multiple backup disks rotated offsite for extra data security.
- Label disks clearly with dates and encryption details.
- Enable encryption in Time Machine preferences to protect sensitive information.
- Keep macOS and Time Machine firmware updated to benefit from performance and reliability improvements.