Recovering files after a hard drive failure can feel like navigating a complex maze, especially when precious data is hanging in the balance. Whether a mechanical fault, a sudden power surge, or accidental formatting caused the issue, understanding the right steps and tools is crucial. This guide will equip you with the knowledge to select the ideal software, follow a systematic approach, and implement preventive strategies to safeguard your information moving forward.
Understanding Hard Drive Failure Modes
Before diving into recovery methods, it’s essential to recognize the different types of failures that can affect a drive. Each category demands a distinct approach, and misdiagnosis may worsen the situation.
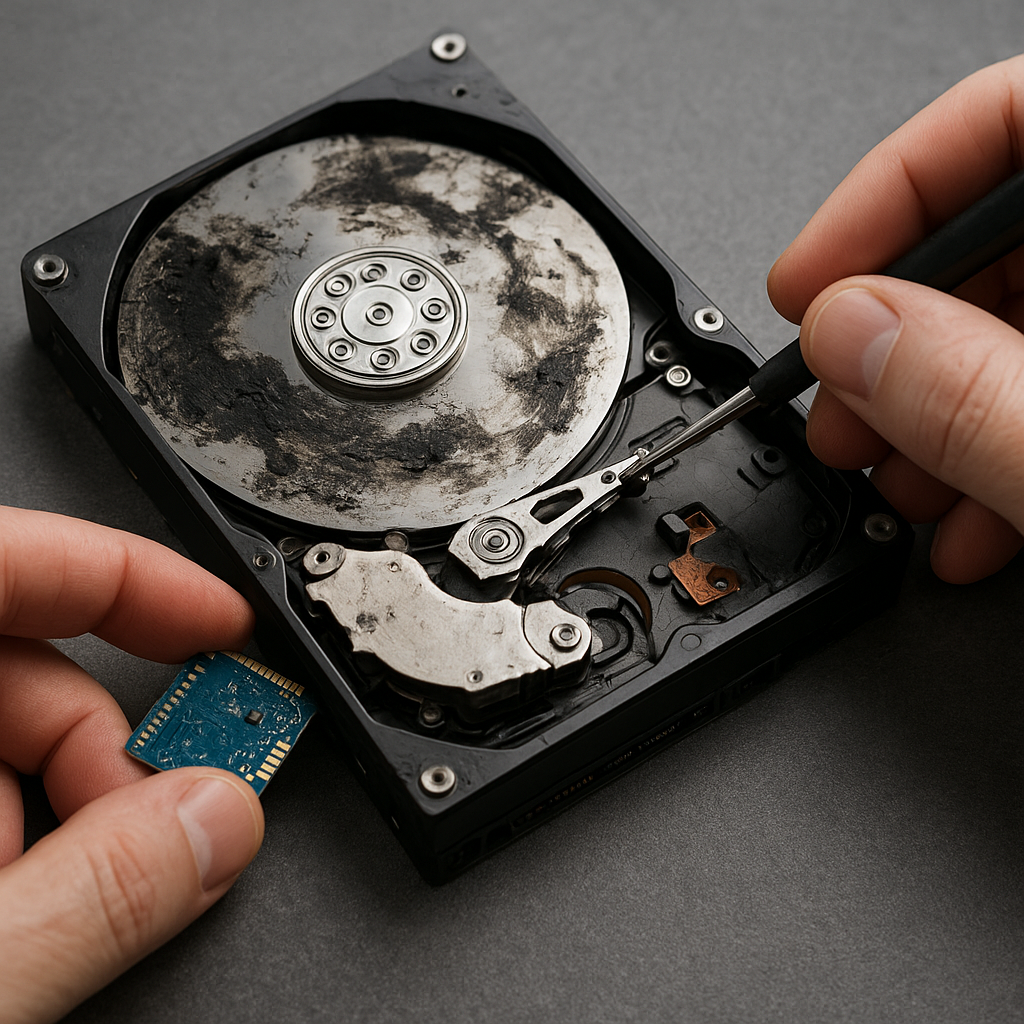
Mechanical Failures
- Physical damage to read/write heads or platters
- Noises such as clicking, grinding, or whirring indicate internal wear
- Often requires professional cleanroom intervention
Logical Failures
- Corruption of file system structures, partition tables, or boot sectors
- Accidental deletion or formatting of partitions
- Virus or malware infections leading to inaccessible files
Recognizing whether a drive is mechanically or logically compromised helps determine whether to attempt a DIY recovery using software or to engage specialist services immediately.
Evaluating Recovery Software Options
Selecting robust recovery software is a critical step that can mean the difference between full restoration and permanent data loss. Consider these factors when comparing solutions:
Compatibility and File System Support
- Ensure support for NTFS, FAT32, exFAT, HFS+, APFS, ext4, and other relevant file systems
- Check compatibility with HDD, SSD, USB drives, RAID arrays, and memory cards
Scanning Capabilities
- Quick Scan for recently deleted files and minor file system damage
- Deep Scan to reconstruct file signatures and recover from formatted or severely corrupted drives
- Preview function allowing you to view recoverable files before purchase or final recovery
User Interface and Ease of Use
- Intuitive wizards guiding you step by step
- Clear progress indicators
- Multilingual support and comprehensive help resources
Pricing and Licensing
- Free or trial editions with limited recovery size vs. paid editions with unlimited restores
- Subscription vs. perpetual license models
- Multi-device or family plans for broader coverage
Leading products such as Disk Drill, EaseUS Data Recovery Wizard, R-Studio, and PhotoRec each offer unique strengths. Evaluate free trials to test scan depth and preview accuracy before committing financially.
Step-by-Step Recovery Process
Once you’ve chosen a suitable tool, follow this structured procedure to maximize the chances of full data retrieval while preserving integrity:
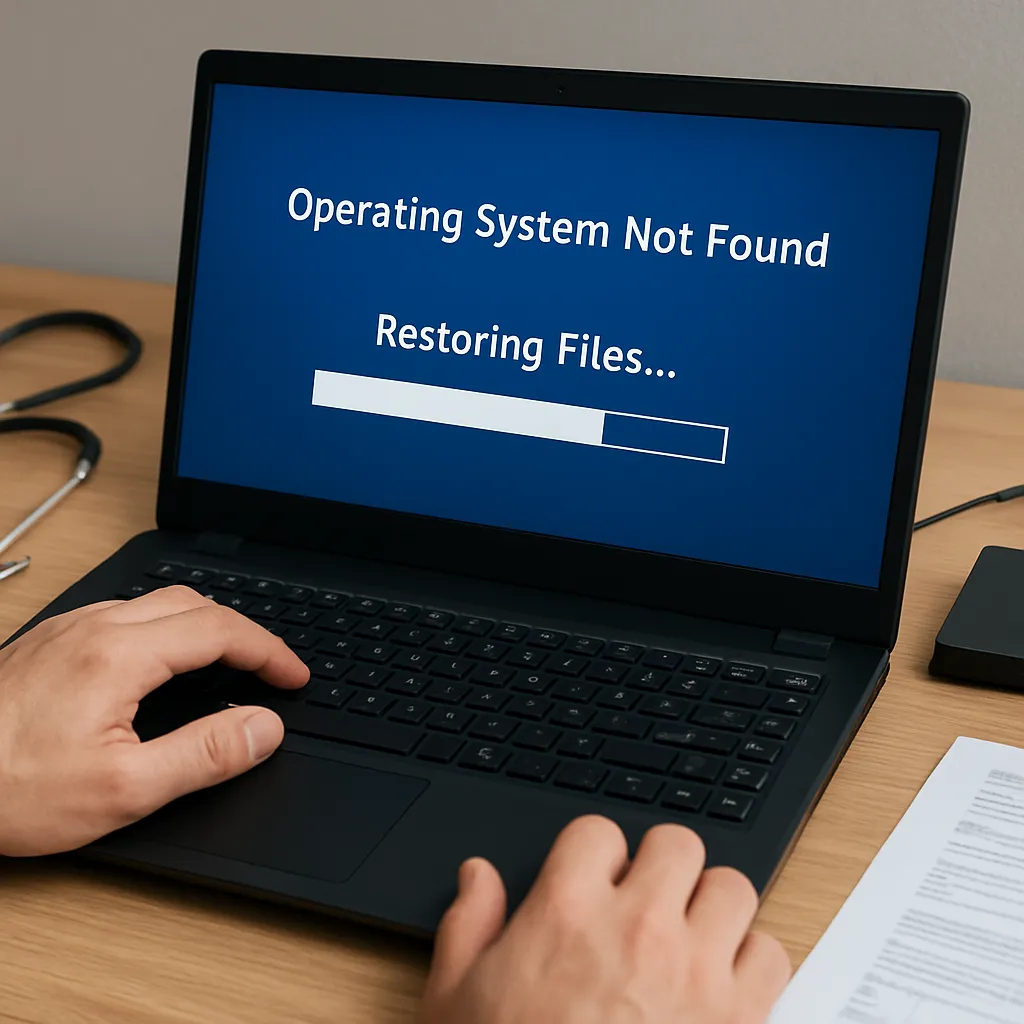
1. Stop Using the Affected Drive
Immediately cease all read/write operations. Any further use can overwrite sectors containing deleted or corrupted files, reducing recovery success rates.
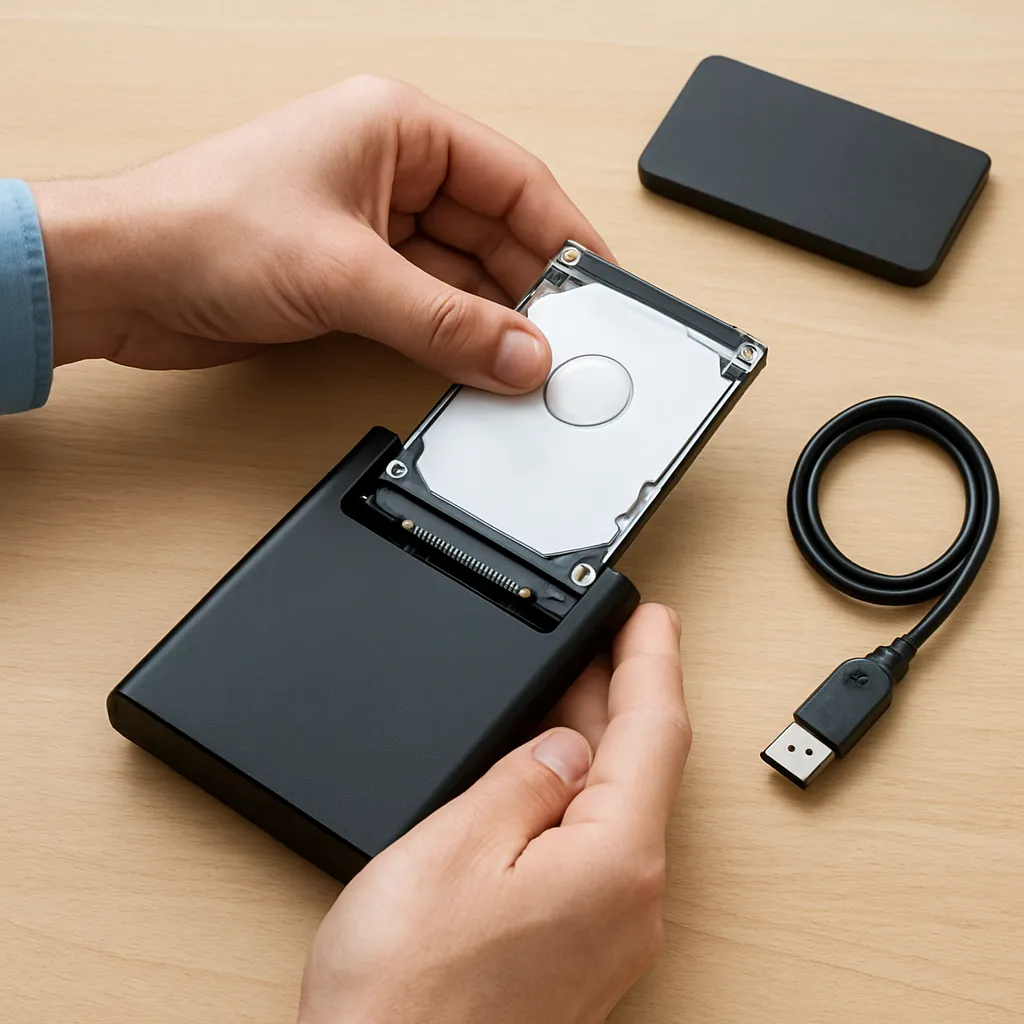
2. Create a Disk Image
Before attempting recovery, generate a sector-by-sector image of the failing drive onto a stable destination (external HDD or network share). Working from the image prevents additional stress on the original drive and preserves its current state.
3. Launch the Recovery Software
- Select the disk image or the original drive (if imaging isn’t feasible)
- Choose the appropriate scan mode (Quick or Deep Scan)
- Configure filters (file types, file size) to accelerate the scanning process
4. Review and Preview Recoverable Files
After the scan completes, use the built-in preview to verify file health. Pay special attention to frequently used formats such as DOCX, XLSX, JPEG, MP4, and proprietary database files.
5. Select and Recover
- Choose a safe recovery destination—not on the failed drive
- Recover in batches, starting with the most critical files
- Confirm file integrity after restoration by opening documents or playing media files
Document each step and maintain logs if possible. This practice helps in troubleshooting and, if necessary, consulting professional support with detailed diagnostics.
Advanced Techniques and Preventive Measures
Going beyond basic recovery, implementing backup and monitoring strategies can drastically reduce the impact of future failures.
RAID and Redundancy Strategies
- RAID 1 (mirroring) for real-time duplication of data across two drives
- RAID 5/6 for distributed parity and fault tolerance in multi-drive arrays
- Software-defined storage options with built-in self-healing capabilities
Automated Backup Solutions
- Cloud-based backup with versioning for off-site protection
- Local NAS (Network Attached Storage) configured for incremental backups
- Hybrid models combining local and cloud backups for maximum resilience
SMART Monitoring and Health Checks
- Enable S.M.A.R.T. alerts to receive early warnings on disk health deterioration
- Schedule periodic surface scans to detect bad sectors before they escalate
- Use diagnostic utilities from drive manufacturers for firmware updates and advanced error logging
Data Encryption and Secure Deletion
Encrypt sensitive files to protect confidentiality in case of unexpected drive failure or theft. When decommissioning drives, use secure overwrite tools or physical destruction to ensure deleted data cannot be recovered by unauthorized parties.
By combining a reliable backup regimen, rigorous monitoring, and the right recovery software, you’ll build a comprehensive defense against data loss and maintain the integrity of your digital assets.