Accidentally repartitioning a hard drive or SSD can be a harrowing experience, especially when precious documents, photos, or project files seem to vanish into thin air. Fortunately, modern recovery utilities are designed to navigate the complexities of a disrupted file system and rebuild lost entries, guiding you through a methodical retrieval journey. This article will delve into the mechanics behind post‐partitioning data loss, outline a clear recovery workflow, explore advanced software capabilities, and highlight preventive strategies to secure your information in the future.
Understanding Data Loss After Partitioning
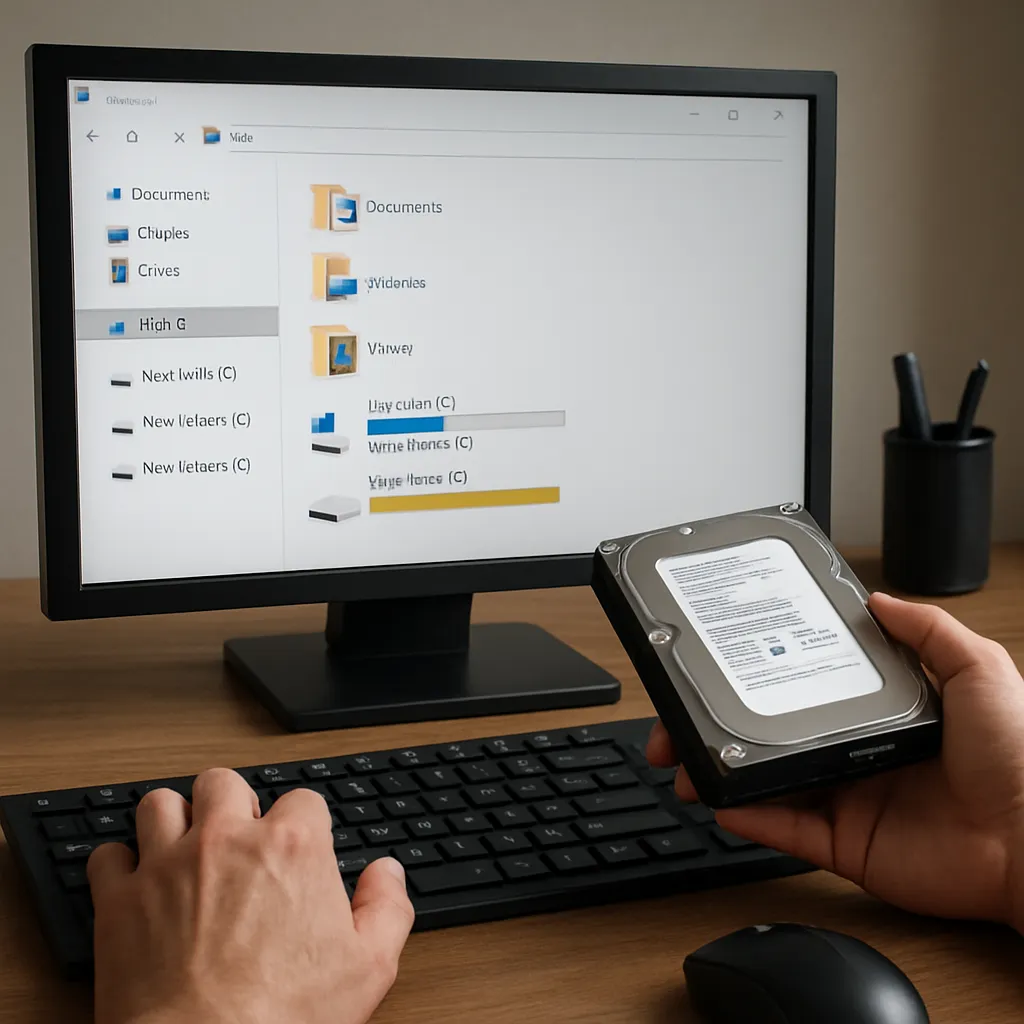
When you modify disk partitions—whether resizing, deleting, or creating new ones—the operating system rewrites the partition table. This table serves as a roadmap, pointing the OS to the start and end of each logical drive. Overwriting or removing entries may leave your sectors intact but make them appear as unallocated space. In essence, the bits and bytes containing your files remain on the storage device, but their directory pointers are gone. A robust recovery utility can locate these orphaned clusters, reconstruct file metadata, and restore your data to its prior state.
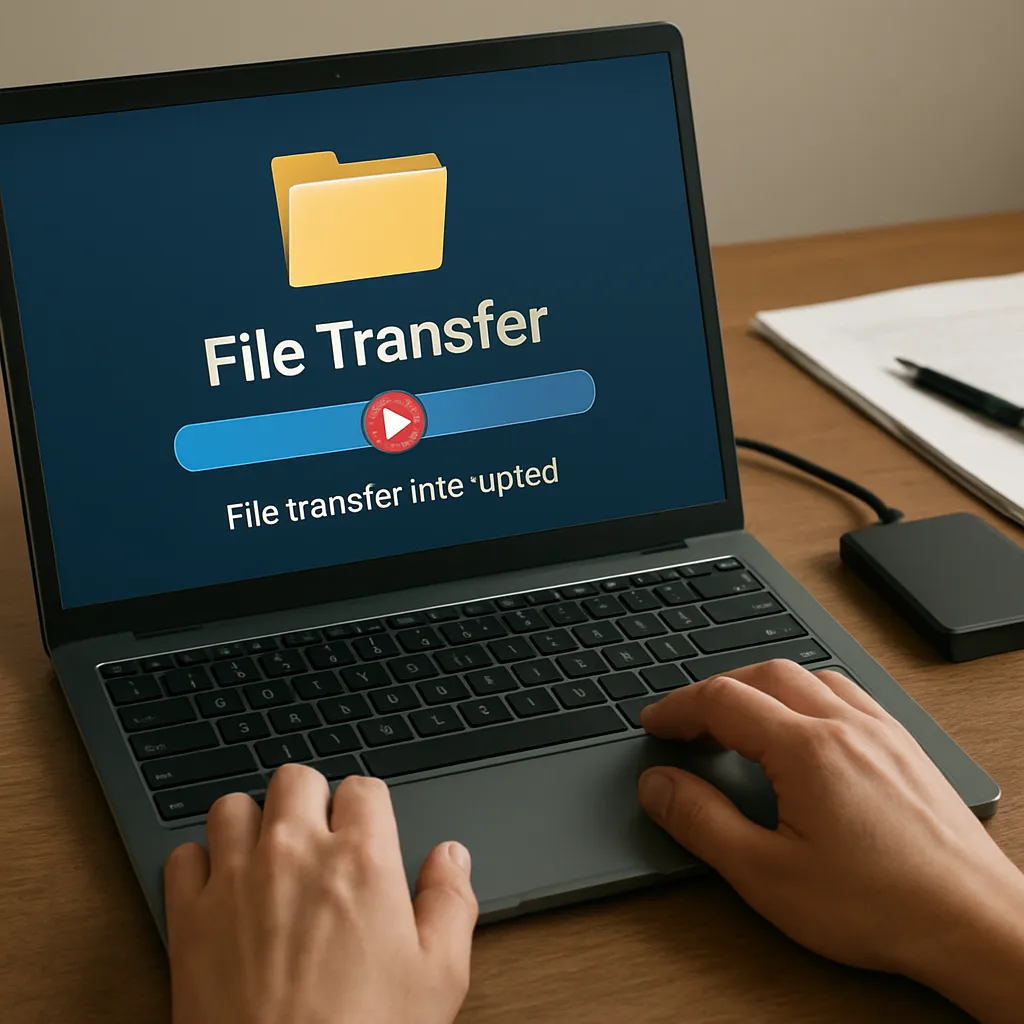
The moment you recognize data loss, refrain from writing any new files or installing software to the affected disk. Additional writes risk overwriting critical sectors that house the original content. Instead, connect the disk as a secondary drive or use a bootable USB environment. This precaution upholds data integrity and maximizes the chances of full recovery.
Step-by-Step Recovery Process
1. Initial Assessment and Disk Imaging
Start by analyzing the affected disk with a diagnostic mode in your chosen recovery tool. Many applications offer a “Disk Health” report or SMART status check to ensure no hardware failure aggravates the partition issues. Next, create a full sector‐by‐sector backup image. This image, stored on a separate target drive, preserves the current state of the disk so you can experiment without risking further damage.
2. Deep Scanning and Partition Reconstruction
Engage the deep scan feature, which traverses the entire disk surface, looking for file signatures and leftover partition records. The software will compile a list of recoverable volumes, often discovered under labels like “Deleted Partition 1” or by approximate sizes. Review the candidate partitions, paying attention to detected file types and directory trees. Then, instruct the tool to reconstruct the chosen partition layout, effectively rewriting the partition table to align with found boundaries.
3. Preview and File Extraction
Before restoring, use the preview function to verify that critical documents—Word files, spreadsheets, photos, or videos—are intact. Once satisfied, select your lost files or folders and specify an output location on a separate drive. Extracting to a different volume prevents inadvertent overwrites on the source disk and ensures a clean recovery environment.
Advanced Features of Recovery Tools
Leading recovery suites often incorporate specialized modules to handle diverse scenarios:
- RAID Reconstruction – Rebuilds multi‐disk arrays by analyzing parity bits and striping patterns.
- RAW File Recovery – Identifies over 500 file types solely by their binary signatures.
- S.M.A.R.T. Monitoring – Tracks drive health metrics in real time to prevent imminent failures.
- Disk Cloning – Creates an exact clone for forensic or repeated recovery attempts without stressing the original.
- Automated Scripts – Schedules regular scans and backups on servers or workstations.
These components accelerate the retrieval of complex data sets, such as Outlook PST files or multimedia archives, which often present fragmented clusters across the disk.
Best Practices to Safeguard Your Data
Minimizing the impact of unintentional partitioning begins long before a crisis:
- Maintain a rigorous backup regimen: leverage both local and cloud solutions to capture full images and incremental changes.
- Label partitions clearly in your operating system to prevent accidental formatting or deletion.
- Employ version control for critical documents, allowing you to roll back to previous iterations if needed.
- Use a reliable partition manager that offers undo functionality before committing changes.
- Regularly monitor disk health metrics and allocate replacement drives well ahead of failure.
By combining preventative measures with proficient recovery software, you can navigate the aftermath of partitioning accidents with confidence and efficiency. The key lies in understanding how each tool interacts with raw disk sectors and mastering the step‐by‐step process to revive your lost content.