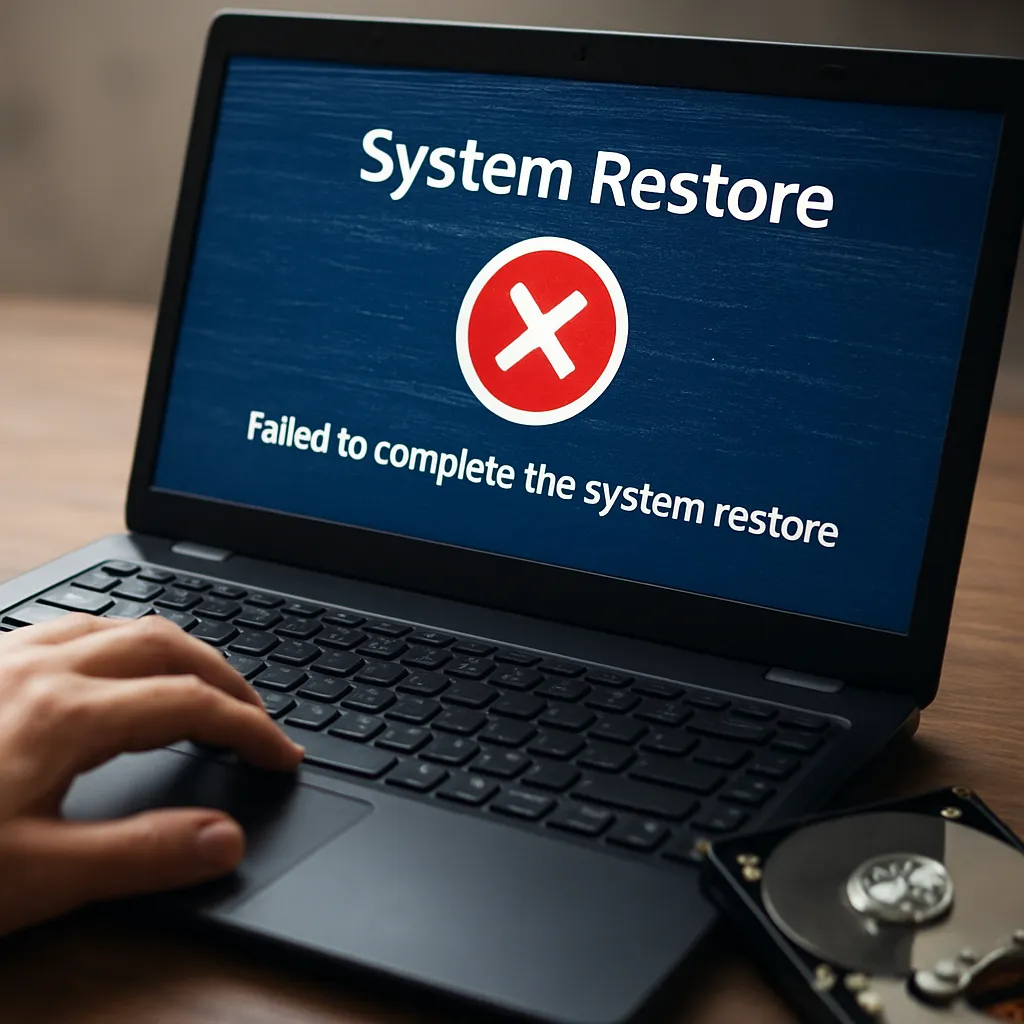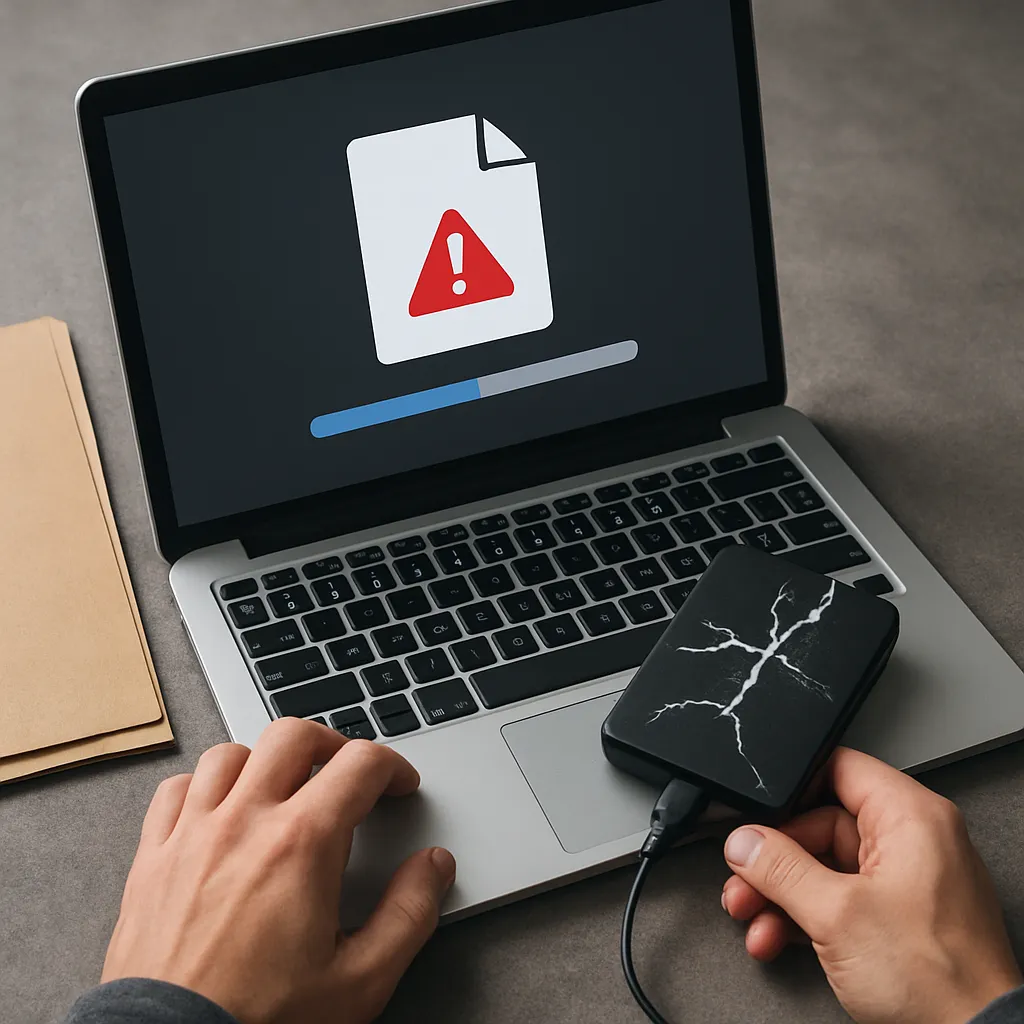
Experiencing a system that refuses to boot can be a daunting scenario, especially when vital documents, irreplaceable photos, or critical work files are at stake. While the black screen of death or looping startup errors may signal a catastrophic hardware failure, more often the underlying issues involve logical inconsistencies within storage media, missing or damaged bootloaders, or file system corruption. By understanding the root of the problem and selecting a suitable recovery strategy, you can retrieve your data without sending your drive off to an expensive data recovery lab.
Understanding Common Boot Failures
Why Your Computer Won’t Boot
Before diving into software tools, it’s essential to pinpoint the likely causes of boot failure. A corrupted operating system file or a malfunctioning bootloader can prevent your PC from even reaching the login screen. In other cases, bad sectors within a specific partition may halt the OS initialization, while BIOS misconfigurations or firmware bugs can also lock you out. Even power irregularities or a loose cable can be the undisclosed culprit.
- Damaged Master Boot Record (MBR) or GUID Partition Table (GPT)
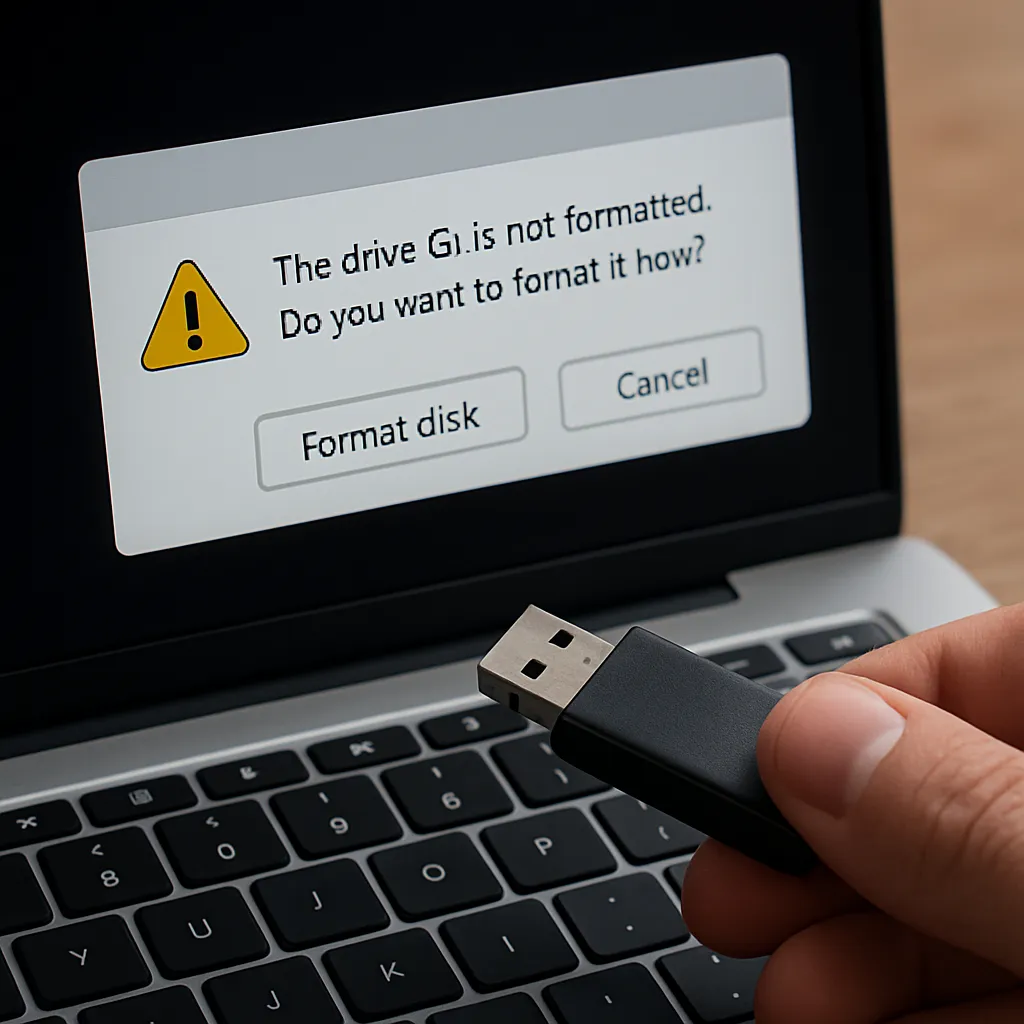
- Filesystem inconsistencies due to improper shutdowns
- Physical media failures: bad sectors or spinning anomalies
- Corrupted system files from malware or interrupted updates
- Misconfigured BIOS/UEFI settings
Assessing Underlying Root Causes
Conducting a preliminary diagnosis will save time and prevent further damage. Start by powering off your computer and re‐seating all cables, RAM sticks, and storage drives. Then, attempt to access the BIOS or UEFI menu; its success indicates that at least the motherboard and CPU remain functional. If the system can detect your storage device but still fails to boot, the problem likely resides at the software or logical layer rather than in hardware. At this stage, prepare a rescue environment—a live USB loaded with diagnostic tools or a Windows/Linux recovery ISO—to gather SMART data, run filesystem checks, and attempt to mount partitions without altering them.
Choosing the Right Recovery Software
Key Features to Look For
When evaluating recovery software, focus on advanced capabilities that address complex scenarios:
- Imaging support – create a sector‐by‐sector clone of your drive to work on a copy and avoid damaging the original media.
- Deep scanning – identify remnants of deleted or lost files even after formatting.
- Cross‐platform compatibility – support for NTFS, FAT32, exFAT, HFS+, Ext4, and other filesystem types.
- Partition management – restore corrupted or lost partitions along with contained data.
- Preview functionality – verify recoverability of photos, documents, and videos before performing the full data recovery.
- Bootable environment – operate directly from a rescue USB without requiring a functioning OS.
- Disk health monitoring – display SMART attributes and warn against imminent drive failures.
Comparing Popular Tools
A variety of reputable solutions cater to different budgets and technical skill levels:
- TestDisk (free, open-source) – excels at restoring lost partitions and rebuilding MBRs; includes PhotoRec for file carving.
- Recuva (freemium) – user-friendly interface designed for quick recovery of accidentally deleted files on Windows.
- R-Studio (professional) – comprehensive recovery toolkit with RAID reconstruction and advanced hex‐level editing.
- EaseUS Data Recovery Wizard (freemium) – guides beginners through a wizard while offering deep scans and preview options.
- Disk Drill (freemium) – cross-platform utility with efficient backup and protection features, including Recovery Vault.
Step-by-Step File Recovery Process
Following a systematic approach ensures you maximize data retrieval while minimizing further risk to your drive.
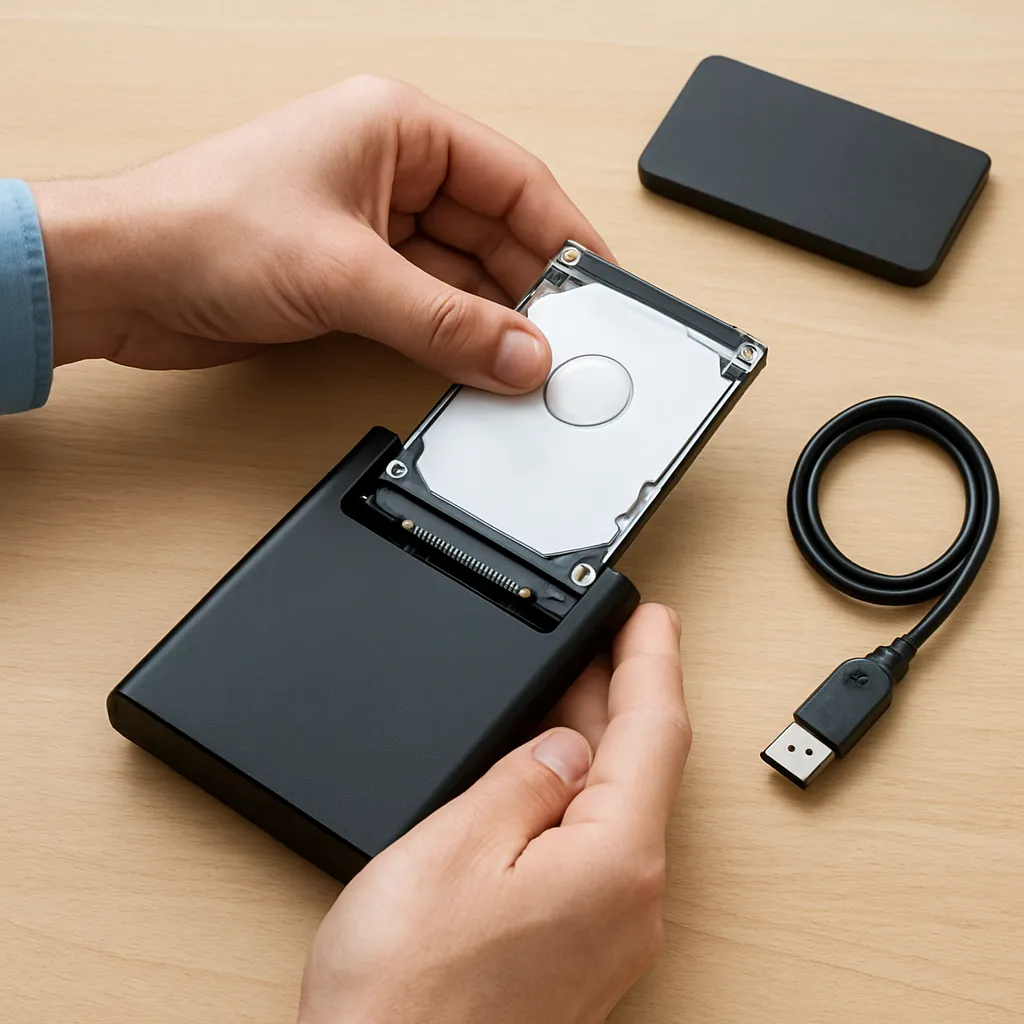
1. Create a Full Drive Image
Never work directly on a failing disk. Employ a tool like ddrescue (Linux) or the imaging module of your recovery software of choice to produce an exact clone. This preserves the original state and allows repeated attempts without wear on the source device.
2. Mount the Image in a Recovery Environment
Use your live USB or a secondary system to attach the disk image. Most recovery programs let you mount a .img or .iso file as a virtual drive, giving you full read-only access to the file system.
3. Perform a Quick Scan
Begin with a superficial scan to identify intact files and directories. This mode is much faster and can often locate all recently deleted items or partially accessible folders.
4. Execute a Deep Scan
If the quick scan fails to find the files you need, switch to a deep or raw recovery. This operation parses unallocated space, searching for known file headers and footers, effectively carving out files piece by piece.
5. Preview and Select Files
Before committing to recovery, preview images, text documents, and spreadsheets. This step avoids cluttering your target drive with unnecessary fragments.
6. Restore to a Different Drive
Always direct recovered files to a separate storage device. Writing back to the same physical disk might overwrite still‐recoverable data and reduce overall success rates.
Advanced Tips and Preventive Measures
Maintaining Drive Health
Proactive monitoring can help you avoid emergency recoveries altogether. Utilize SMART monitoring tools to track attributes like reallocated sector count, spin‐up time, and uncorrectable sectors. If anomalies appear, back up immediately and consider retiring the drive.
Regular Backup Strategies
An ounce of prevention is worth a pound of cure. Establish disciplined backup routines:
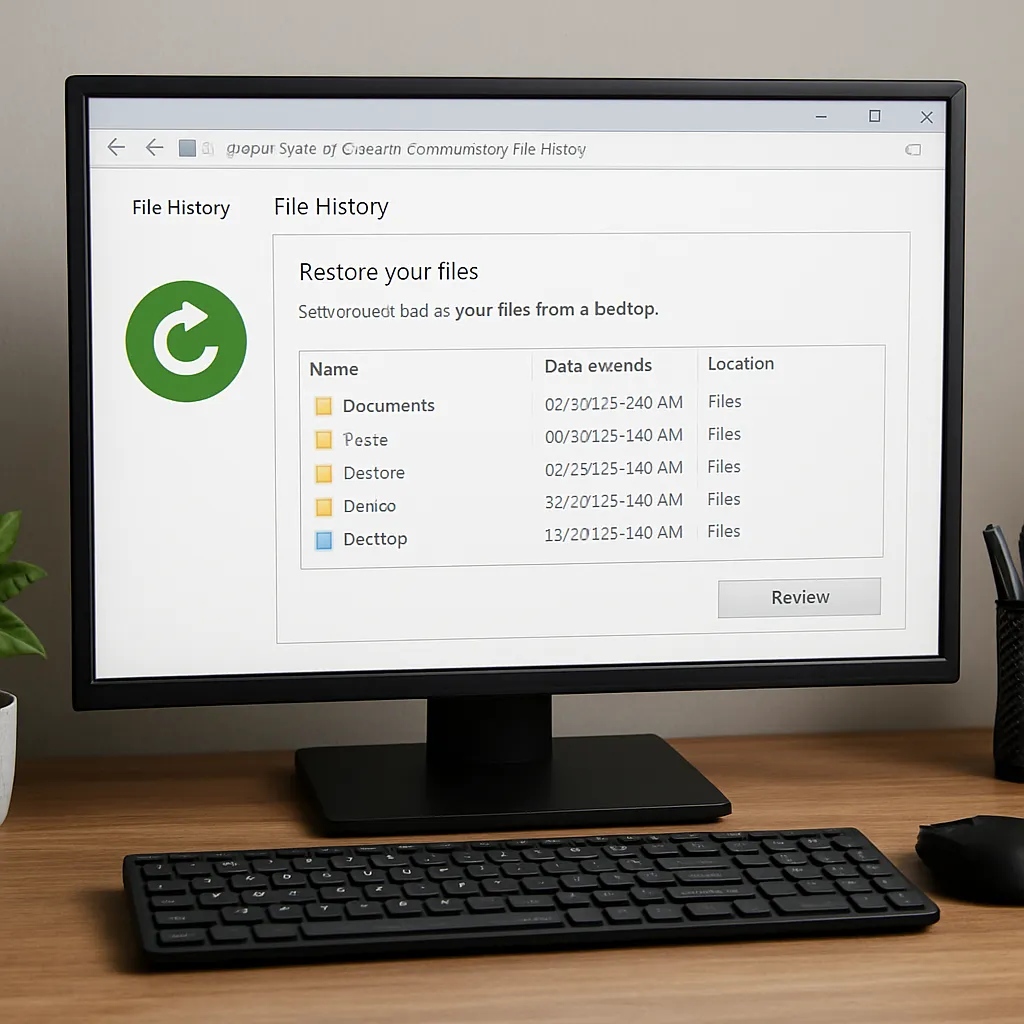
- Automate daily or weekly snapshots using built-in OS utilities or third-party solutions.
- Store backups offsite or in the cloud for protection against physical disasters.
- Keep multiple versions to safeguard against undetected corruption.
Filesystem Integrity Checks
Periodic execution of chkdsk (Windows) or fsck (Linux) maintains filesystem structure. Schedule these scans during low‐usage windows to correct small errors before they escalate.
Secure Wiping and Encryption
For drives reaching retirement, employ secure erase utilities to wipe all data beyond recovery. Conversely, encrypting sensitive partitions with tools like BitLocker or LUKS ensures unauthorized recovery efforts fail even if the drive can be accessed physically.
Understanding When to Seek Professional Help
Software solutions cover the vast majority of logical failures, but catastrophic physical damage—clicking noises, PCB faults, or severe platter scratches—requires laboratory expertise. In such cases, further DIY attempts can worsen conditions, diminishing the chance of a full recovery.