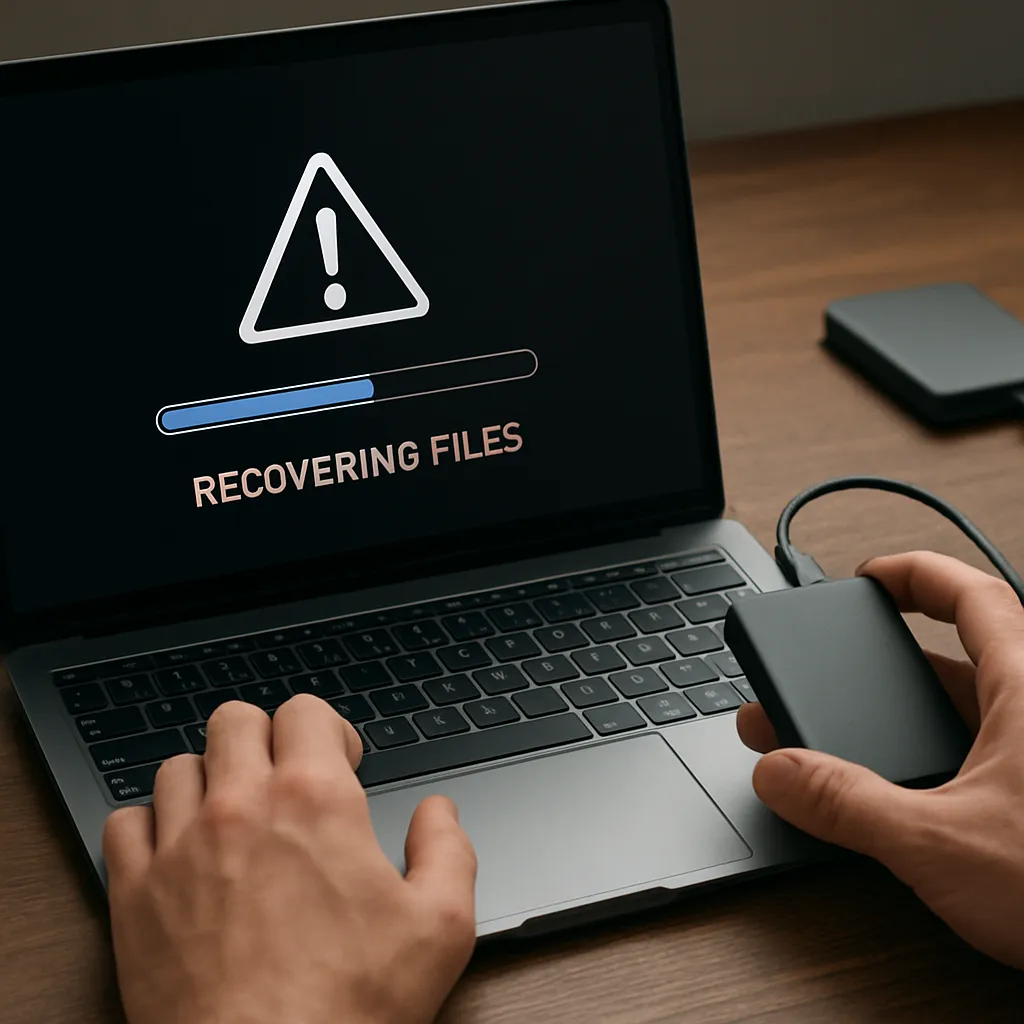
Experiencing a persistent Windows crash loop can be both frustrating and anxiety-inducing, especially if critical files are at stake. This guide provides a comprehensive walkthrough on diagnosing the underlying issues, utilizing specialized recovery software, and implementing preventive strategies to reduce the risk of recurrence. With the right tools and techniques, you can restore access to your valuable data and get your system back to a stable state.
Understanding the Root Causes of a Crash Loop
Before diving into recovery procedures, it’s essential to grasp why Windows might enter a crash loop. Various factors can trigger repeated reboots and system failures, but common culprits include:
- Corruption of system files due to improper shutdown or disk errors
- Faulty or incompatible device drivers
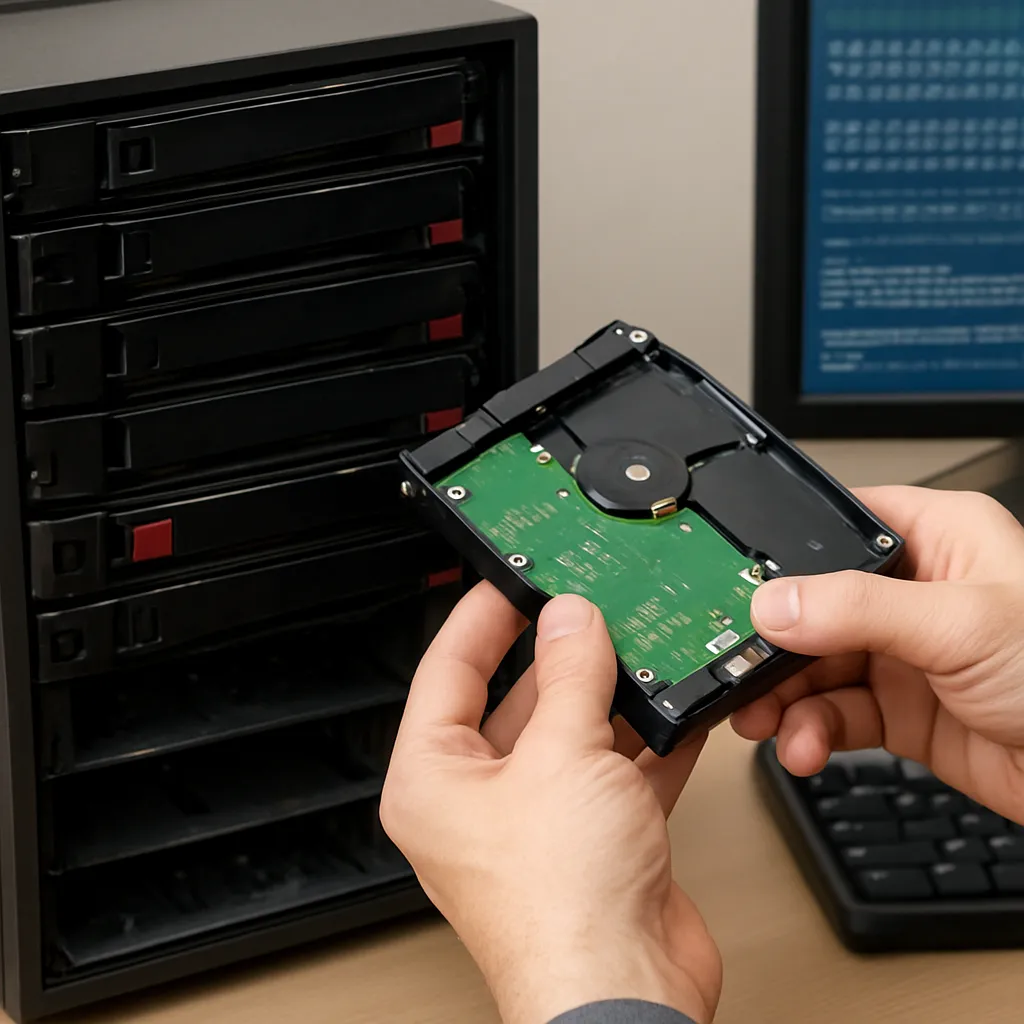
- Hardware issues, such as a failing hard drive or faulty RAM modules
- Third-party software conflicts or recent updates gone awry
- Malware infection that disrupts the boot process
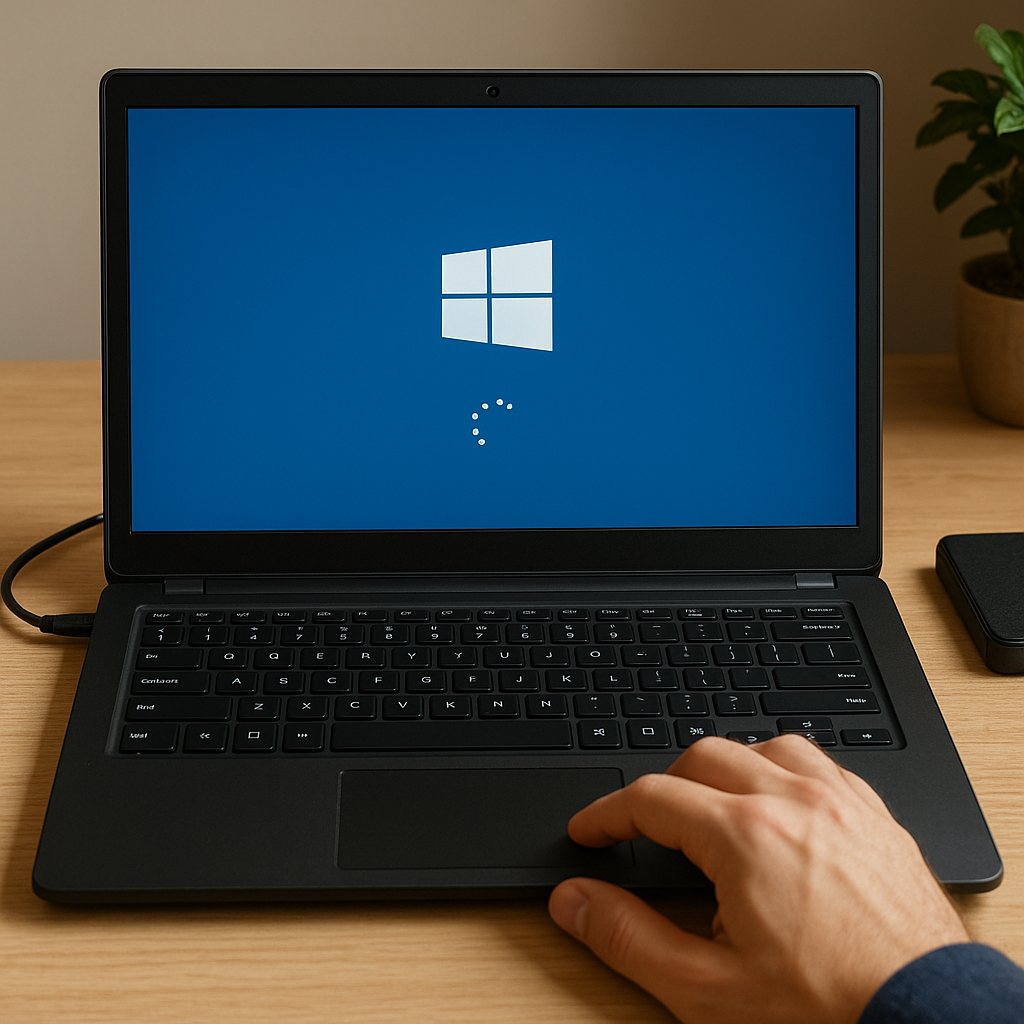
In many cases, Windows may attempt automatic repairs but get stuck repeating the same steps—this loop prevents normal startup and leaves your boot partition inaccessible. Identifying whether the problem originates in hardware or software can save time and guide you to the most effective recovery approach.
Preparing for File Recovery
Successful restoration of lost or inaccessible files relies on careful preparation. Rushing into recovery without assessing the situation can increase the risk of permanent data loss.
Gathering Necessary Tools and Resources
- A reliable recovery utility with support for Windows crash scenarios (for example, a Windows PE–based tool or a vendor-specific solution)
- A secondary computer to download and create a bootable USB drive
- An external storage device with sufficient capacity to store recovered files
- Manufacturer’s documentation or online guides for troubleshooting your specific hardware model
Creating a Bootable Recovery Environment
Most recovery operations require running software outside the primary Windows installation. Follow these steps:
- On a working computer, download the ISO image of your chosen recovery tool.
- Use a utility like Rufus or the built-in Media Creation Tool to write the ISO to a USB drive.
- Ensure the BIOS or UEFI on the affected machine is configured to boot from USB.
- Test the boot media briefly on another system to confirm functionality.
Booting into this environment prevents additional writes to the damaged disk, preserving the current state of files and minimizing the risk of overwriting recoverable data.
Executing Data Recovery Procedures
With the recovery environment ready, you can proceed to recover files systematically.
Disk and File System Analysis
- Launch the recovery tool’s diagnostic module to scan for disk errors and bad sectors.
- Review the partition table; if it’s corrupted or missing, use the tool’s partition recovery feature.
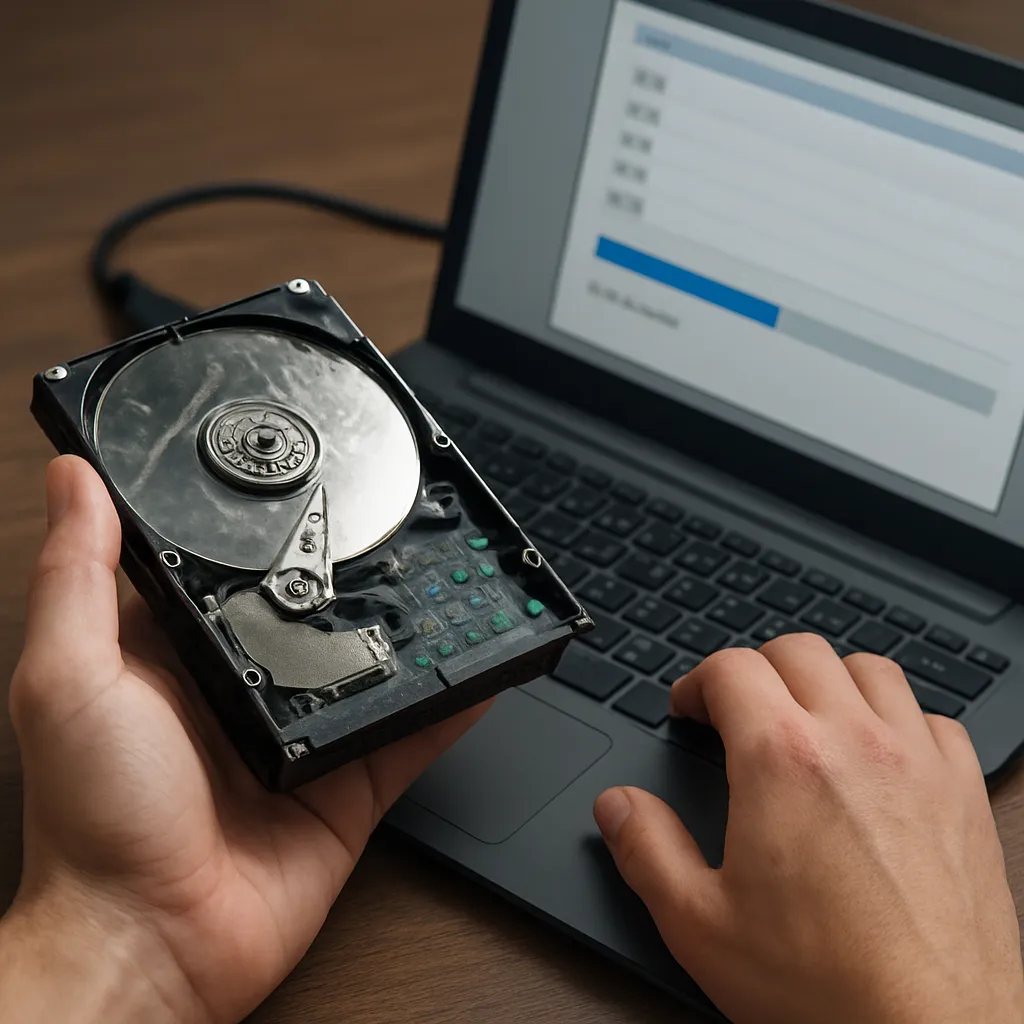
- Perform a deep scan to detect file fragments and deleted data structures.
During scanning, the software indexes found files. Take note of file paths and sizes to evaluate whether the results include all critical documents, photos, or application data.
Selective File Extraction
Instead of recovering every detected file, focus on the most important items first:
- Documents: Word files, spreadsheets, presentations
- Media: Photos, videos, audio recordings
- Archives: ZIP, RAR, ISO images containing backups or projects
- Databases: PST, ACCDB, or other proprietary formats
Use the recover option to copy these files to your external storage. Make sure to maintain the folder structure if it assists with later organization.
Advanced Recovery Techniques
If standard scans fail to locate certain files, explore advanced options:
- Raw Recovery can identify files based on signatures rather than directory listings—useful when file tables are wiped.
- Image Backup creates a sector-by-sector snapshot of the entire disk; you can mount this image later and extract files without risking the original drive.
- RAID Reconstruction features, if working with multi-disk setups, can reassemble a damaged array before file recovery.
Patience is key during in-depth operations. Extensive scans may take hours depending on disk size and damage severity.
Repairing Windows and Restoring System Stability
After salvaging your critical files, focus shifts to repairing Windows to end the crash loop:
System File Checker and DISM
- Boot into Safe Mode or use your recovery environment’s command prompt.
- Run sfc /scannow to detect and replace corrupted system files.
- Use DISM with the /RestoreHealth switch to repair Windows image components.
Driver and Update Management
- Roll back or uninstall recently updated drivers that may be causing conflicts.
- Apply the latest compatible drivers from the hardware vendor’s official website.
- Install Windows updates selectively, avoiding known problematic patches until vendor patches are available.
Clean Boot and Malware Scanning
- Configure a clean boot by disabling non-Microsoft services and startup items via msconfig.
- Perform a full antivirus and anti-malware scan to eliminate hidden threats.
Once stability returns, restart normally and verify that your recovered files remain intact on the external drive before moving them back to the repaired system.
Preventing Future Crash Loops
The best defense against data loss is a proactive strategy. Consider these practices:
- Regular Backups: Implement an automated backup schedule to local NAS or cloud storage.
- System Restore Points: Enable and configure restore points for quick rollback after updates.
- Disk Health Monitoring: Use S.M.A.R.T. analysis and defragmentation tools to maintain drive integrity.
- Reliable Antivirus: Keep real-time protection up-to-date to guard against infections.
- Surge Protection: Protect hardware from power surges, which can corrupt disks during writes.
By combining robust backup routines with regular maintenance, you significantly reduce the odds of encountering debilitating crash loops in the future.