Facing a laptop that refuses to power on can be a nerve-wracking experience, especially if it houses irreplaceable data. While hardware malfunctions might seem catastrophic, a structured approach combined with the right software tools can restore access to your valuable information. This guide delves into essential methods, recommended applications, and practical tips for retrieving files even when your device won’t boot.
Understanding the Root Causes of Startup Failure
Before initiating any recovery procedures, it’s crucial to diagnose why your laptop won’t start. Common culprits range from minor power issues to severe hardware breakdowns. Identifying the underlying cause not only prevents wasted efforts but also helps you choose the most effective strategy for file retrieval.
Power Supply and Battery Problems
- Faulty power adapter: A damaged charger may prevent the system from even powering on.
- Dead battery: Laptops with worn-out cells can fail to boot without a stable power source.
- Internal power circuitry: Shorted or burned motherboard components may cut off electrical flow.
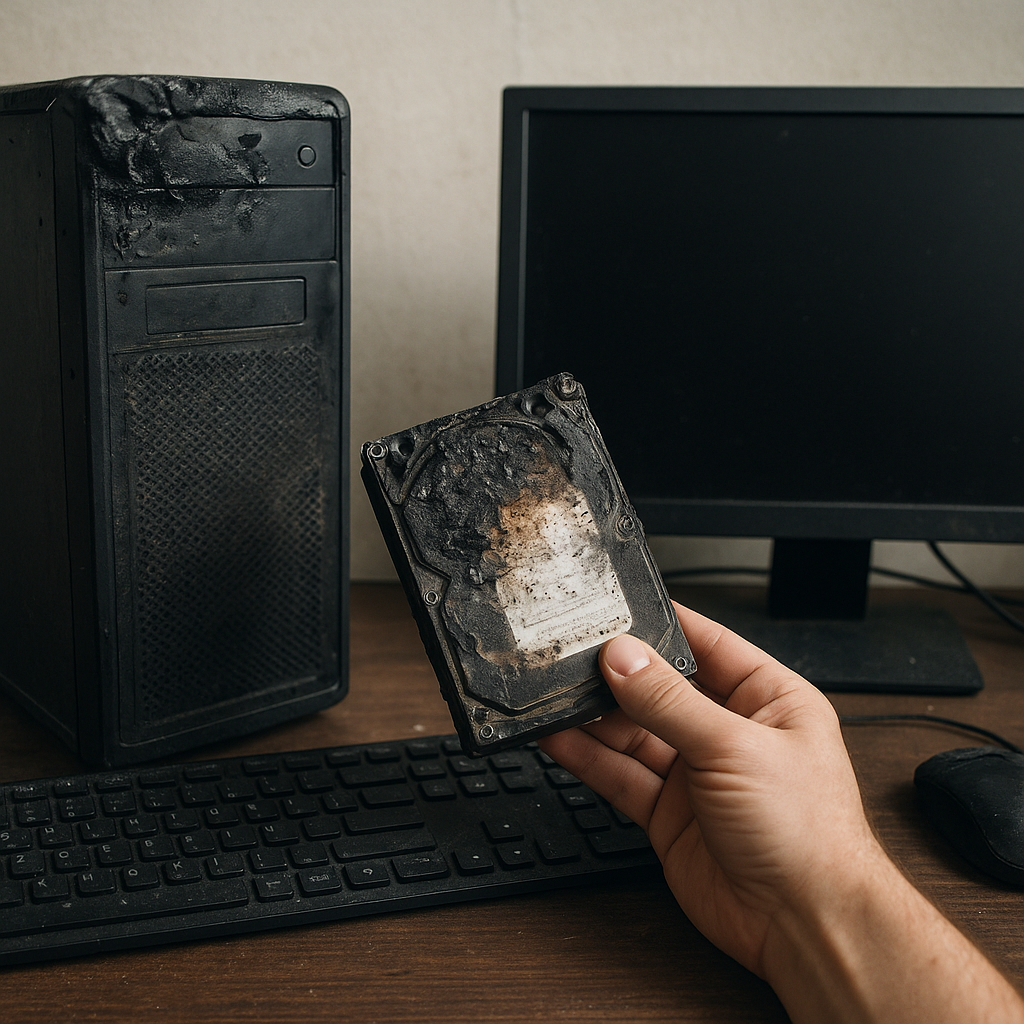
Hard Drive and SSD Failures
- Mechanical HDD wear: Physical degradation, like spindle or head failure, can render data inaccessible.
- SSD controller faults: Logic board issues or firmware corruption may stop solid-state drives from responding.
- Bad sectors and physical damage: Localized defects may lead to file corruption or read errors.
Software and System-Level Errors
- Corrupted bootloader: Missing or damaged Master Boot Record (MBR) prevents proper OS initialization.
- Faulty system updates: Failed patches can break critical startup routines.
- Malware infection: Ransomware or malicious scripts may encrypt files or disable boot processes.
Essential Recovery Tools and Software
Once you’ve pinpointed the failure category, selecting the right toolkit becomes paramount. A reliable combination of bootable environments, diagnostic utilities, and dedicated corrupted file extractors can significantly boost your chances of successful retrieval.
Bootable Rescue Environments
- Linux Live USB: Distributions like Ubuntu or Knoppix allow you to mount internal drives and copy files externally, bypassing Windows boot issues.
- Windows PE (Preinstallation Environment): Microsoft’s lightweight OS can be customized with third-party drivers and tools for forensic access.
- Specialized recovery disks: Tools such as Hiren’s BootCD or Ultimate Boot CD bundle multiple diagnostic and cloning utilities in one package.
Data Recovery Software Suites
- TestDisk & PhotoRec: Open-source solutions effective at repairing damaged partition tables and recovering deleted files.
- Recuva Professional: A user-friendly interface with deep scan modes, making it versatile for both novices and experts.
- R-Studio: Offers advanced options for RAID reconstruction and raw file recovery, ensuring maximum file salvage potential.
- EaseUS Data Recovery Wizard: Simplifies the process with step-by-step wizards; it can handle both HDDs and SSDs while preserving file integrity.
Diagnostic and Cloning Utilities
- CrystalDiskInfo: Monitors SMART attributes to detect failing drives before a complete breakdown.
- ddrescue: A command-line tool for creating raw image backups, skipping unreadable sectors and focusing on recoverable data.
- Clonezilla: Facilitates sector-by-sector cloning, crucial for preserving the current state of a corrupted disk.
Step-by-Step Guide to Data Retrieval
Following a logical sequence of actions minimizes the risk of further damage and maximizes recovery success. The process outlined below can be adapted based on your specific hardware and software environment.
1. Create a Secure Working Environment
- Gather external storage: Use an SSD or high-capacity USB drive to store recovered files.
- Prepare a secondary computer: Install necessary recovery tools and create bootable media.
- Enable write protection: When possible, mount the failing disk in read-only mode to prevent accidental overwrites.
2. Attempt Non-Invasive Access
- Boot from Live USB: Access the Drive using a trusted live OS, then copy visible files to the external storage.
- Check file system health: Run diagnostics commands (e.g., chkdsk for NTFS or fsck for ext-based systems) to repair minor errors.
- Use file managers: Tools like Midnight Commander or Windows Explorer in PE can expose hidden or orphaned files.
3. Image the Disk for Safe Recovery
- Run ddrescue with appropriate parameters: Capture as much readable data as possible while logging bad sectors.
- Verify image integrity: Compare checksums (MD5, SHA-1) before proceeding with software scans.
- Work on the image: Perform all recovery attempts on the cloned copy to preserve the original media.
4. Employ Specialized Recovery Software
- Deep scan for lost partitions: Use tools like TestDisk to rebuild partition tables and access intact data regions.
- Search by file signature: PhotoRec and similar utilities scan raw sectors for recognizable file headers.
- Recover encrypted volumes: If BitLocker or VeraCrypt was in use, supply encrypted volume keys to specialized tools.
Advanced Techniques and Precautions
When basic methods prove insufficient, advanced strategies can tip the balance in your favor. However, they demand a higher level of technical expertise and careful execution.
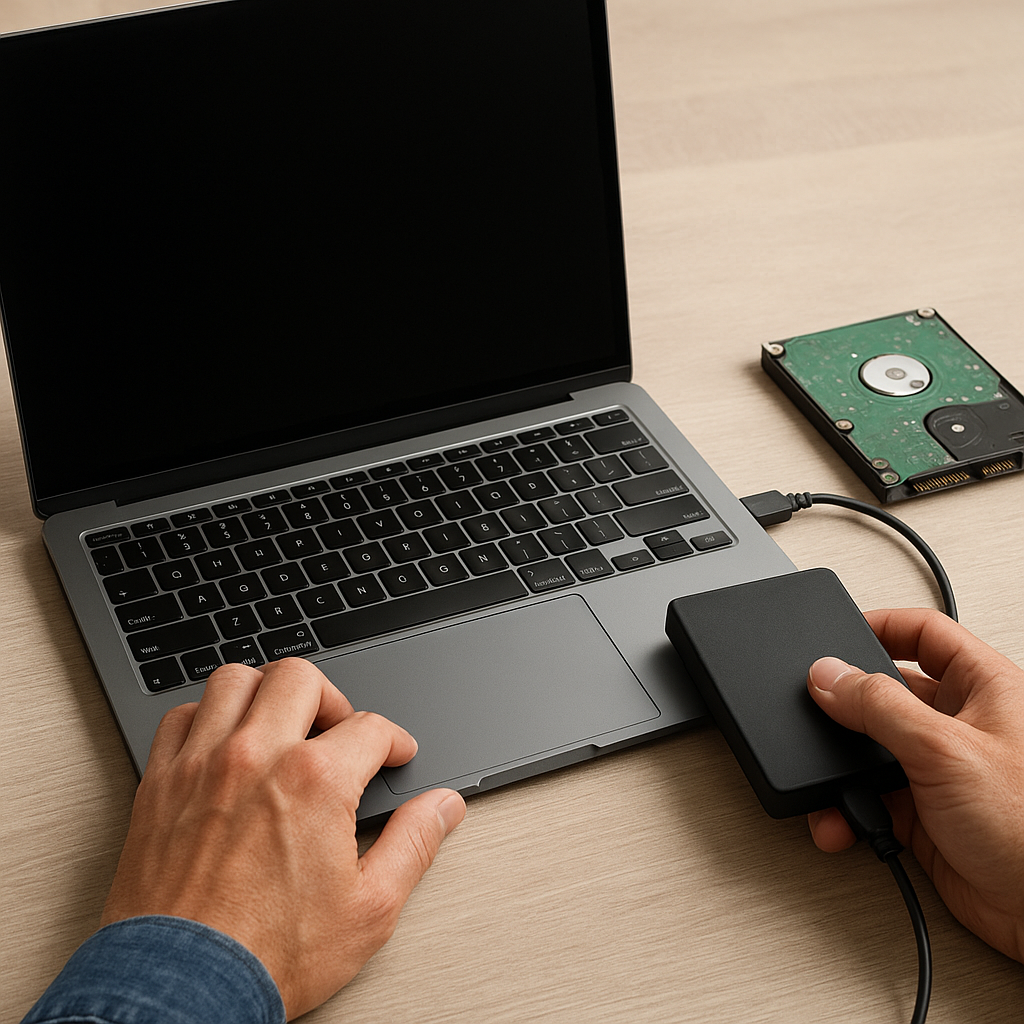
Hot-Swapping and Adapter Methods
- Use a SATA-to-USB adapter: Remove the internal drive and connect it to another system for direct access.
- Employ NVMe risers: For modern laptops with M.2 slots, specialized adapters enable easy interfacing.
- Maintain ESD safety: Always ground yourself to prevent static discharge from damaging sensitive components.
File Carving and Forensics
- Hex editors: Tools like HxD let you examine raw sectors and manually extract file fragments.
- Pattern-based recovery: Carving utilities reconstruct partially overwritten files based on common header/footer patterns.
- Metadata reconstruction: Extract EXIF, NTFS MFT records, or ext journal logs to piece together directory structures.
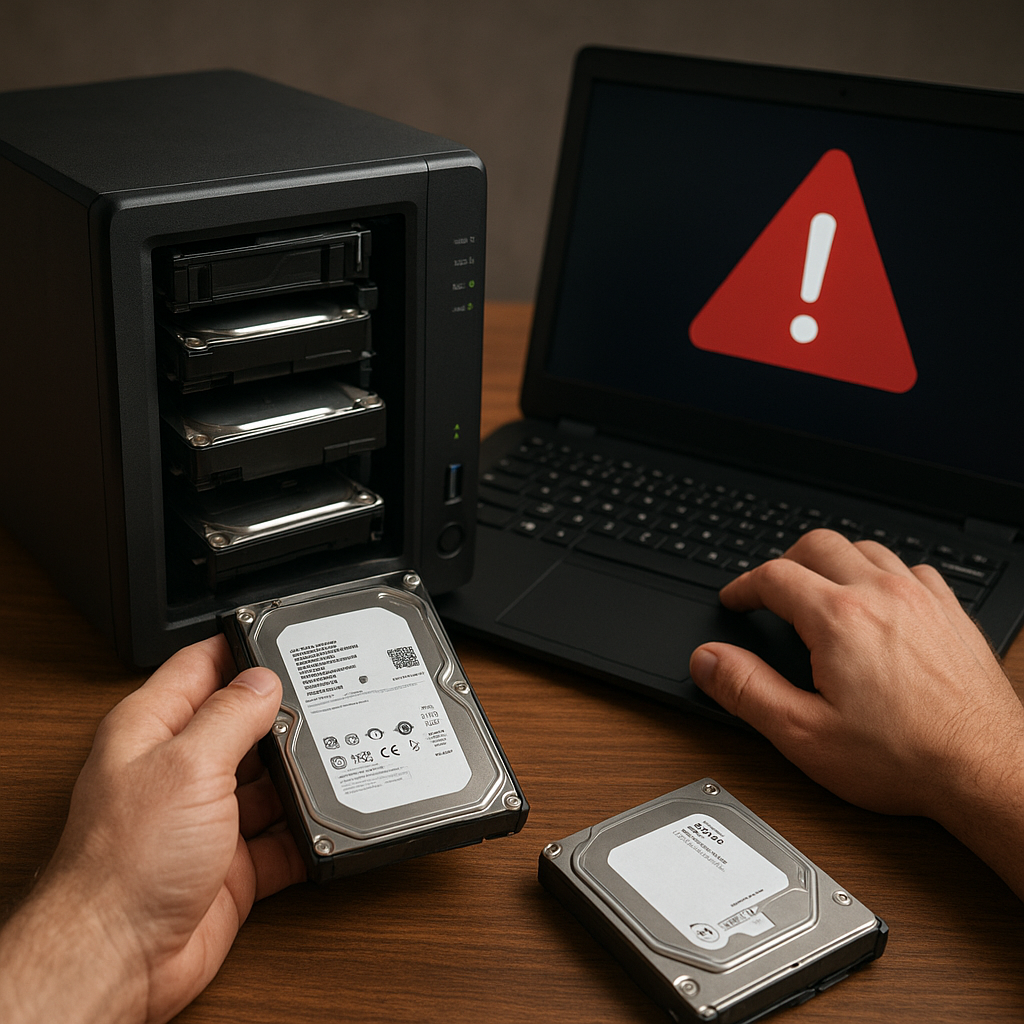
Working with RAID Configurations
- Identify stripe parameters: Determine the block size and disk order before assembling the virtual array.
- Use specialized RAID recovery software: Applications such as UFS Explorer RAID Recovery can automatically detect and reconstruct the setup.
- Verify consistency: Always test the assembled RAID in read-only mode to avoid unintended writes.
Maintaining Data Security and Privacy
- Isolate sensitive drives: Keep encryption keys and passwords confidential to prevent unauthorized access.
- Clean up temporary files: Remove any leftover recovery artifacts that may contain private information.
- Use secure deletion: For obsolete data, employ tools supporting DoD-standard overwrites to eliminate residual traces.
Retrieving files from a laptop that won’t start can be a demanding endeavor, but leveraging the right combination of reliable hardware adapters, bootable environments, and specialized software dramatically improves success rates. By following a structured methodology—starting with diagnosis, moving to safe imaging, and concluding with targeted recovery—you maximize your chances of restoring critical information without causing additional harm.