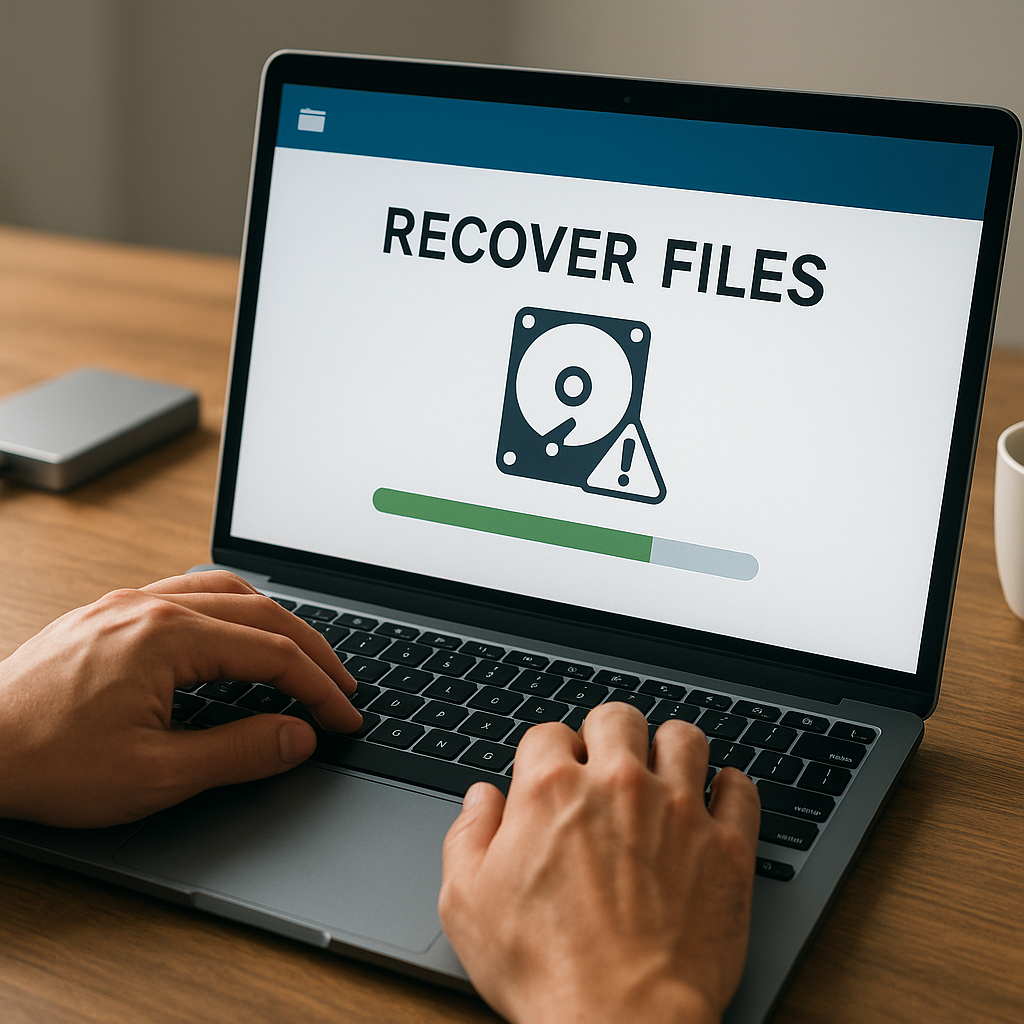
Accidentally formatting a storage device can feel like a nightmare scenario for anyone who values their digital content. Whether it’s cherished family photos, critical project documents, or essential business records, losing access to these files due to an unintended format operation can be devastating. Fortunately, modern recovery solutions offer robust tools that make it possible to restore lost data even after a severe mishap. This article will guide you through the underlying mechanisms of formatting, help you select the most suitable recovery software, walk you through the step-by-step retrieval process, and share essential best practices to prevent future losses.
Understanding the Risks of Accidental Formatting
What Actually Happens When You Format?
When a drive undergoes formatting, its file system metadata is typically wiped or reinitialized, making the operating system believe the disk is empty. In reality, most of the data remains intact on the storage medium until it gets overwritten by new files. This is why prompt action and avoiding further write operations are crucial for successful file recovery. Formatting does not physically erase every bit; it merely resets pointers in the partition table and marks the disk space as available.
Common Scenarios Leading to Data Loss
There are several ways users might inadvertently trigger a format:
- Human error during disk management tasks
- Using the wrong drive letter when prompted
- Software glitches or firmware crashes
- Accidental confirmation of a prompt without reading details
In each of these situations, understanding the window of opportunity before new data overwrites the old is key to restoring your files successfully.
Evaluating and Selecting the Best Recovery Software
Key Features to Look For
- Advanced scanning algorithms that detect trace fragments of formatted partitions
- A clear user-friendly interface that guides you through each step
- Support for multiple file types, from documents to multimedia
- Built-in preview functionality to verify recoverable files before restoration
- Options for both quick and deep scan modes
By choosing a tool with these capabilities, you increase the likelihood of retrieving intact files quickly and efficiently.
Free versus Commercial Solutions
While many free utilities can handle basic recovery tasks, they often impose limits on the size or number of files you can restore without upgrading. Commercial packages usually provide:
- Unlimited data recovery quotas
- Priority customer support
- Regular software updates tailored to the latest storage technologies
For casual users with minimal data at stake, a free tool might suffice. However, businesses and professionals managing critical information should invest in a full-featured commercial option to ensure comprehensive protection.
Executing the File Recovery Process
Step 1: Stop Using the Affected Drive
Immediately cease all write operations on the formatted volume. Every new file or system update risks overwriting the very sectors that hold your lost data. Detach or unmount the drive if possible, and avoid installing recovery software directly onto it.
Step 2: Run an Initial Scan
Launch your chosen recovery application and select the formatted drive for analysis. An initial or quick scan often identifies recently deleted files by scanning directory entries and file headers. If your files don’t appear in this pass, proceed to a more thorough advanced scanning session.
Step 3: Perform a Deep Scan of the Partition Table
Deep scans examine the raw disk surface sector by sector, reconstructing lost partition table records and rebuilding file fragments. This process can take longer but yields significantly better results, especially after a full format.
Step 4: Preview and Select Files for Recovery
Once the scan completes, leverage the software’s preview pane to confirm file integrity. Check image thumbnails, document snippets, or audio previews to ensure recoveries aren’t corrupted. Mark the essential files for restoration.
Step 5: Recover to a Separate Destination
Always restore recovered files to a different drive or partition than the one you’re recovering from. Directing output to the source disk can cause irreversible overwrites, jeopardizing further recovery efforts.
Preventive Measures and Best Practices
Implementing Regular Backup Strategies
A robust backup plan is your best defense against data loss. Consider:
- Automated daily backups to local NAS or external drives
- Cloud synchronization services for off-site redundancy
- Versioning systems that keep prior file states for rollback
By combining local and remote backups, you ensure continuous protection against hardware failures, accidental formats, or malware attacks.
Maintaining Data Integrity Over Time
Periodically verify the health of your backups and run checksum validations. Checking file hashes against original versions confirms that your archives haven’t degraded. This proactive approach helps spot emerging issues before they escalate into full-blown data loss situations.
Educating Users to Avoid Accidental Format
Simple measures like labeling drives clearly, disabling quick-format defaults, and training team members on safe disk management can drastically reduce human errors. Establishing standardized operating procedures ensures everyone follows consistent practices when handling storage devices.


