Recovering files from a failed RAID 5 array can be a daunting task, especially when critical business or personal data hangs in the balance. Understanding the underlying architecture, common failure scenarios, and the right tools is essential to maximize the chances of a successful retrieval. This article explores key concepts, failure causes, and a detailed recovery workflow using specialized recovery software and best practices.
Understanding RAID 5 Architecture
RAID 5 is popular for its balance of performance, capacity, and fault tolerance. It uses block-level striping with distributed parity, meaning data and parity information are spread across all member disks.
- Striping: Data blocks are split and written sequentially across disks, improving read/write speeds.
- Distributed Parity: Parity blocks rotate among disks; any single disk failure can be tolerated because parity allows reconstruction.
- Fault Tolerance: The array continues operating in degraded mode if one drive fails, but performance may degrade.
In a typical four-disk RAID 5, if disk 2 fails, the remaining disks plus parity on disks 1, 3, and 4 can rebuild the lost data. This resilience hinges on maintaining consistent parity calculations and avoiding multiple concurrent failures.
Common Causes of RAID 5 Failures
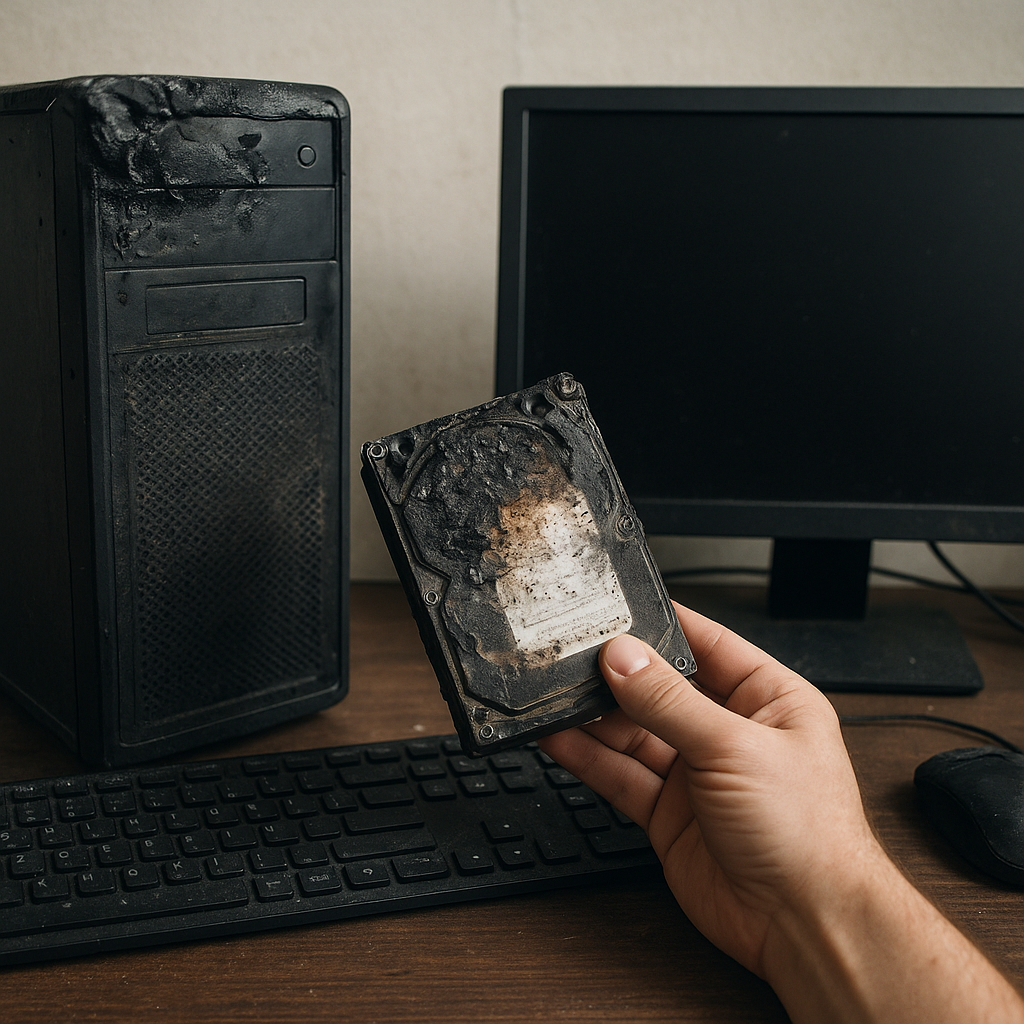
Even with built-in fault tolerance, RAID 5 arrays can still suffer catastrophic failures. Understanding root causes guides appropriate recovery strategies.
- Disk Failure: Physical drive faults due to manufacturing defects or wear-out.
- Controller Malfunction: RAID controller firmware bugs or hardware malfunctions leading to array corruption.
- Rebuild Errors: Incorrect rebuild after replacing a failed drive; mismatched parameters can corrupt parity.
- Accidental Deletion or Formatting: Logical errors from user mistakes or malicious software.
- Multiple Drive Failures: More than one disk failing before a rebuild completes can exceed RAID 5’s fault tolerance.
- Power Outages: Sudden power loss mid-write leading to inconsistent parity and metadata damage.
Identifying the specific failure mode helps decide whether to attempt a software-based recovery, consult a professional lab, or replace hardware components first.
Essential Preparation Before Recovery
Pre-recovery steps are critical to preserve existing data and reduce risk of further damage:
- Document Configuration: Note the number of drives, order, stripe size, and RAID controller settings.
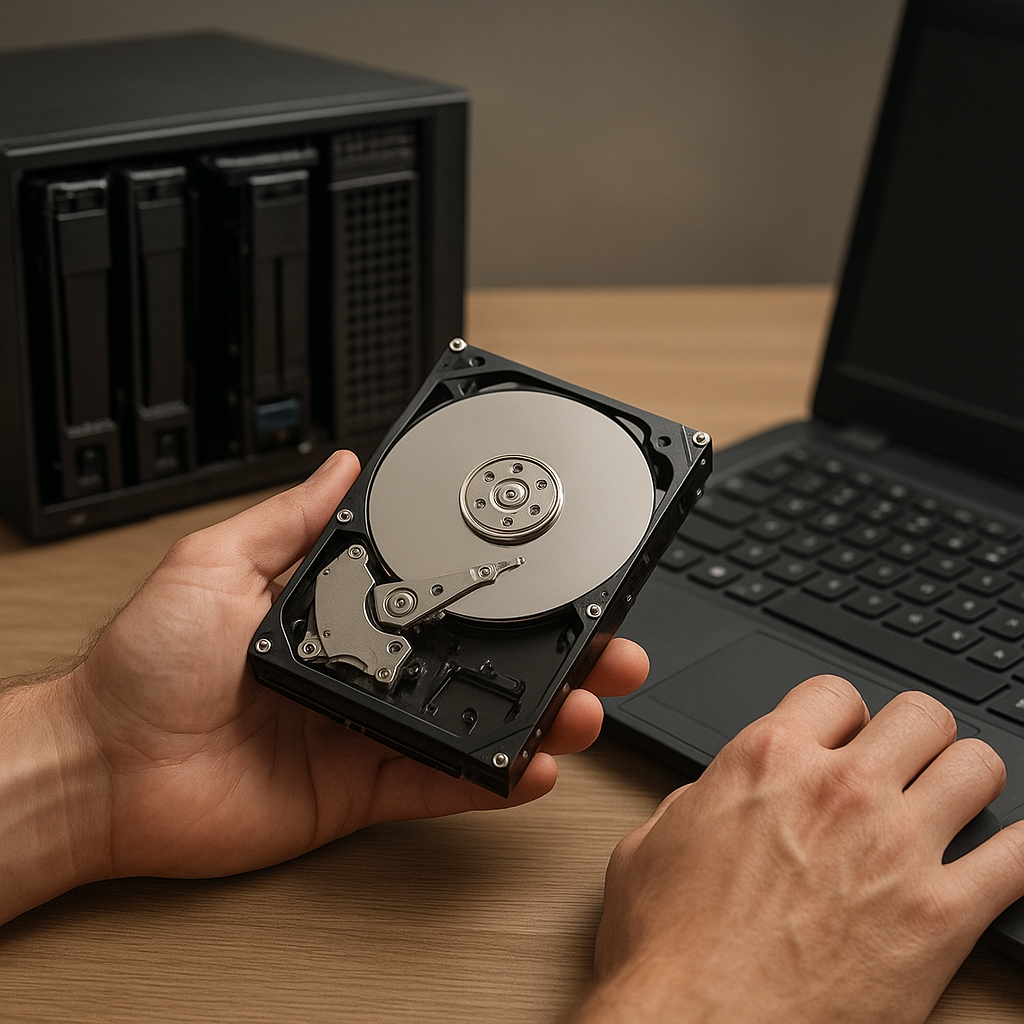
- Clone Disks: Create sector-by-sector images using tools like ddrescue to avoid working on original media.
- Set Up a Safe Environment: Use a separate recovery workstation with sufficient storage.
- Verify Checksums: Ensure disk images are consistent copies by comparing checksums.
- Disable Automatic Rebuild: Prevent accidental array initialization by the controller.
Strategies for Recovering Data from a Failed RAID 5
Two main approaches dominate RAID 5 recovery: hardware-assisted and software-based methods.
Hardware-Assisted Recovery
- Replace faulty disks with identical models, then allow the RAID controller to rebuild the array automatically.
- Ensure firmware versions match and striping/parity settings are identical.
- Use manufacturer-provided utilities or professional RAID recovery labs if the controller is malfunctioning.
Software-Based Recovery
- Employ specialized recovery software capable of recognizing RAID parameters and reconstructing the array virtually.
- Common tools include R-Studio, UFS Explorer, ReclaiMe Free RAID Recovery, and TestDisk.
- Software methods can handle logical corruption, missing partitions, and accidental formatting without needing original RAID hardware.
Software recovery is often more cost-effective but requires careful configuration of stripe size, disk order, and parity rotation.
Step-by-Step Guide to Recovering a RAID 5 Array
This workflow focuses on software-based recovery after physical drives have been imaged.
1. Assemble Disk Images
- Mount cloned images on the recovery workstation using loop devices or disk management software.
- Verify that all images are accessible and check each for read errors.
2. Identify RAID Parameters
- Determine stripe size (commonly 64 KB or 128 KB) from documentation or by inspecting byte patterns.
- Establish disk order by examining metadata headers or using trial and error in recovery software.
- Confirm parity rotation schema (left-symmetric, right-asymmetric, etc.).
3. Configure the Virtual RAID
- Launch your chosen recovery application and select the RAID reconstruction module.
- Input stripe size, disk order, and parity rotation.
- Perform a virtual rebuild to validate configuration before data extraction.
4. Scan the Reconstructed Volume
- Run a filesystem scan (NTFS, Ext4, HFS+, etc.) to locate partitions and file structures.
- Utilize deep scan or signature analysis to recover deleted or fragmented files.
- Preview recoverable files to assess integrity and completeness.
5. Recover and Export Files
- Select target files and folders, then choose a recovery destination on a different storage medium.
- Monitor the recovery process, noting any read errors or skipped sectors.
- Reconstruct directory trees and rename files as needed to avoid conflicts.
Advanced Considerations and Best Practices
For complex failures or large-scale environments, additional steps can improve outcomes:
- Use Checksums and Hashes: Validate recovered file integrity against known hashes.
- Parallelize Scans: On multi-core systems, run multiple recovery threads to speed up deep scanning.
- Monitor SMART Data: Evaluate remaining disk health to preempt further failures.
- Keep Software Updated: Ensure recovery tools support the latest RAID controller models and filesystems.
- Engage Professionals When Needed: If parity data or metadata is corrupted beyond repair, consider a specialist RAID recovery lab.
Implementing robust backup policies, such as 3-2-1 (three copies, two different media, one off-site), can prevent urgent data recovery scenarios.