Experiencing a sudden crash on a Linux system often means facing the daunting challenge of retrieving critical files before they vanish forever. Whether due to corrupted partitions, accidental formatting or hardware failure, having a clear plan for data recovery can save hours of frustration and prevent permanent data loss. This guide explores proven methods and tools to recover files from a crashed Linux environment, diving into diagnostics, imaging techniques, and specialized recovery utilities.
Understanding Filesystem Corruption and Disk Failures
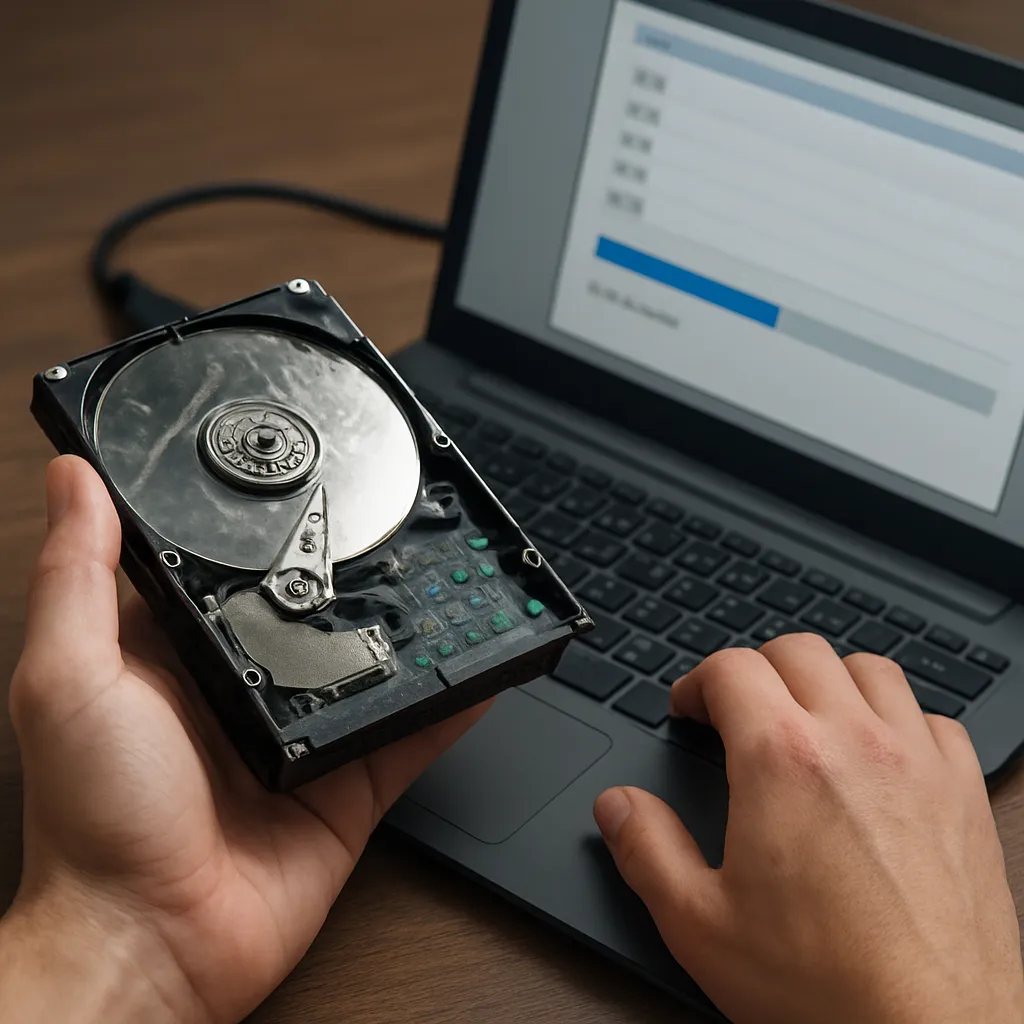
When a Linux system crashes, the underlying filesystem may suffer from structural damage. Journaling filesystems like ext4 or XFS often recover gracefully from unexpected shutdowns, but severe hardware issues or logical errors can lead to metadata loss, making file tables inaccessible. Key factors leading to crashes include:
- Power outages or improper shutdowns disrupting write operations
- Bad sectors or physical damage on HDDs or SSDs
- Faulty hardware components such as RAM or motherboard
- Software bugs or kernel panics causing abrupt system halts
Before attempting recovery, gathering diagnostics is crucial. Boot a live Linux distribution and inspect system logs (e.g., /var/log/syslog or dmesg) to spot disk I/O errors or kernel messages pointing to failing devices. Checking SMART attributes with smartctl provides insights into disk integrity and potential head or sector failures.
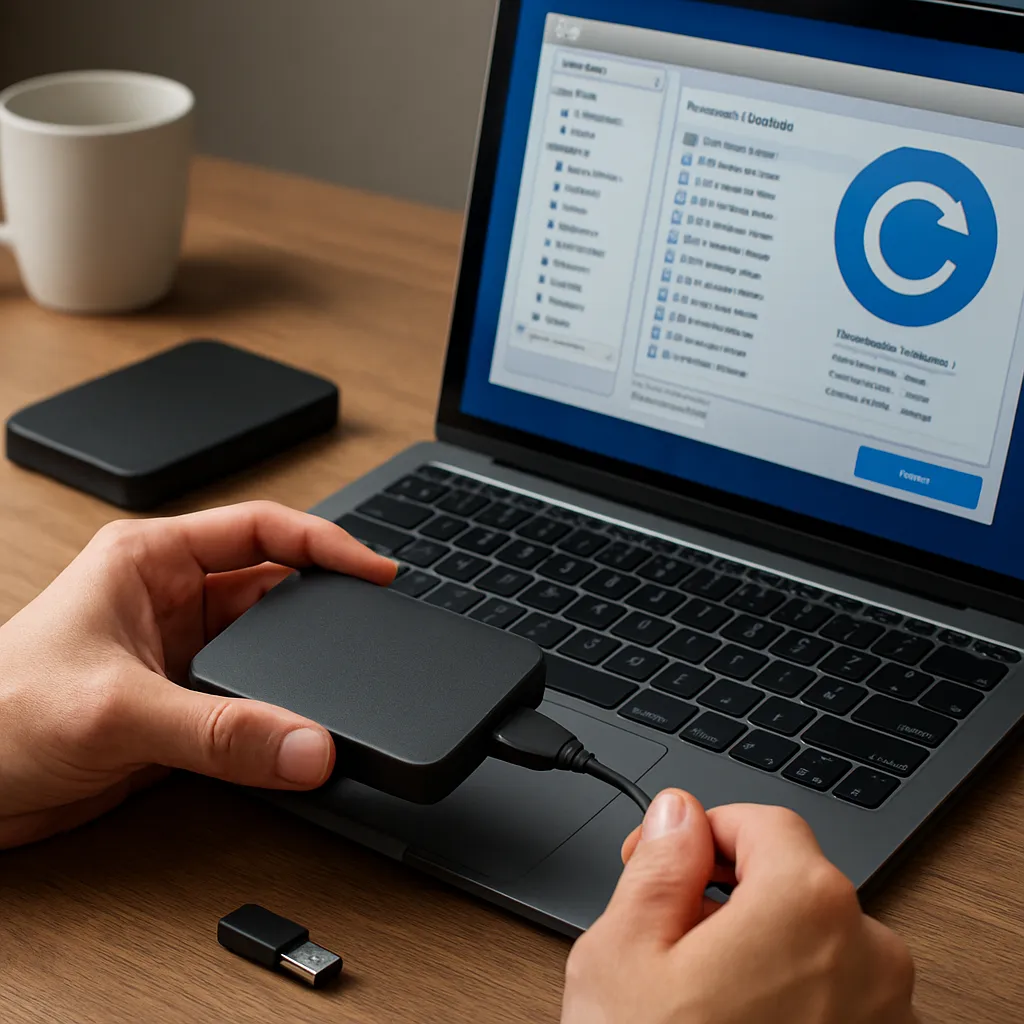
Creating a Disk Image and Writing-Protected Environment
Attempting repairs directly on the damaged drive risks further data corruption. Instead, build a byte-for-byte disk image in a write-protected environment. Follow these steps:
- Boot from a trusted live CD or USB, ensuring no automatic fstab mounts.
- Identify the source drive with commands like lsblk or fdisk -l.
- Use ddrescue to clone the drive:
- ddrescue -f -n /dev/sdX /mnt/backup/image.img /mnt/backup/logs.txt
- Monitor the logfile for unreadable sectors, then rerun ddrescue with retry parameters.
This approach preserves the original media and creates a safe working copy. Always mount your image read-only:
- losetup /dev/loop0 /mnt/backup/image.img
- mount -o ro /dev/loop0 /mnt/recovery
Partition Recovery with TestDisk
TestDisk is a powerful open-source utility designed to locate lost partitions and rebuild boot sectors. It supports a variety of filesystems, including NTFS, FAT32, ext2/3/4 and more. To begin:
- Install TestDisk: apt-get install testdisk (on Debian-based systems).
- Run testdisk with root privileges: sudo testdisk /mnt/backup/image.img
- Select “Proceed” and choose the appropriate partition table type (usually Intel/PC).
- Opt for “Analyse” to scan for existing and deleted partitions.
- Review the detected partitions; press “P” to list files within a highlighted partition.
- Use the “Write” command to restore the partition table if the structure matches expectations.
Once partitions reappear, mount them under a designated recovery folder and copy crucial files. If TestDisk repairs boot sectors, the cloned image may even become bootable again.
Recovering Specific Files with PhotoRec
PhotoRec specializes in carving individual files from damaged media by scanning for known file signatures. It ignores filesystem metadata, making it ideal when directory structures are lost. Steps for usage:
- Launch PhotoRec: sudo photorec /mnt/backup/image.img
- Choose the partition or whole disk container to scan.
- Select file types to recover or leave default to scan all supported formats (images, documents, videos).
- Set an output directory on a separate drive to prevent overwriting.
- Start the recovery and monitor progress. Recovered files are saved sequentially with generic names.
The tool may generate thousands of items, so sorting and filtering by extensions or date metadata will streamline locating vital documents.
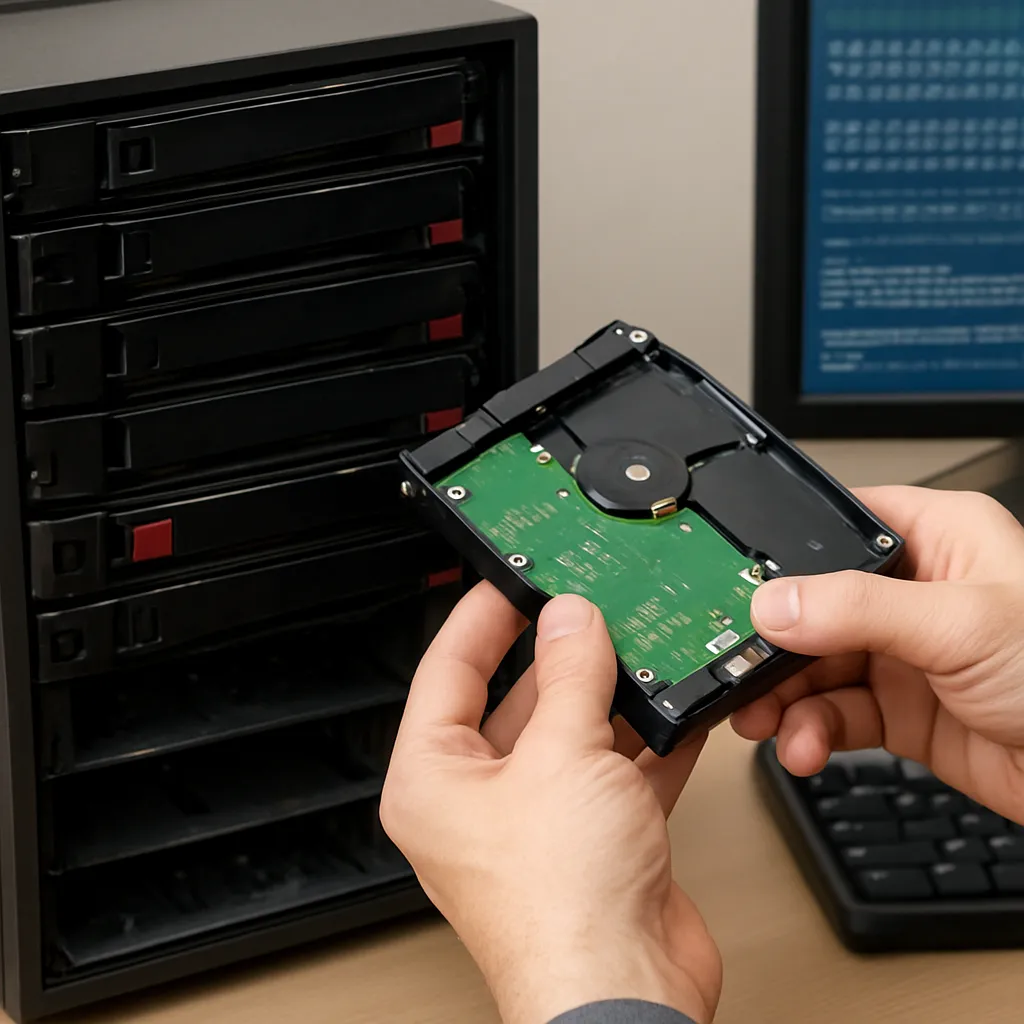
Advanced Techniques: LVM and RAID Recovery
Custom storage configurations introduce additional complexity. For systems using LVM (Logical Volume Manager) or RAID, follow these guidelines:
- LVM: Activate logical volumes in the image:
- pvscan – Perfoms physical volume scan on the image.
- vgscan and vgchange –ay – to activate volume groups.
- lvdisplay – to locate logical volumes and mount them read-only.
- Software RAID: Assemble arrays from the disk image’s partitions:
- mdadm –assemble –run /dev/md0 /dev/loop0p1 /dev/loop0p2
- Mount /dev/md0 to access RAID contents.
Success relies on reconstructing the storage topology exactly as it was, so refer to configuration files (/etc/mdadm/mdadm.conf and /etc/lvm)
Best Practices and Preventive Measures
While recovery tools can salvage data, prevention remains the most effective strategy. Implement these backups and monitoring tactics:
- Regularly schedule full and incremental backups using tools like rsync or BorgBackup.
- Enable SMART monitoring with smartd and set up email alerts for failing attributes.
- Employ RAID configurations or LVM snapshots for real-time redundancy.
- Maintain off-site or cloud backups to guard against physical disasters.
- Test restore procedures periodically to ensure backups remain verifiable.
By combining robust backup routines with prompt diagnostics and the right recovery utilities, you can navigate even the most severe Linux system failures with confidence.