Recovering files from a laptop after a motherboard failure can be a daunting task, but with the right approach and tools, you can restore your precious data without significant stress. This guide explores hardware assessment, safe extraction techniques, top software solutions, and proactive measures to maintain data integrity in the future.
Identifying Failure and Assessing Data Risk
Common Symptoms of Faulty Motherboard
- Persistent boot loops or no power at all
- Random shutdowns or blue screen errors
- Burnt smell or visible capacitor damage
- USB ports, keyboard, or trackpad unresponsive
Before jumping into recovery steps, confirm that the issue lies with the motherboard rather than the hard drive or power adapter. Attempt powering on your laptop with minimal peripherals attached and observe LED indicators or beep codes.
Evaluating Hard Drive Health
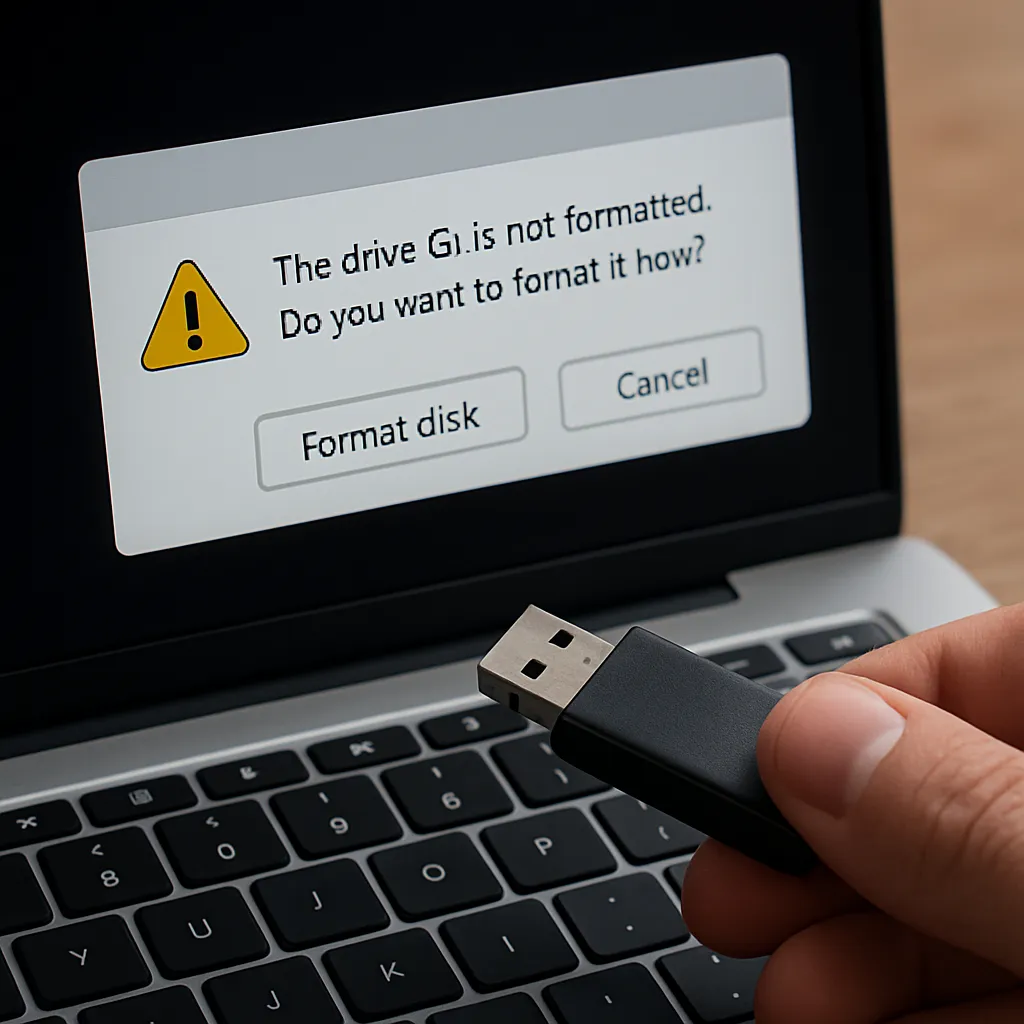
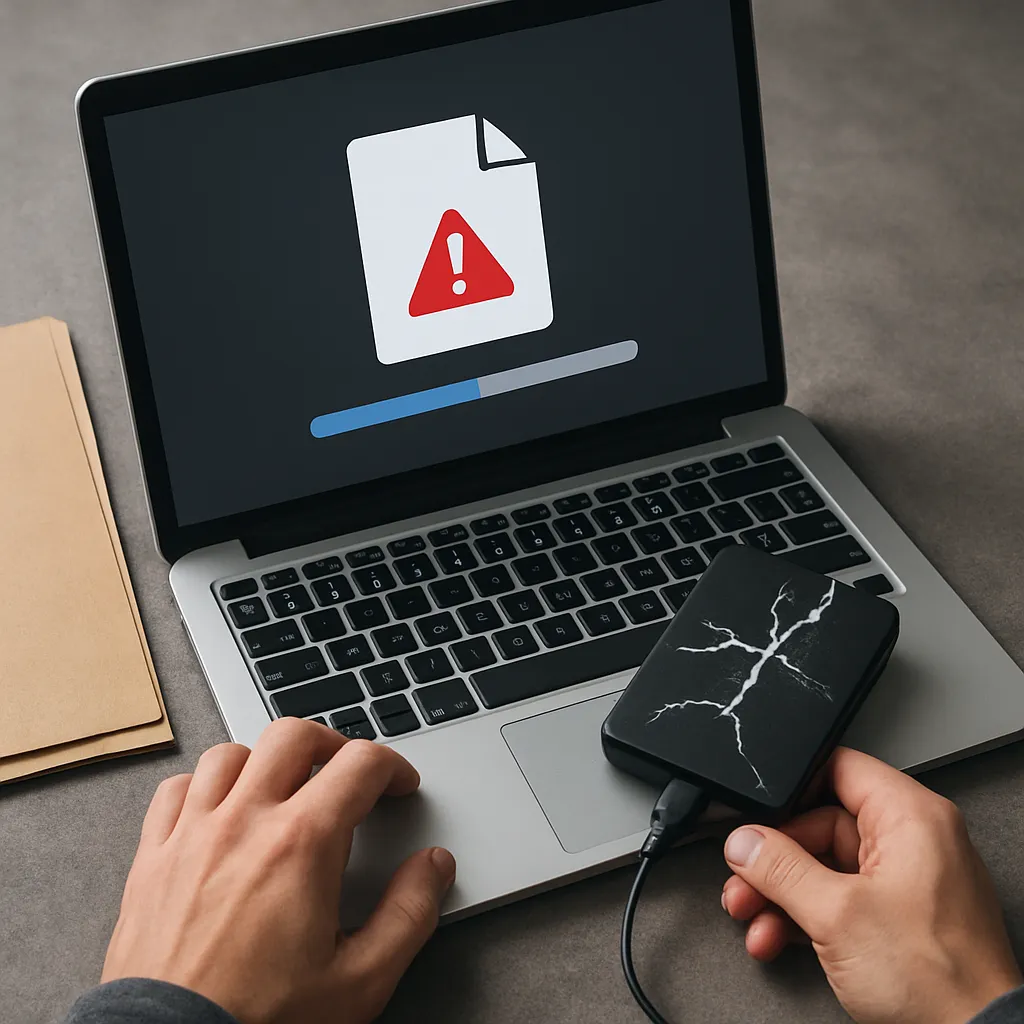
Even if the motherboard is defective, the storage device often remains intact. Use an external USB adapter or docking station to connect the drive to a working machine. Run a quick SMART check or use a diagnostic utility to assess the drive’s condition. If the drive shows signs of mechanical failure—unusual clicking noises or extreme heat—consider seeking professional help immediately.
Safely Extracting the Hard Drive
Tools and Precautions
- Anti-static wrist strap to prevent data corruption
- Precision screwdriver set
- ESD-safe mat or surface
- External drive enclosure or USB-to-SATA adapter
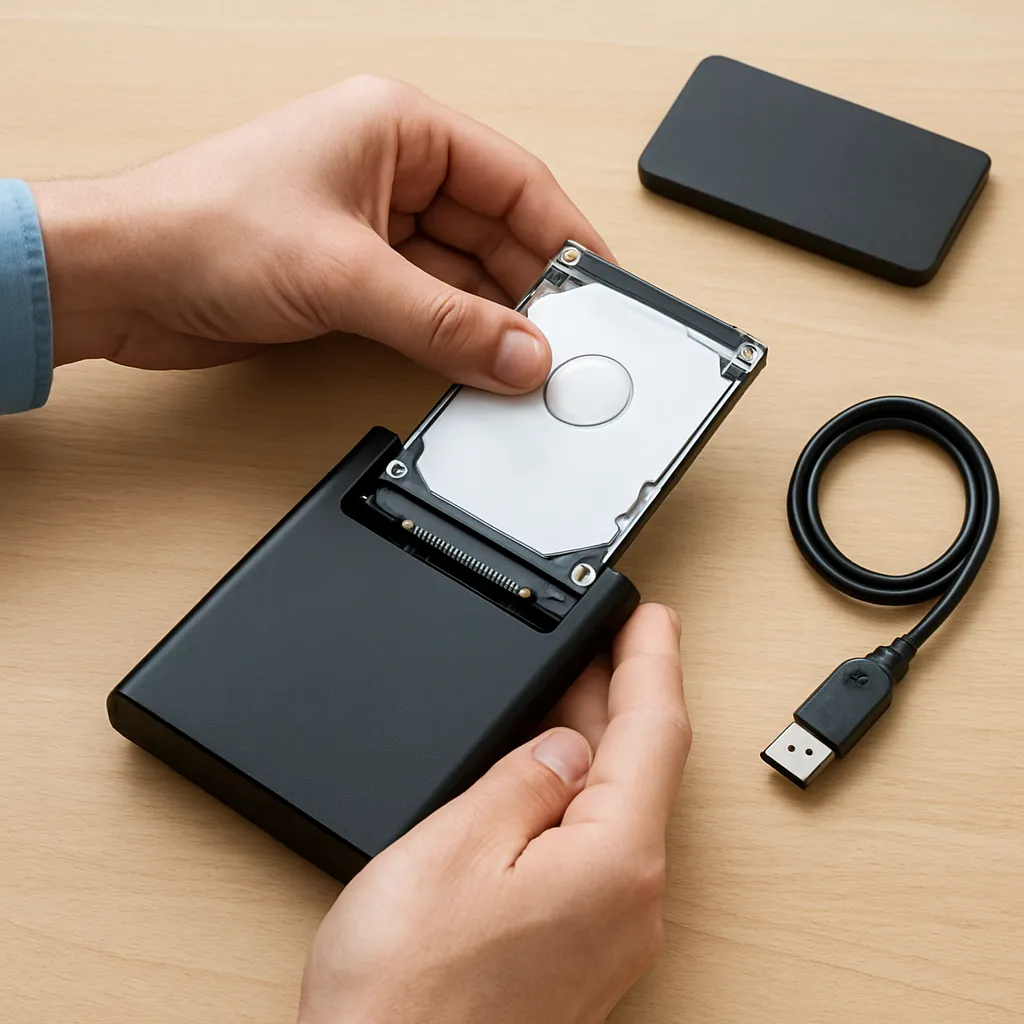
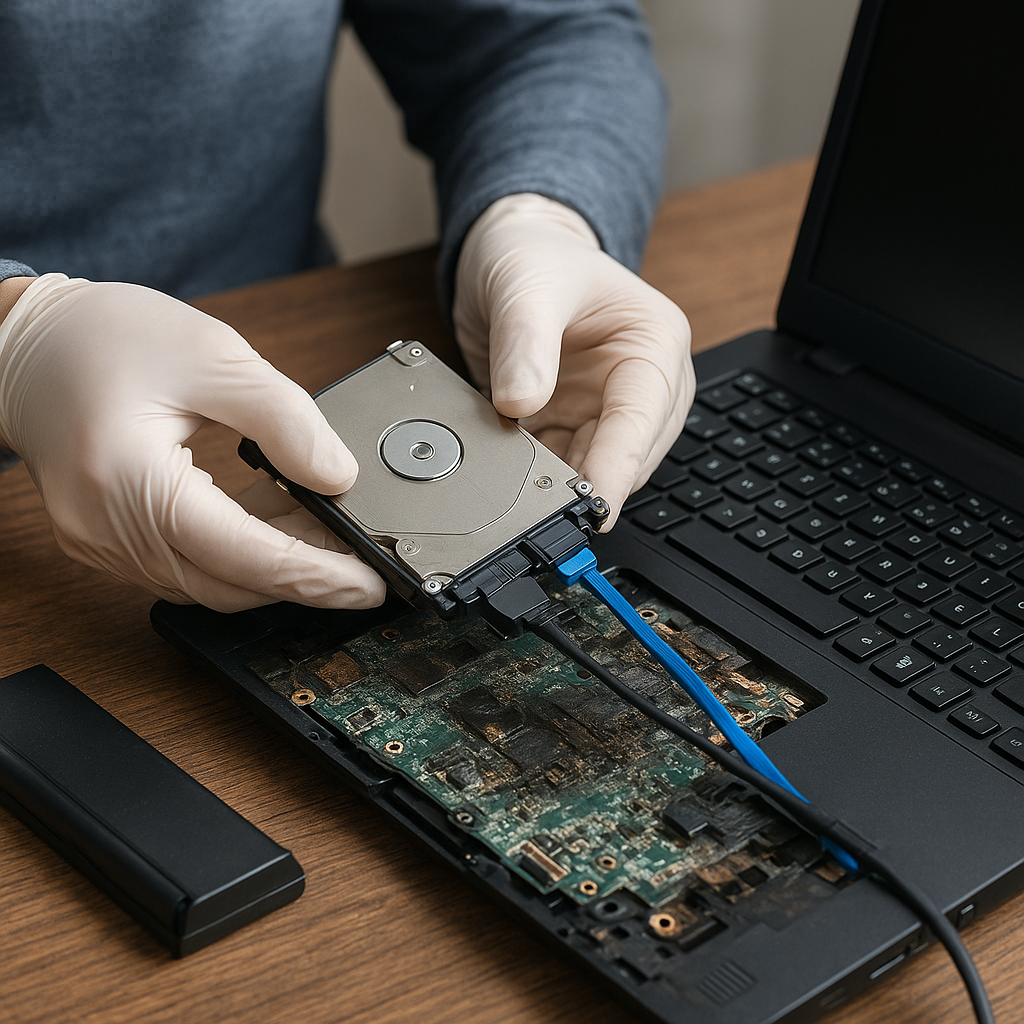
Power off the laptop, disconnect the battery (if removable), and ground yourself to avoid electrostatic discharge. Carefully open the chassis per your manufacturer’s service manual and loosen mounting screws. Label cables and screws to ensure proper reassembly.
Step-by-Step Removal Process
- Locate the hard disk or SSD bay.
- Gently slide the drive out of its connector.
- Attach the drive to a USB adapter or enclosure.
- Connect to a stable host computer for recovery.
Handling the drive by its frame, not the circuit board, reduces the risk of accidental damage. Once connected, you can access partitions, clone the entire disk, or perform file-level recovery.
Choosing the Right Recovery Software
Free vs. Premium Solutions
Numerous utilities exist for file recovery. Free tools like TestDisk and PhotoRec offer robust features, but often lack user-friendly interfaces. Premium suites—such as R-Studio, EaseUS, and Stellar—provide advanced scanning algorithms, sector-level imaging, and prioritized support.
Key Features to Look For
- Deep sector-by-sector scanning
- Support for various file systems (NTFS, FAT32, exFAT, HFS+)
- Ability to create a disk image before attempting recovery
- Preview functionality to verify file integrity
- Option for cloning or imaging the entire drive
- Built-in SMART diagnostics for drive health monitoring
- Partition recovery and RAID reconstruction
- Safe read-only mode to prevent write operations
Performing the Data Recovery
Creating a Disk Image First
Never work directly on the original drive. Use your chosen utility to generate a full disk image on a separate, high-capacity storage medium. This ensures all further operations occur on a clone, preserving the original data in case of unexpected errors.
Deep Scanning and File Retrieval
- Select the target image or drive.
- Choose a deep scan or sector-level analysis.
- Wait patiently—large drives can take hours to scan fully.
- Review the preview list to confirm recoverable files.
- Export selected files to a different drive.
During this phase, focus on critical file types—documents, photos, videos—before attempting full drive restoration. Verifying each file’s integrity prevents incomplete or corrupt recoveries.
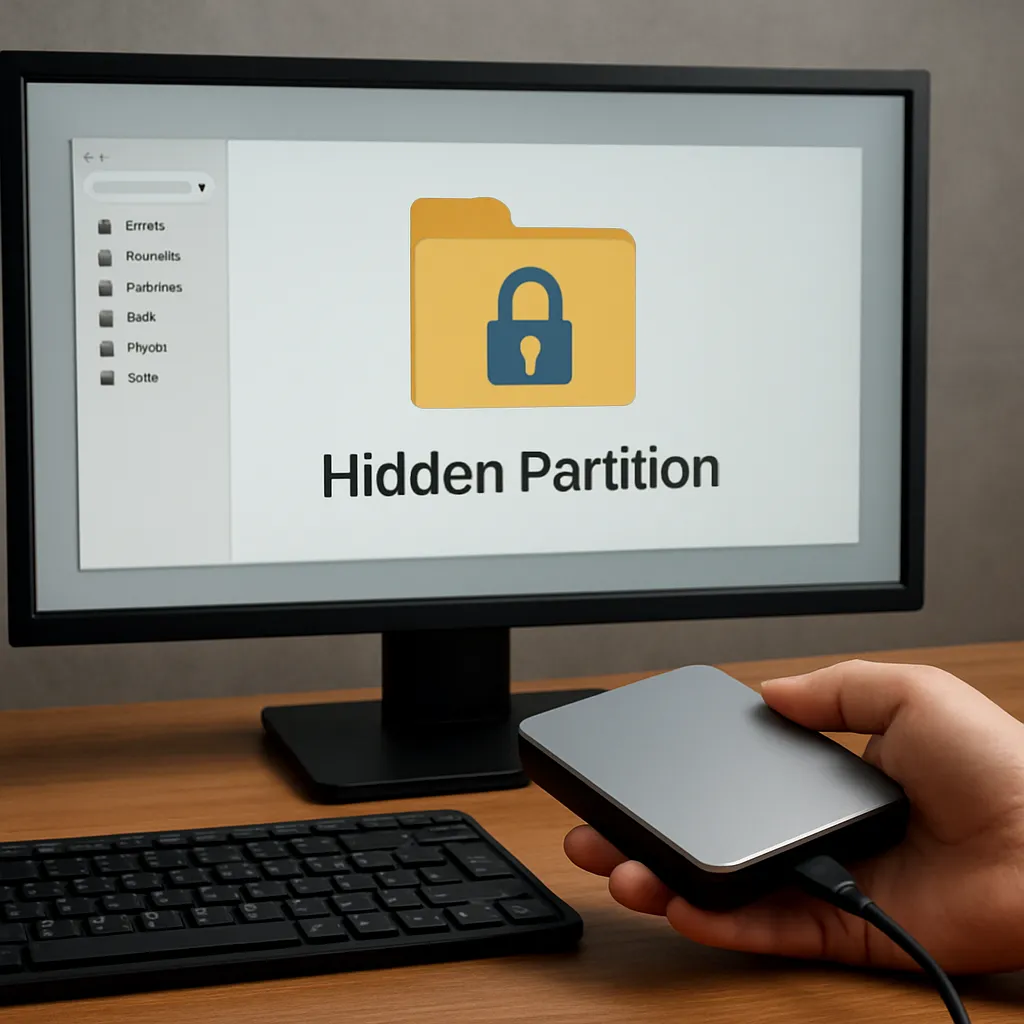
Handling Encrypted or Proprietary Volumes
If your drive uses full-disk encryption or a proprietary container, ensure you have the necessary keys or credentials. Some recovery tools support BitLocker, FileVault, or hardware-based encryption, but you must supply the correct passphrase.
Advanced Recovery Techniques
RAID and Complex Storage Arrays
Laptop storage rarely uses RAID, but external or DIY expansions sometimes do. If you encounter RAID-0 or RAID-5 configurations on external enclosures, select software capable of reconstructing stripes and parity blocks to access intact data.
File System Repair vs. Recovery
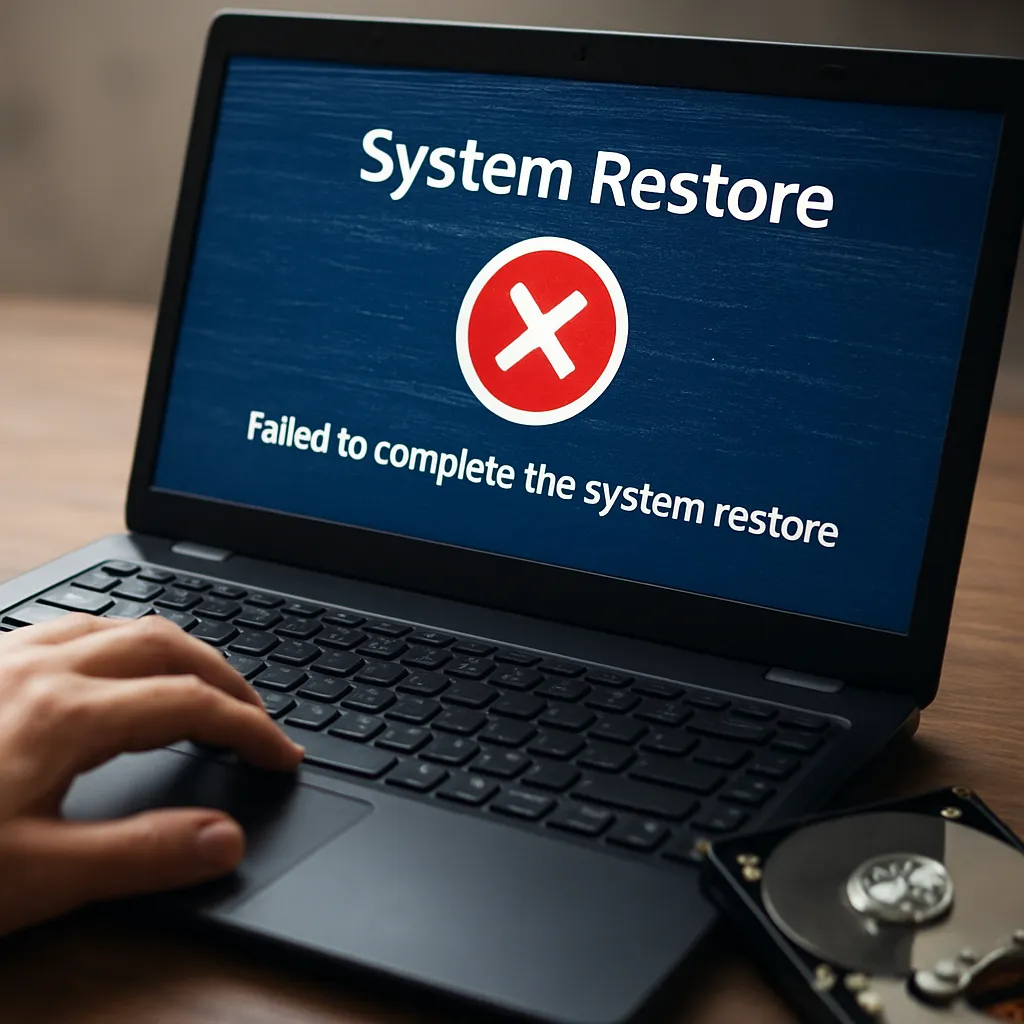
Occasionally, a corrupted partition table or damaged file system prevents drive recognition. Tools like TestDisk can repair MBR, GPT, and boot sectors. Always image the drive first and then attempt repairs on the copy to avoid irreversible changes.
Implementing Proactive Data Protection
Regular Backup Strategies
- Schedule automated backup routines using cloud or local NAS
- Maintain at least one offsite copy for disaster resilience
- Use incremental and differential backup methods to save space
Combining on-site and offsite backup approaches guards against hardware failures, malware attacks, and accidental deletions.
Routine Hardware Maintenance
- Monitor drive health through SMART diagnostics
- Keep vents and fans clean to prevent overheating
- Update BIOS and firmware for improved stability
Proactive checks reduce the likelihood of sudden failures and ensure your system remains reliable.
Ensuring Long-Term Integrity
After a successful recovery, verify file checksums or hashes against original values to confirm integrity. Store critical documents in multiple secure locations and periodically test restore processes to ensure your backups are fully functional.