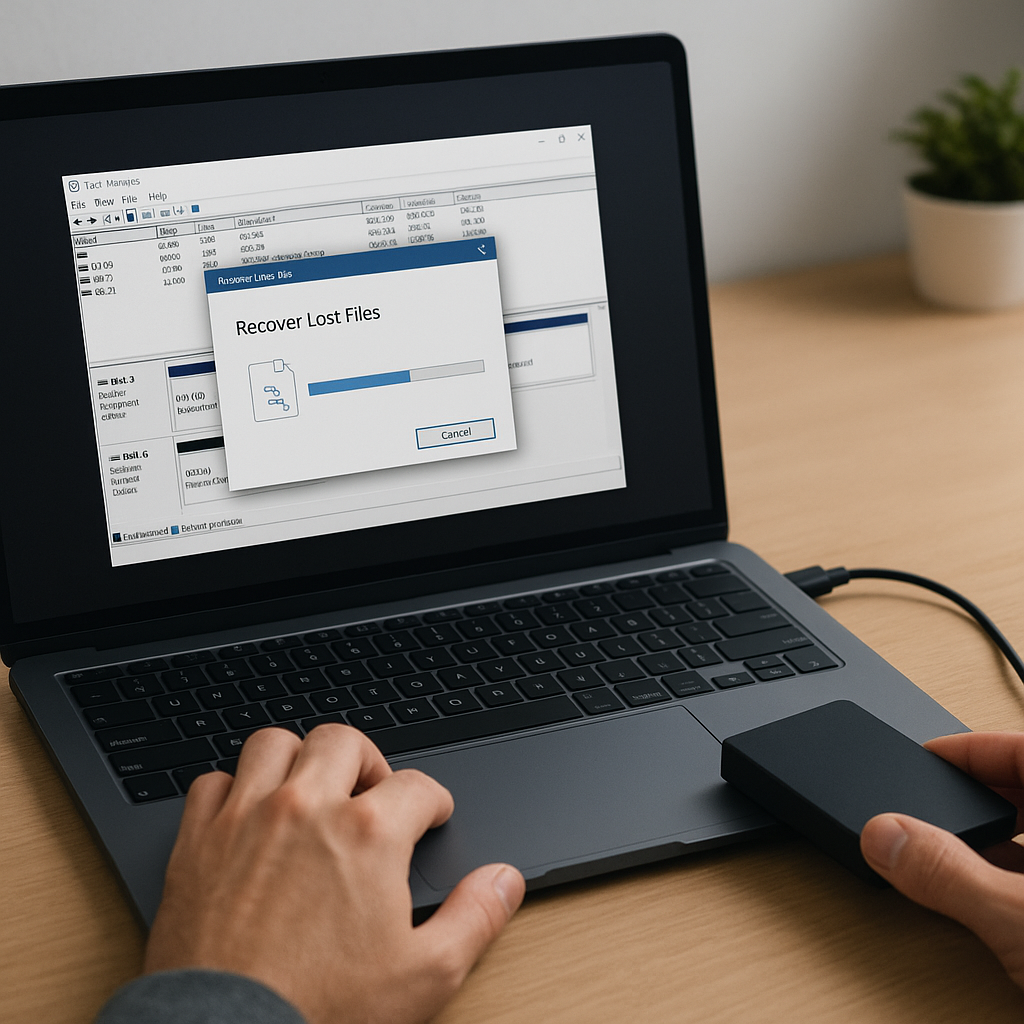
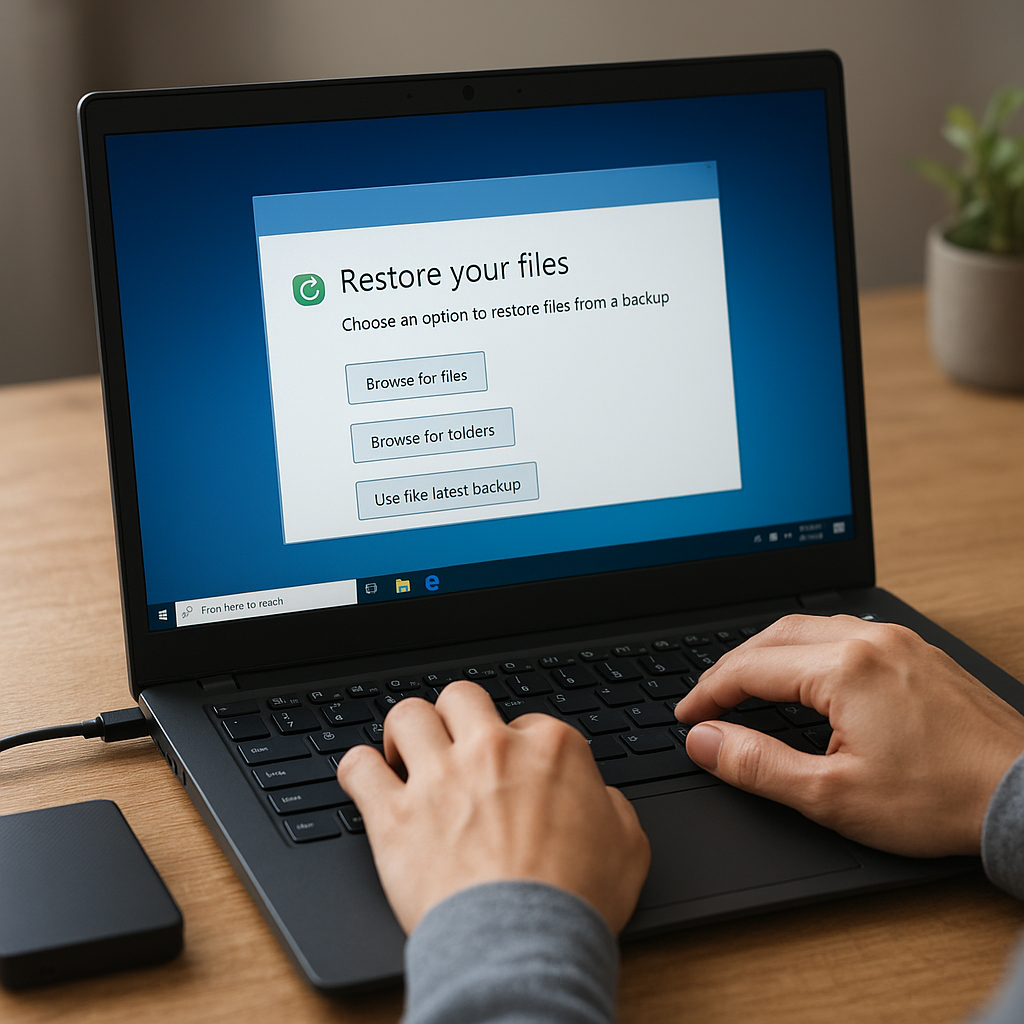
Encountering unexpected data disappearance following a system upgrade can feel like a nightmare. When a routine Windows Update goes awry, crucial documents, photos, and project files might vanish without warning. Fortunately, specialized recovery software provides a reliable lifeline, enabling you to retrieve lost items swiftly. This guide delves into proven strategies, tools, and best practices to recover and safeguard your digital assets after a Windows upgrade mishap.
Understanding Data Loss After Windows Updates
A Windows Update can trigger data loss through a variety of mechanisms. System crashes, interrupted installations, and file system changes often result in missing or corrupted files. Recognizing the underlying factors is essential before attempting a recovery:
- File System Changes: Updates may switch between NTFS, FAT32, or ReFS formats, leading to misplaced clusters.
- Interrupted Installation: Power failures or forced restarts mid-update can leave files in an inconsistent state.
- User Profile Migration: Automatic profile remapping can hide user folders from view without deleting actual data.
- Disk Partition Adjustments: Partition resizing operations can relocate or overwrite sectors containing valuable information.
Common Causes of Data Loss
Before you proceed with recovery, it helps to pinpoint why data went missing. Here are the frequent culprits behind post-update disappearance:
- Accidental deletion of files in an attempt to free up space for the upgrade
- Corruption of system files that manage directory pointers
- Conflicts between newly installed drivers and existing applications
- Unexpected reboots interrupting write operations
- Malware or rogue update packages that exploit vulnerabilities
Choosing the Right Recovery Software
Selecting an effective recovery tool is crucial for maximizing retrieval success. Consider the following criteria:
- Compatibility: Ensure support for your Windows version and file systems.
- Scan Depth: Deep sector-level scanning uncovers files beyond simple directory listings.
- User Interface: Intuitive wizards and previews help identify recoverable files quickly.
- Reliability: Look for trustworthy vendors with positive user feedback and secure code practices.
- Additional Features: Built-in backup scheduling, encryption support, and drive cloning are valuable bonuses.
Top-tier applications often include specialized modules for partition recovery, RAW drive scanning, and corrupted database reconstruction. Free tools can work in simple scenarios but may lack advanced file signature recognition.
Step-by-Step Guide to Recover Lost Data
Follow this structured approach to restore your missing files after a Windows upgrade:
1. Halt Further Disk Activity
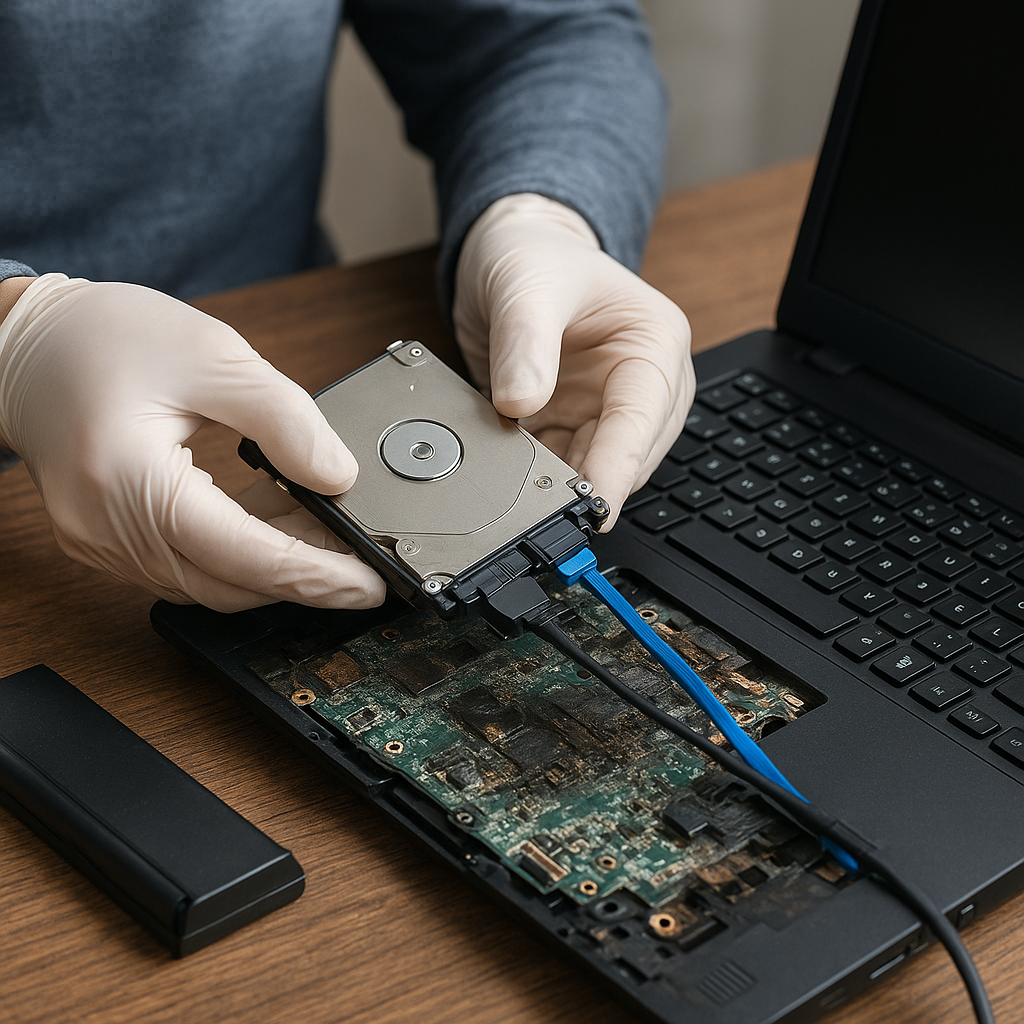
Immediately stop using the affected drive to prevent new writes from overwriting lost sectors. If possible, mount the disk as a secondary volume on another machine or boot from a live USB environment.
2. Choose and Install Recovery Software
Download a reputable recovery suite onto a separate storage device. Install it away from the damaged partition to avoid overwriting potential recoverable data.
3. Perform an Initial Quick Scan
Run the scan tool in ‘Quick’ or ‘Fast’ mode to detect recently deleted files. This scan relies on intact directory entries and may instantly locate lost documents, images, or media.
4. Conduct a Deep Sector-Level Scan
If the quick scan yields insufficient results, launch a deep or full drive analysis. This process reads every sector, identifying file signatures even when directory structures are gone. Although time-consuming, it uncovers the maximum number of recoverable items.
5. Preview and Select Files for Recovery
Use built-in preview functions to verify file integrity. Look for recognizable thumbnails, document text snippets, or media playback previews. Mark only those items you truly need to keep recovery efficient.
6. Recover to a Different Drive
Always restore recovered files to a separate disk or partition. Writing them back to the same location could overwrite other lost data, reducing overall recovery success.
7. Verify and Organize Recovered Data
After restoration, open critical files to confirm they function properly. Rename and relocate them into a structured folder hierarchy. For large batches, consider batch-renaming tools to maintain consistency.
Best Practices to Avoid Future Data Loss
Prevention is often simpler than recovery. Implement these proven strategies:
- Regular Backup: Maintain automated backups using both local and cloud solutions.
- Enable Windows’ native File History or Volume Shadow Copy Service.
- Use stable, UPS-protected power sources during major updates.
- Keep critical files on a separate logical drive or external media.
- Schedule routine integrity checks to detect corruption early.
- Employ disk imaging tools to capture full snapshots before system changes.
- Stay updated on best security practices to block malicious update payloads.
By combining diligent backup habits with robust restore workflows and reliable recovery software, you can navigate Windows upgrades confidently, knowing your precious data remains safe and sound.
