Losing access to crucial files when your laptop malfunctions can trigger panic, yet with the right approach and tools, you can often retrieve your data intact. This guide delves into practical steps, from diagnosing hardware failures to employing advanced recovery software, to help you regain control over your valuable documents, photos, and projects.
Understanding the Failure
Before diving into recovery methods, it’s essential to determine whether the problem is hardware-related or stems from a corrupted file system. Here are key signs to observe:
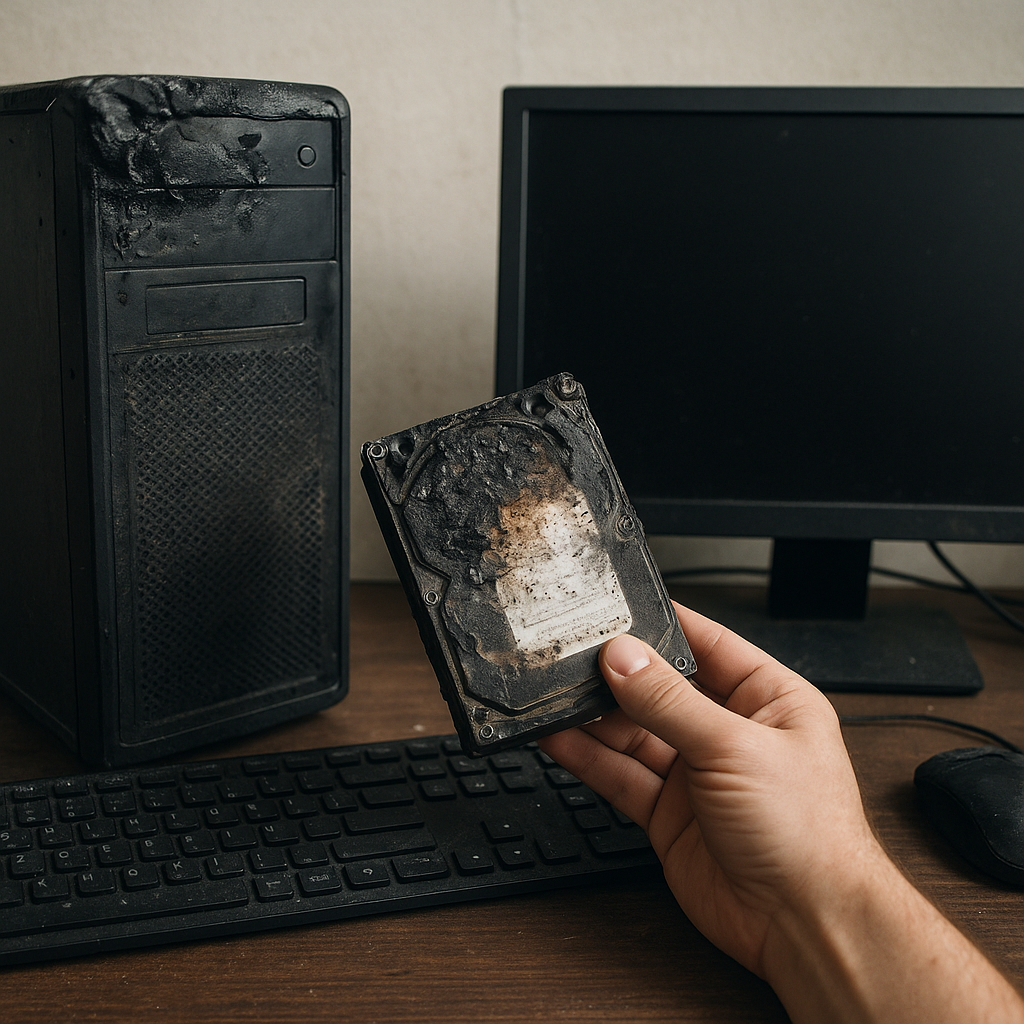
- Unusual noises from the drive—clicking or grinding often indicate a mechanical fault in traditional HDDs.
- No power or POST failures hint at motherboard or power-supply issues rather than data corruption.
- Error messages referring to missing partition tables, “no boot device,” or file read errors suggest logical damage.
- Intermittent crashes or blue-screen errors can point to bad sectors or corrupted system files.
Physical vs. Logical Issues
Discerning the nature of the failure can save time and prevent further damage:
- Physical damage (e.g., a broken connector or dropped laptop) often requires hardware intervention.
- Logical damage (e.g., accidental formatting, software corruption) is usually fixable with specialized programs.
Preparing the Environment
A proper setup minimizes risks of data overwriting and magnifies your chances of successful restoration.
Gathering Essential Tools
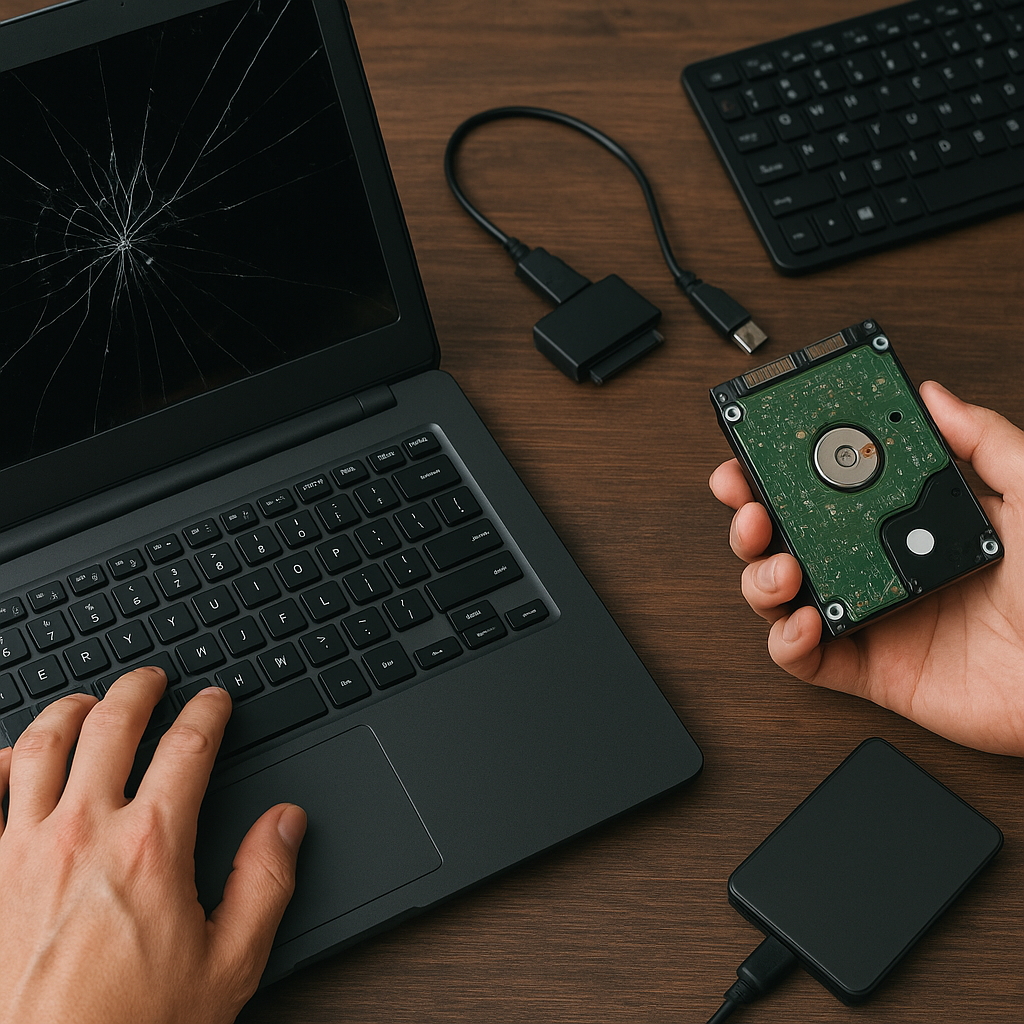
- External USB enclosure or docking station for the failed drive.
- Reliable secondary computer with adequate RAM and available USB/SATA ports.
- Recovery software—both free and commercial options exist.
- Bootable USB drives loaded with rescue distributions if the OS won’t start.
Safety Precautions
- Avoid installing any software on the compromised SSD or HDD. Connect it as a secondary device.
- Work in a static-free area; handle components with an anti-static wrist strap if possible.
- Document model numbers and capacities before purchasing enclosures or cables.
Selecting Reliable Recovery Software
An arsenal of tools is at your disposal, from open-source solutions to paid suites offering advanced features:
Free and Open-Source Tools
- TestDisk & PhotoRec – Excellent for recovering lost partitions and individual files.
- Recuva – User-friendly interface geared toward Windows users.
- ddrescue – Command-line utility for cloning a failing drive while handling bad sectors.
Commercial Recovery Suites
- R-Studio – Supports numerous file systems and RAID configurations.
- EaseUS Data Recovery Wizard – Intuitive wizard, deep scan, and preview capabilities.
- Stellar Data Recovery – Offers specialized modules for different media types.
When choosing software, consider compatibility with your laptop’s interface (SATA, NVMe, USB) and support for the affected file system (NTFS, FAT32, exFAT, APFS, ext4).
Hardware-Based Recovery Strategies
In cases of physical damage, logical software scanning may fall short. Hardware-based approaches can bridge the gap:
Drive Cloning
Creating a bit-by-bit clone preserves the original drive’s state, allowing you to work on the clone without risking further harm. Use tools like ddrescue or commercial cloning utilities that handle read errors gracefully and repeat retries on bad sectors.
PCB Swap and Component Repair
If a laptop drive’s printed circuit board (PCB) is fried, you might transplant a donor PCB from an identical model. This process demands precise matching of board revisions and sometimes requires transferring firmware chips. Professional services often perform this delicate task.
Chip-Off Recovery
For SSD failures where the controller dies, a chip-off operation entails physically removing NAND flash chips and reading them with specialized hardware. This extreme measure is best left to expert data-recovery centers.
Step-by-Step Data Restoration Process
Once you’ve prepared your hardware and chosen suitable software, follow a systematic approach to maximize success:
1. Create a Disk Image
- Use ddrescue or the software’s cloning feature to generate a full-image backup.
- Store the image on a separate drive with adequate capacity.
- Verify image integrity via checksums when possible.
2. Scan the Image
- Load the disk image into recovery software rather than the original drive.
- Perform a deep scan to uncover fragmented files and deleted partitions.
- Review directory trees and file previews to confirm successful detection.
3. Export Recovered Files
- Choose a destination on a different physical medium to avoid overwriting.
- Organize recovered data into folders labeled by type or original directory structure.
- Check file integrity, especially for databases, spreadsheets, and media files.
4. Rebuild Structures (If Needed)
When partitions are damaged, TestDisk can rewrite the MBR or GPT entries. Always review changes before applying to prevent further issues.
Preventive Measures and Best Practices
Recovering lost data can be time-consuming and sometimes costly. Implementing proactive strategies helps you avoid similar emergencies:
- Regular Backups: Automate backups to cloud services or external drives using reliable software.
- Disk Health Monitoring: Utilize S.M.A.R.T. monitoring tools to receive alerts on sector deterioration.
- Surge Protection: Protect the laptop and connected drives with quality power strips or UPS units.
- Secure Deletion: When disposing of drives, use certified erasure methods to wipe data permanently.
- Redundancy: Keep critical files synced across multiple locations to minimize single points of failure.
By understanding the underlying causes of laptop failures, equipping yourself with the proper tools, and following a disciplined process, you can often restore lost data without entrusting it all to expensive professional services. Armed with this knowledge, you’re well-positioned to tackle most recovery scenarios and safeguard your digital assets for the future.