Bootable recovery software is an essential tool for anyone looking to perform a full system recovery. Whether you’re dealing with a corrupted operating system, a failed hard drive, or a malware infection, bootable recovery software can help you restore your system to its previous state. This article will guide you through the process of using bootable recovery software for full system recovery, covering everything from the initial setup to the final steps of the recovery process.
Understanding Bootable Recovery Software
Before diving into the steps of using bootable recovery software, it’s important to understand what it is and how it works. Bootable recovery software is a specialized program that can be run from a bootable medium, such as a USB drive or a CD/DVD. This software operates independently of the operating system installed on your computer, allowing you to access and recover data even if the OS is not functioning properly.
Key Features of Bootable Recovery Software
Bootable recovery software typically includes a range of features designed to help you recover your system. Some of the key features include:
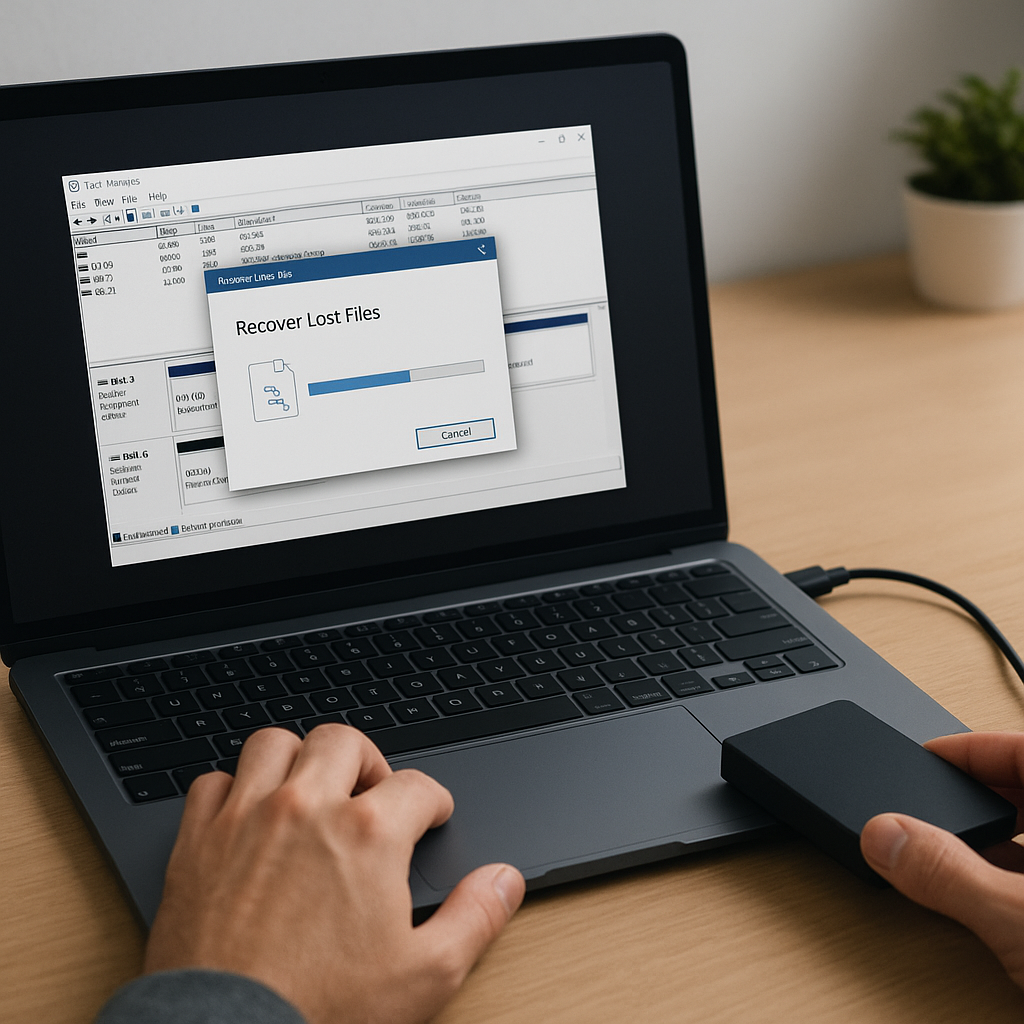
- Data Recovery: The ability to recover lost or deleted files from your hard drive.
- System Backup: Options to create and restore system backups, ensuring you can revert to a previous state.
- Disk Cloning: Tools to clone your entire hard drive, which can be useful for migrating to a new drive or creating a backup.
- Partition Management: Utilities to manage disk partitions, including resizing, creating, and deleting partitions.
- Malware Removal: Some bootable recovery software includes tools to scan for and remove malware from your system.
Preparing for Full System Recovery
Before you can use bootable recovery software for a full system recovery, you need to prepare your system and create a bootable medium. Follow these steps to get started:
Step 1: Choose the Right Software
There are many bootable recovery software options available, each with its own set of features and capabilities. Some popular choices include:
- EaseUS Todo Backup: Known for its user-friendly interface and comprehensive backup and recovery features.
- Acronis True Image: Offers advanced backup, recovery, and disk cloning tools.
- Macrium Reflect: Provides reliable backup and recovery solutions with a focus on disk imaging.
- MiniTool Partition Wizard: Includes powerful partition management and data recovery tools.
Choose the software that best meets your needs and download it from the official website.
Step 2: Create a Bootable Medium
Once you have chosen your software, the next step is to create a bootable medium. This process typically involves the following steps:
- Download the Software: Download the bootable recovery software from the official website.
- Create a Bootable USB Drive or CD/DVD: Use the software’s built-in tools to create a bootable USB drive or CD/DVD. This usually involves selecting the target drive and following the on-screen instructions.
- Verify the Bootable Medium: After creating the bootable medium, verify that it works by booting your computer from it. This may involve changing the boot order in your BIOS or UEFI settings.
Performing Full System Recovery
With your bootable medium ready, you can now proceed with the full system recovery process. Follow these steps to recover your system:
Step 1: Boot from the Recovery Medium
Insert the bootable USB drive or CD/DVD into your computer and restart it. During the boot process, access the BIOS or UEFI settings (usually by pressing a key such as F2, F12, or Del) and change the boot order to prioritize the recovery medium. Save the changes and exit the BIOS/UEFI settings. Your computer should now boot from the recovery medium.
Step 2: Launch the Recovery Software
Once your computer has booted from the recovery medium, the recovery software should automatically launch. If it doesn’t, follow the on-screen instructions to start the software manually. You will be presented with the main interface of the recovery software, which typically includes options for data recovery, system backup, disk cloning, and partition management.
Step 3: Select the Recovery Option
Choose the appropriate recovery option based on your needs. For a full system recovery, you will likely need to restore a system backup or clone a disk. Follow these steps:
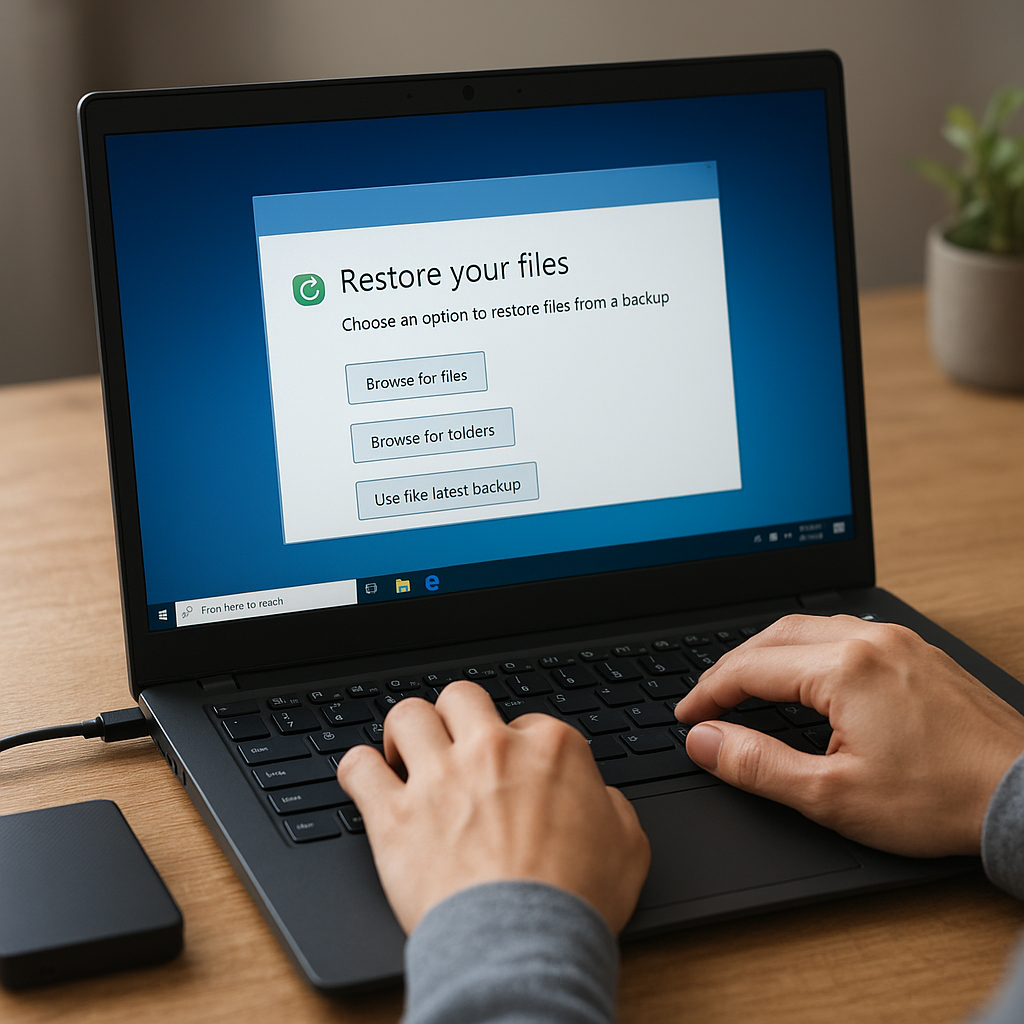
- Restore a System Backup: If you have previously created a system backup, select the option to restore it. Browse to the location of the backup file and follow the on-screen instructions to restore your system to its previous state.
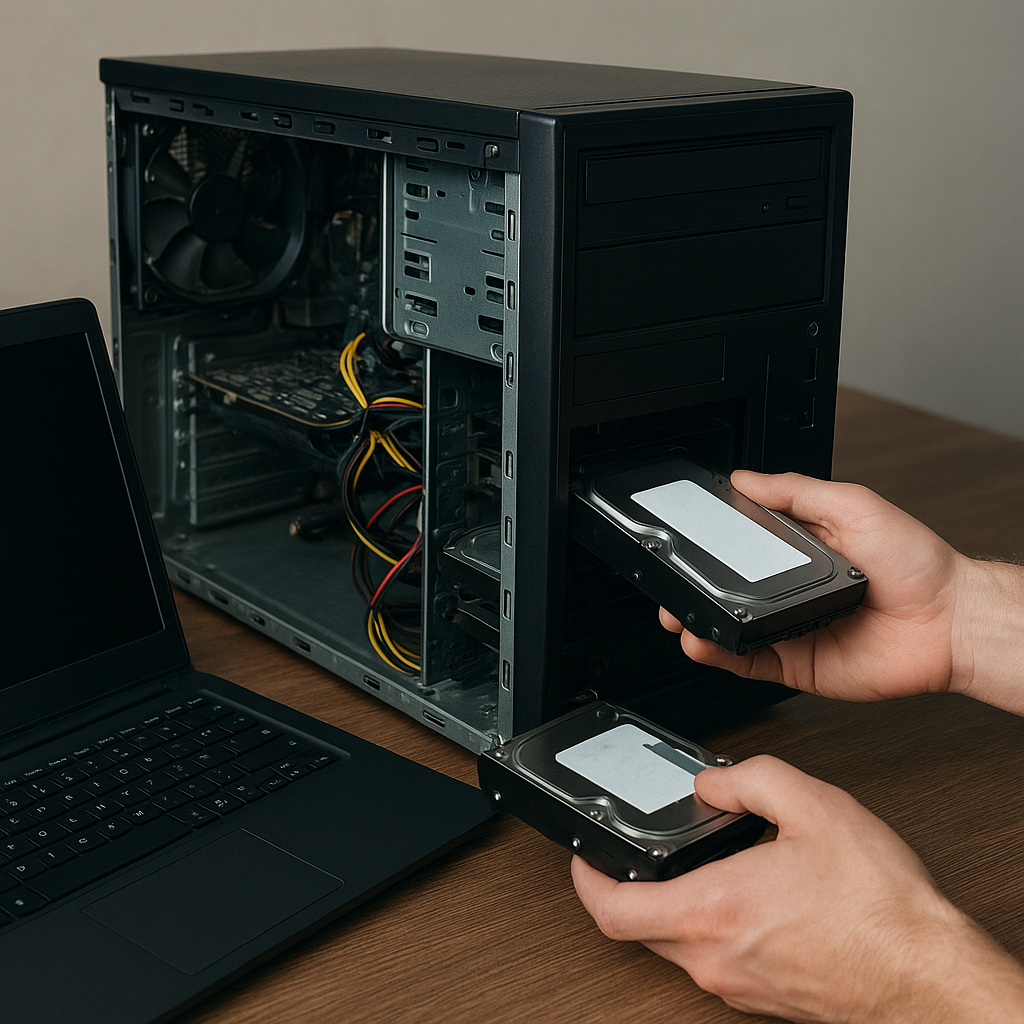
- Clone a Disk: If you are migrating to a new hard drive or need to create an exact copy of your current drive, select the disk cloning option. Choose the source and destination drives and follow the on-screen instructions to complete the cloning process.
Step 4: Verify the Recovery
After the recovery process is complete, it’s important to verify that your system has been successfully restored. Restart your computer and boot from the restored system. Check that all your files, applications, and settings are intact and functioning properly. If you encounter any issues, consult the documentation or support resources provided by the recovery software.
Best Practices for Using Bootable Recovery Software
To ensure a smooth and successful recovery process, follow these best practices when using bootable recovery software:
Regularly Create System Backups
One of the most important steps you can take to protect your system is to regularly create system backups. This ensures that you always have a recent copy of your system that you can restore in case of a failure. Schedule regular backups using the recovery software’s built-in tools and store the backup files in a safe location.
Test Your Bootable Medium
Before you need to use your bootable recovery medium in an emergency, test it to ensure it works properly. Boot your computer from the medium and verify that the recovery software launches and functions as expected. This can save you valuable time and prevent additional stress during a system failure.
Keep Your Recovery Software Updated
Recovery software developers regularly release updates to improve performance, add new features, and fix bugs. Keep your recovery software up to date by regularly checking for updates and installing them as they become available. This ensures that you have access to the latest tools and improvements.
Document Your Recovery Process
Documenting your recovery process can be incredibly helpful, especially if you need to perform a recovery in the future. Keep a record of the steps you took, any issues you encountered, and how you resolved them. This documentation can serve as a valuable reference and help you streamline future recovery efforts.
Conclusion
Bootable recovery software is a powerful tool that can help you perform a full system recovery in the event of a failure. By understanding how to use this software and following best practices, you can ensure that your system is protected and that you can quickly recover from any issues that arise. Whether you’re dealing with a corrupted operating system, a failed hard drive, or a malware infection, bootable recovery software provides the tools you need to restore your system and get back to work.


