Recovering valuable information after a hardware failure can be daunting, especially when a crucial backup drive stops responding. This guide provides a comprehensive overview of how to diagnose issues, select appropriate software, and execute a successful recovery to retrieve your lost data safely and efficiently.
Understanding Why Your Backup Drive Crashed
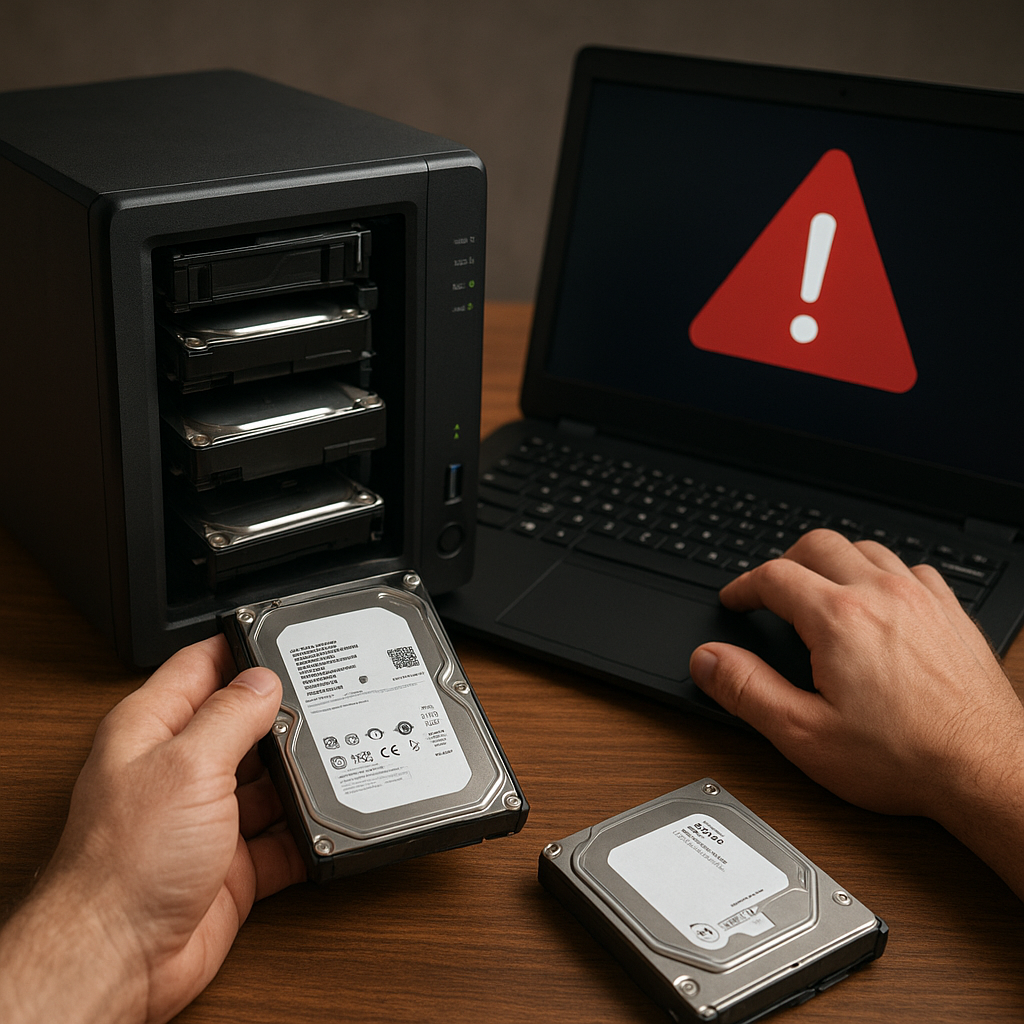
Before jumping into any recovery process, it is important to identify the root cause of the failure. Recognizing symptoms early can improve your chances of a successful restore and protect the overall integrity of remaining files.
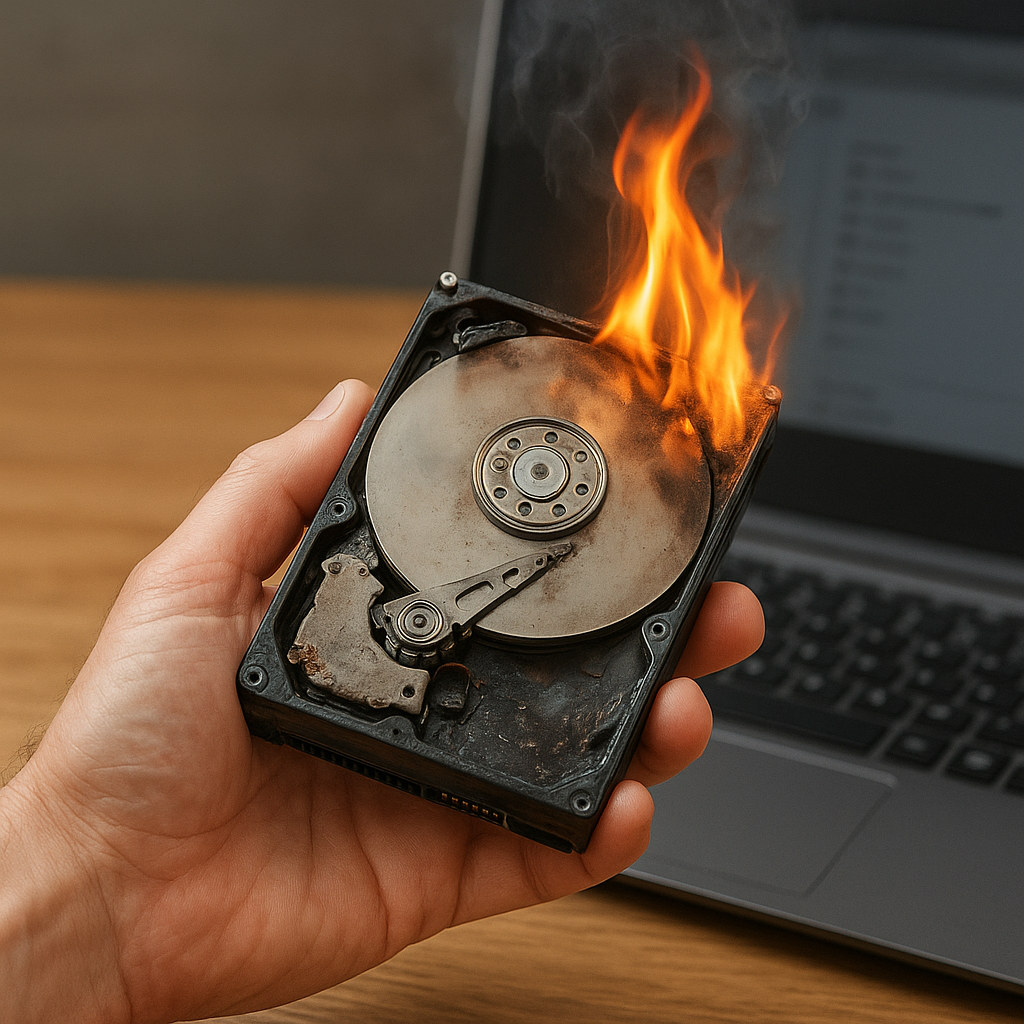
- Physical Damage: Hard drives are mechanical devices. Exposure to shocks, drops, or liquid can lead to broken read/write heads, motor failures, or platter scratches. Symptoms include unusual clicking noises, grinding sounds, or complete inability to spin up.
- Logical Errors: File system corruption resulting from power outages, improper ejection, or operating system malfunctions can render partitions inaccessible. You might see error messages like “drive not formatted” or directory structures showing gibberish names.
- Firmware Bugs: Occasionally, drive controllers suffer from corrupted or outdated firmware. This can manifest as sudden drive disappearance, misreported capacities, or failure to initialize during boot.
- Interface Failures: Cables, connectors, or USB/Thunderbolt bridges can fail, causing intermittent connectivity. Testing with alternative ports and cables can help isolate these issues.
Selecting the Right Recovery Solution
Choosing reliable recovery software is crucial. Not all tools are built the same, and picking the right one can mean the difference between permanent loss and successful retrieval of your files.
Key Features to Look For
- Deep Scan Capability: A robust scanning engine that can analyze disk sectors to reconstruct lost files, even in severely corrupted volumes.
- Support for Multiple File Systems: Compatibility with NTFS, FAT32, exFAT, HFS+, APFS, and Linux ext variants ensures versatility across various devices.
- Read-Only Mode: Protects your data by preventing any write operations on the damaged drive during the recovery process.
- Preview Function: Allows you to verify recoverability by previewing documents, photos, and videos before committing to a full extraction.
- Filtering and Search Tools: Quickly locate specific file types or names to save time when retrieving large volumes of information.
Top Software Recommendations
- Tool A: Known for a powerful sector-level analyzer and user-friendly interface.
- Tool B: Offers specialized modules for RAID configurations and virtual machine disks.
- Tool C: Lightweight CLI version ideal for system administrators and technicians comfortable with command-line operations.
Executing the File Recovery Process
When you’ve selected the best application for your needs, follow a structured method to maximize success.
Step 1: Initial Diagnosis
- Connect the drive to a reliable host computer via a known-good cable and port.
- Open the recovery tool in safe mode or with elevated privileges to ensure full access to low-level disk operations.
- Inspect the disk health indicators: SMART values, temperature, and error logs.
Step 2: Create a Disk Image
- Before any write attempts, generate a sector-by-sector image of the failing drive onto a secondary storage device.
- Imaging tools protect against further deterioration by allowing all subsequent recovery work to be performed on the copy, not the original.
- Verify the image for read errors or mismatched checksums to confirm completeness.
Step 3: Perform Deep Scan
- Launch the deep scan module to parse the raw disk sectors.
- Allow the process to complete fully, which may take hours or days depending on drive size and condition.
- Monitor progress and review discovered files in the preview pane.
Step 4: Select and Restore Files
- Filter results by file type, modification date, or size to narrow down your target recovery set.
- Choose a different target drive with ample free space to save retrieved files, avoiding reintroduction of errors to the original disk.
- Use batch selection features to recover multiple items simultaneously, or export a file listing for documentation.
Preventive Measures and Best Practices
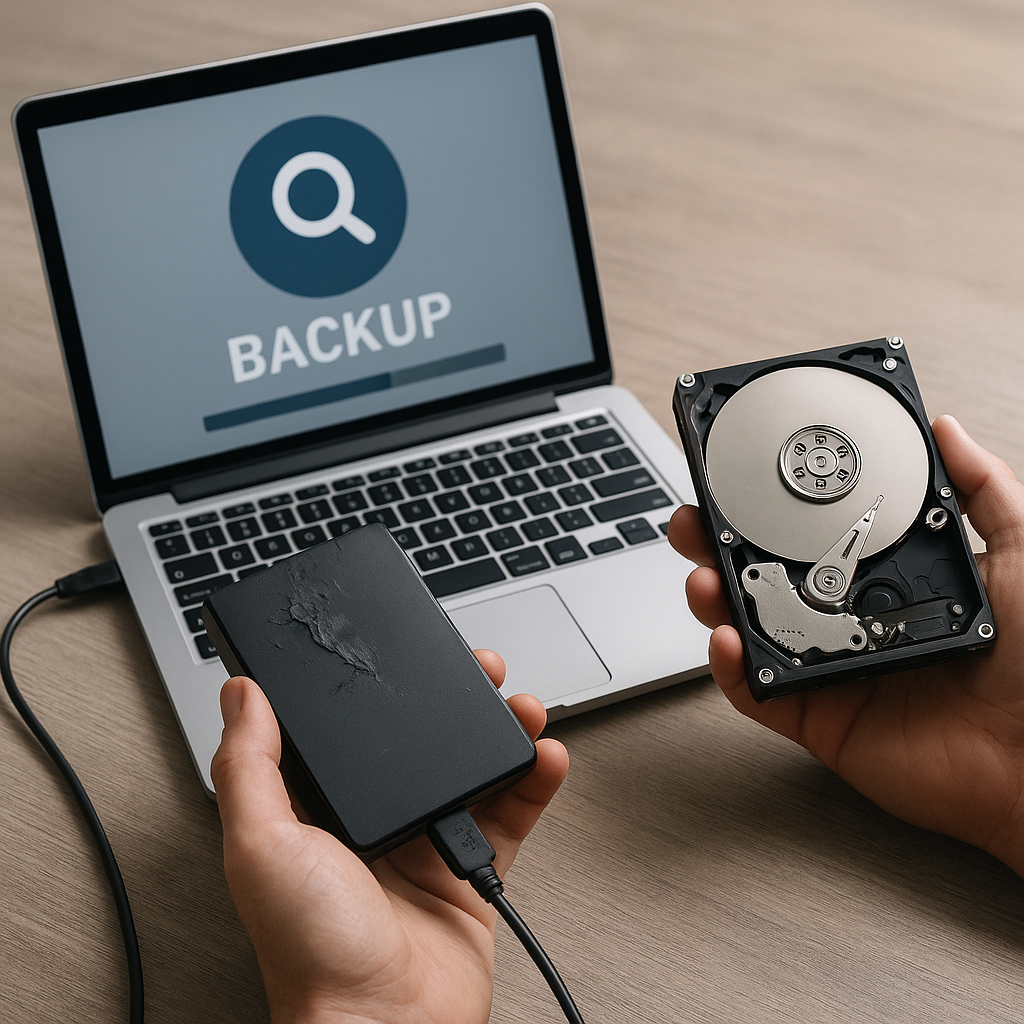
Once you’ve successfully recovered your important files, implementing robust backup strategies and routine maintenance can mitigate future risks.
- Redundant Backups: Maintain at least three copies of critical data—primary, local backup, and offsite/cloud storage.
- Scheduled Integrity Checks: Run periodic file system verifications and SMART diagnostics to detect early signs of drive wear.
- Proper Ejection: Always use the operating system’s unmount or eject functions to avoid abrupt disconnections and logical corruption.
- Environmental Controls: Store drives in temperature- and humidity-controlled environments free from excessive vibration.
- Firmware Updates: Keep your drive’s firmware current to benefit from bug fixes and performance improvements.
By following these detailed guidelines, you increase the likelihood of a successful file recovery from a crashed backup drive, while safeguarding your digital assets against future failures.