When data loss strikes, having a reliable strategy can mean the difference between a minor inconvenience and a catastrophic event. A system image offers a full snapshot of your operating environment, capturing everything from the operating system to personal files. However, knowing how to efficiently navigate the restoration process is essential for reducing downtime and ensuring data integrity. This guide walks you through every stage of the file recovery workflow, equipping you with the knowledge to confidently revive your system from an image backup.
Understanding System Image Backups
At its core, a system image is a complete copy of a computer’s drive or set of drives. Unlike simple file-based backups, it preserves the entire structure, including hidden system files, installed applications, and the master boot record. These images can be created using built-in tools in Windows, third-party recovery software, or hardware appliances.
Key advantages of a system image include:
- Comprehensive Data Capture: All partitions, boot records, and file metadata are included.
- Rapid Deployment: Entire systems can be deployed quickly on identical or dissimilar hardware.
- Consistency Assurance: Since all files are frozen in time, you maintain consistency across applications, settings, and system files.
However, system image backups also come with challenges:
- Storage Requirements: The images can be large, often several tens or hundreds of gigabytes.
- Environment Dependence: Restored images may require compatible hardware or specific firmware modes (e.g., bootable UEFI vs. BIOS).
- Complex Restoration: Missteps during the restore procedure may lead to boot failures or data conflicts.
Preparing for Restoration
Proper preparation is the foundation of a smooth recovery. Before you initiate the restoration, ensure you have:
- An up-to-date copy of your system image stored on external media, network shares, or cloud vaults.
- Bootable rescue media created with your chosen backup or imaging tool.
- A clear understanding of the target drive layout, including sizes and partition types (MBR vs. GPT).
- Documentation of system drivers and licensing keys, in case manual reinstallation becomes necessary.
Failing to prepare can lead to unexpected hurdles, such as missing device drivers or unbootable volumes. To minimize risk, run a test recovery on a virtual machine or spare hardware whenever possible.
Step-by-Step Restoration Process
1. Boot into Rescue Environment
Insert your bootable media and restart the computer. Access the firmware interface (often via F2, F12, DEL) to select the rescue USB or CD/DVD. Once booted, you’ll enter a specialized environment provided by the imaging tool.
2. Select the Source and Target
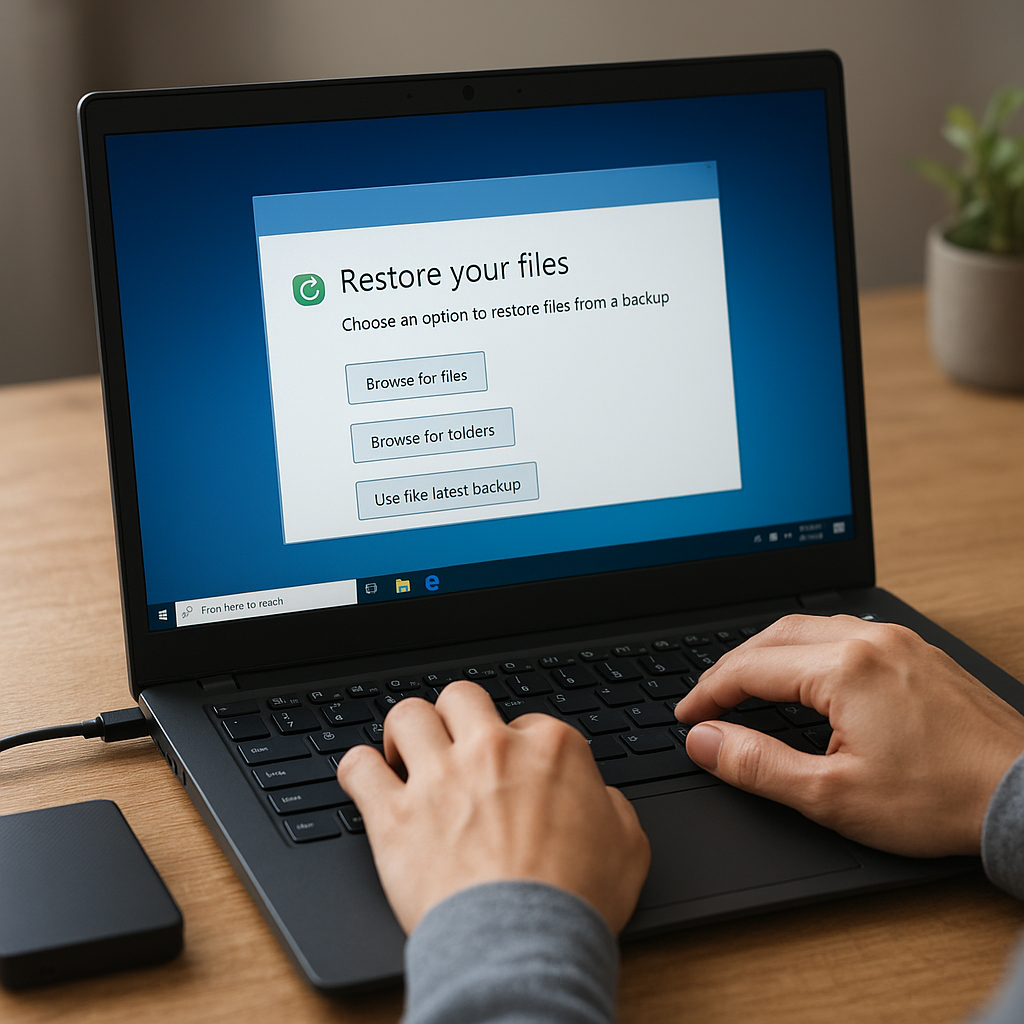
Within the rescue interface, locate the stored system image. This could be on an external drive, network location, or cloud repository. Next, designate the physical disk or partition to receive the image. Ensure that the target has enough capacity to hold the entire snapshot.
3. Configure Advanced Options
- Enable sector-by-sector cloning for exact duplication, preserving unused and slack space.
- Activate integrity verification post-restore to validate checksums against the original snapshot.
- Choose resizing options if moving from a larger to smaller disk or vice versa.
These settings are crucial to guarantee that the restored environment matches the original in every detail and maintains integrity.
4. Execute the Restore
Trigger the restoration. The software will decompress and write the image to the target media. Depending on the volume size and interface speed (USB 2.0 vs. USB 3.1, SATA vs. NVMe), this step can take anywhere from several minutes to multiple hours.
5. Finalize and Reboot
Once the process completes, remove the bootable media and restart the system. If all goes well, your machine will boot into the recovered environment as if no data loss event occurred.
Advanced Recovery Techniques
In scenarios where a full restore is impractical—such as single-file corruption or accidental deletion—utilize targeted recovery methods:
- Mounting the Image: Many tools allow you to mount a system image as a virtual drive, enabling you to browse and extract individual files.
- Image Differential Restore: Apply incremental or differential snapshots to bring your image up to date faster.
- File-Level Recovery: Combine a lightweight file backup with your system image to cherry-pick crucial documents without full system downtime.
This flexible approach prevents unnecessary full-disk operations, reducing the risk of overwriting valuable data during an emergency.
Troubleshooting Common Issues
Even the best-planned restorations may encounter hurdles. Here are solutions to frequent problems:
- Unrecognized Target Disk: Verify that the drive is properly connected and initialized. Use rescue shell tools to run disk partition checks.
- Bootloader Failures: Rebuild or repair the bootloader (e.g., Windows Boot Manager, GRUB) using dedicated repair utilities.
- Checksum Mismatch Errors: Ensure your source image is not corrupted. Recreate the snapshot if integrity checks fail consistently.
- Hardware Incompatibilities: If the target platform differs significantly, use universal restore features that inject necessary drivers into the restored environment.
By systematically diagnosing each error, you can swiftly recover from restoration setbacks and achieve a stable system state.
Best Practices for Future Recoveries
Maintaining a reliable recovery strategy involves ongoing diligence:
- Schedule regular image backups to capture evolving data and system changes.
- Rotate your bootable media creation to match software updates and firmware revisions.
- Test restores periodically on non-production hardware to validate your procedures.
- Document every step of your recovery process, including screenshots or logs, for rapid reference during emergencies.
Adopting these practices ensures that when disaster strikes, your organization can bounce back with restore operations executed swiftly and effectively.
Enhancing Recovery with Complementary Tools
While system images cover full-disk scenarios, additional utilities can augment your recovery arsenal:
- snapshot managers that track file changes in real time.
- Disk error scanners to preemptively identify failing sectors (disk cloning solutions often include these).
- Cloud-based vaults for offsite image storage, ensuring resilience against physical disasters.
- Version control systems for critical configuration files, preserving historical changes.
Combining these tools with routine imaging creates a multi-layered defense, minimizing data loss and enabling rapid recuperation.
Conclusion
Recovering files from a system image backup may seem daunting, but with structured preparation and a clear workflow, even complex restorations become manageable. By leveraging robust recovery methodologies, verifying image integrity, and following tested best practices, you can safeguard your digital environment against unexpected failures. With this comprehensive guide, you are now equipped to handle file restoration confidently and efficiently.