Changing a drive letter in Windows might seem like a trivial task, but it can sometimes lead to unexpected challenges when the operating system or applications lose track of stored data. Whether you’ve reassigned a partition to a new letter or reconfigured external storage, the mismatch between the assigned drive letter and existing references can result in apparent data loss. This article delves into the mechanisms behind drive letter changes, explores why files appear missing after reassignment, and provides actionable steps to effectively recover your precious files using both built-in utilities and specialized recovery software.
Understanding Drive Letter Changes and Data Loss
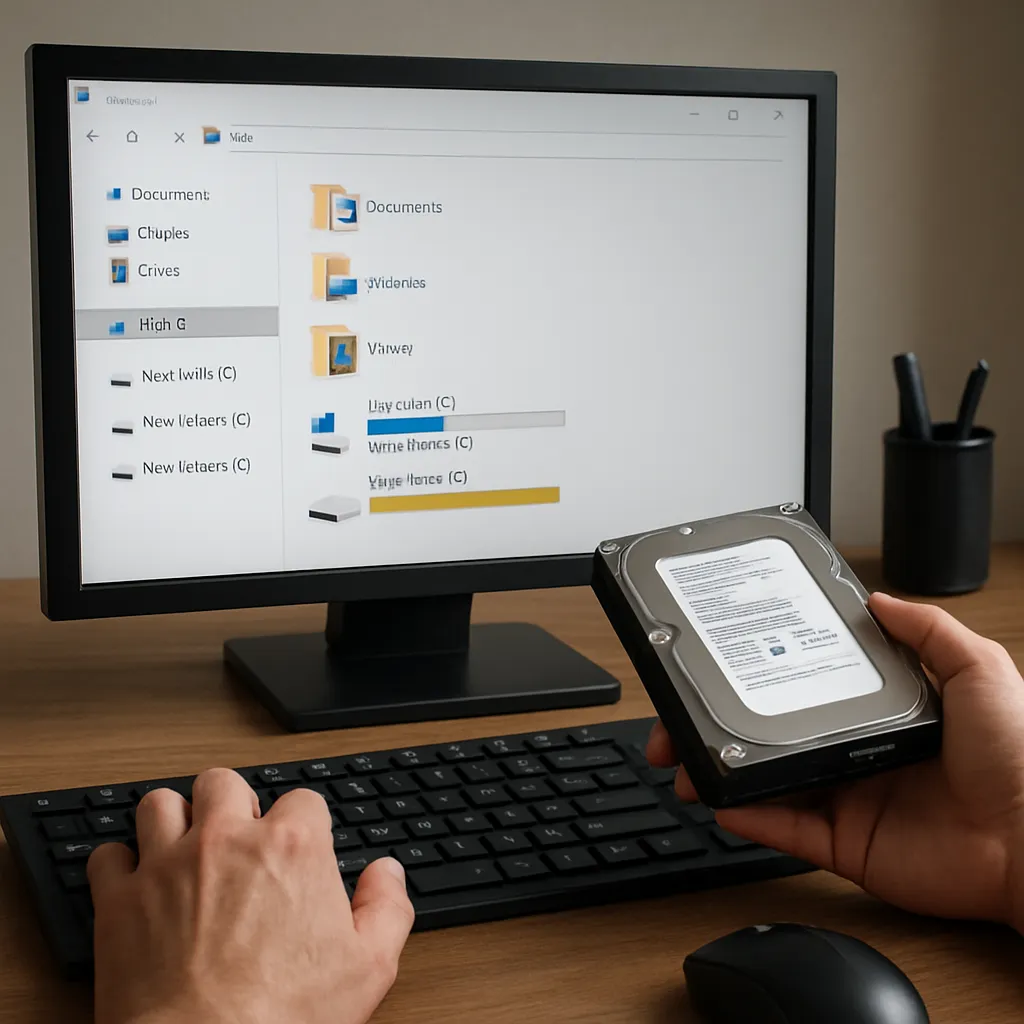
Windows assigns a unique drive letter (such as C:, D:, or E:) to each storage volume, creating a clear namespace that applications and user profiles rely upon. When you modify this assignment—either through Disk Management, command-line tools, or third-party partition managers—the operating system updates the drive letter association in the registry. However, certain files and applications may still reference the previous letter, leading to broken shortcuts, missing directories, or inaccessible data.
At the core of this issue lies the file system metadata, which tracks file locations, directory entries, and allocation tables. When the drive letter changes, metadata pointers remain intact on the partition itself, but Windows Explorer and many programs read the letter association from the registry. If the letter no longer matches, those programs may act as if the partition is empty—even though the underlying data is perfectly preserved.
In more complex scenarios, utilities that enumerate volumes by letter rather than by disk signature or volume GUID can unknowingly format or initialize the wrong drive. This unfortunate event overwrites existing metadata and file contents, compounding the problem by transforming a simple letter mismatch into a full-blown data loss incident. Understanding these nuances is critical for choosing the right recovery approach and avoiding further damage.
Before attempting any corrective measures, it’s vital to stop all write operations on the affected drive. Further changes—like creating new files, installing software, or even defragmenting—can overwrite sectors containing fragments of your missing documents, photos, or databases. Preserving the current state maximizes the chances that specialized utilities can reconstruct metadata and restore your files to their rightful place.
Common Causes of Lost Files After Drive Letter Changes
When users discover that files are missing following a drive letter reassignment, several fundamental causes are often at play:
- Registry Mismatch: Applications and shortcuts continue pointing to the old drive letter, failing to locate existing files.
- Third-Party Utilities: Partitioning tools or virtualization software may reinitialize the partition if they detect an unexpected letter change, erasing file allocation tables.
- Corrupted Volume Table: Abrupt disconnection of external drives during a letter change can corrupt the volume’s allocation table.
- Logical Conflicts: Two volumes inadvertently assigned the same letter can confuse Windows, leading one to become hidden or offline.
External factors such as sudden power loss or USB cable failure during a letter modification can exacerbate the problem. Even though the physical sectors storing your files remain intact, the logical map connecting file names to locations may become scrambled, requiring specialized recovery procedures to rebuild the mapping.
It’s also worth noting that not all files behave identically. System files, hidden backups, and encrypted containers might be more resilient or, conversely, more vulnerable depending on how their applications track storage volumes. For instance, Windows System Restore points reference volume IDs rather than drive letters, so they might remain accessible. Conversely, portable applications using relative paths can suddenly break if the root letter changes.
Methods to Retrieve Lost Files
Recovering files after a drive letter change involves a structured approach. Start by verifying whether the data is truly missing or simply inaccessible due to incorrect references. Here are the primary methods to restore your files:
- Reassign the Original Letter: Reopen Disk Management, locate the affected volume, and manually restore its previous drive letter. This often resolves missing shortcuts and application errors.
- Check Volume GUID Paths: In Windows, each volume has a unique GUID path (e.g., \?Volume{GUID}). Use this path in a file manager or command prompt to browse the raw contents without relying on drive letters.
- Run CHKDSK: Execute chkdsk /f on the affected drive to repair file system errors and rebuild corrupted allocation tables. Be cautious: running CHKDSK on a severely damaged volume can occasionally worsen fragmentation.
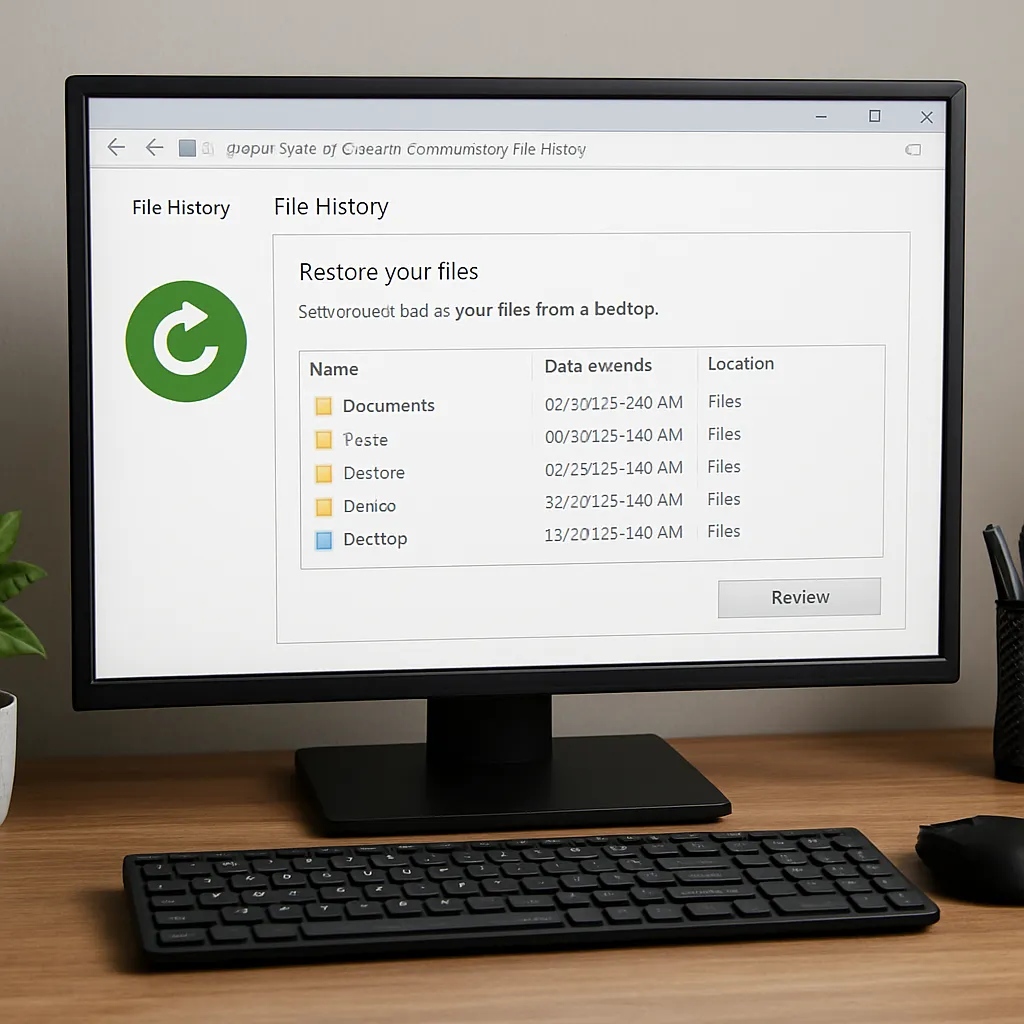
- Utilize File History or Shadow Copies: If enabled, browse previous versions of files through Properties > Previous Versions. This can retrieve earlier snapshots independent of the current letter assignment.
- Undelete Tools: Specialized undelete utilities scan for orphaned file entries, reconstructing files even when directory structures are compromised.
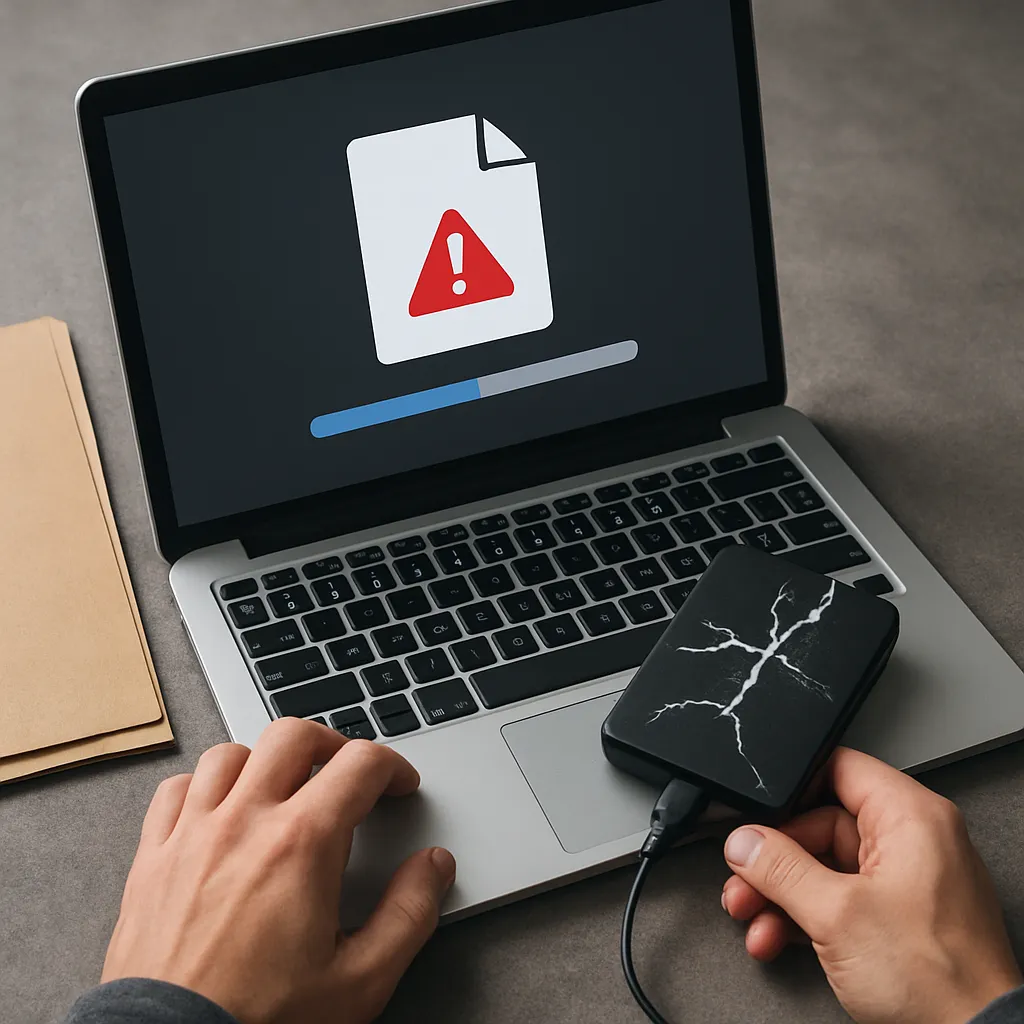
If these built-in techniques fail to locate your files, it’s time to escalate to professional-grade solutions. Before proceeding, remember to create a bit-by-bit image of the volume using disk imaging software. This ensures a safe backup of the current state, allowing multiple recovery attempts without risking further damage.
Using Professional Recovery Software
Industry-leading recovery applications offer deep scanning algorithms that go beyond simple directory traversal. They perform sector-level analysis and can rebuild entire partitions by detecting known file headers, footers, and signatures intrinsic to common formats such as JPEG, DOCX, or database files.
Core Features to Look For
- Comprehensive Scan Modes: Quick scans detect recently deleted files. Deep scans reconstruct older or fragmented files by analyzing raw data patterns.
- Partition Recovery: Recreate lost or overwritten partition tables by locating the original start and end points of each volume.
- Preview Functionality: View recoverable files—such as images or documents—before restoring them, ensuring you recover only the needed data.
- Selective Restoration: Retrieve individual files or entire directory trees, customizing the output paths to an alternate drive to prevent overwriting.
- File Signature Database: Recognize hundreds of file types through embedded signatures, boosting recovery success for obscure formats.
- User-Friendly Interface: Guide beginners through a step-by-step wizard while offering advanced settings for power users.
When selecting a recovery tool, prioritize solutions that operate directly from a portable executable or bootable media. This approach avoids installing the software on the target drive, which could inadvertently overwrite lost data. After launching the application, point it to the affected volume or disk image and initiate the chosen scan mode.
Upon scan completion, most tools categorize recoverable items by folder structure or file type. Use the integrated preview pane to verify file integrity before committing to restoration. Finally, save output files to a separate storage device—never the original volume—to preserve the remaining metadata until you’re confident recovery is complete.
Preventive Measures to Avoid Data Loss
Proactive data protection strategies dramatically reduce the risk of losing files due to drive letter changes or other system modifications. Consider implementing the following Best Practices:
- Regular Backups: Employ automated backup solutions—either cloud-based or local—to maintain current copies of critical data. Test the restoration process to confirm backup validity.
- Volume Labeling: Assign descriptive labels to partitions, making it easier to identify drives in Disk Management and avoiding accidental letter reassignments.
- Use Volume GUID Paths: Configure advanced applications and scripts to reference volumes by GUID rather than letter, ensuring stability when letters change.
- Document Drive Mappings: Maintain a simple inventory of assigned drive letters, especially in multi-drive or networked environments.
- Educate Users: In organizational settings, train staff on the implications of drive letter changes and establish clear protocols for safe reassignments.
- Adopt Enterprise-Grade RAID and Snapshots: For critical systems, implement RAID arrays with snapshot capabilities to provide near-instant recovery from logical errors.
By following these steps, you create a robust framework that safeguards your digital assets and minimizes the likelihood of encountering irrecoverable data loss due to simple administrative changes. Integrating these practices into routine maintenance processes ensures that even if drive letter modifications are necessary, your files remain fully accessible and protected.