Retrieving files from a computer that refuses to power on can feel like an insurmountable challenge, but with the right approach and tools, you can reclaim your vital data. This guide delves into the essential steps, from initial diagnostics to leveraging advanced recovery software solutions. Each section outlines practical techniques to ensure you navigate the process efficiently and minimize the risk of permanent data loss.
Understanding the Underlying Issue
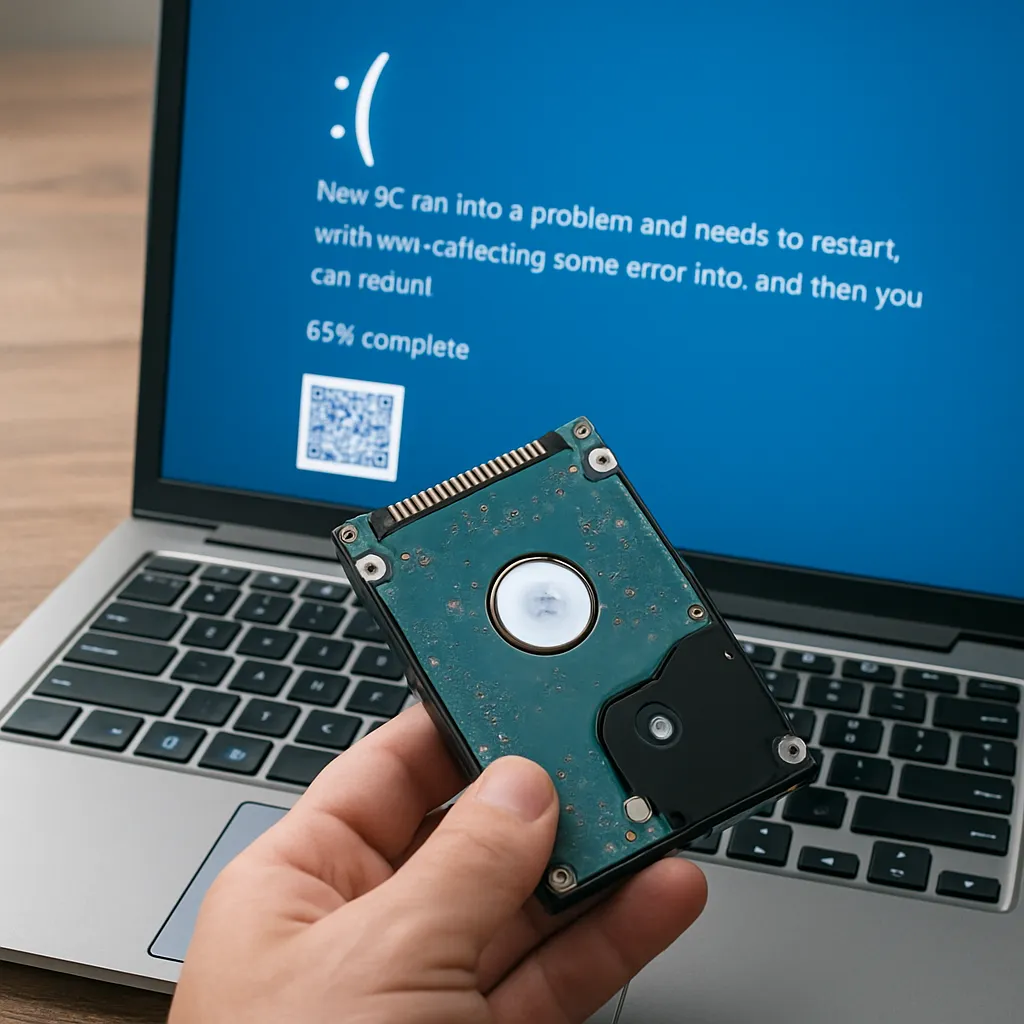
Before diving into data retrieval, it’s crucial to pinpoint why the machine won’t start. The fault may lie in the power supply, motherboard, or even physical damage to the hard drive. Conducting a systematic assessment is vital for selecting the correct recovery method.
- Visual Inspection: Examine cables, connectors, and circuit boards for burn marks, loose parts, or liquid exposure.
- Basic Power Diagnostics: Swap out the power supply unit (PSU) with a known working one or test voltage outputs using a multimeter.
- Component Isolation: Remove non-essential peripherals, RAM sticks, and expansion cards to determine if a malfunctioning part is preventing boot-up.
- Listen for Beeps: BIOS beep codes can hint at issues with memory, CPU, or graphics cards.
Once hardware problems are narrowed down, focus shifts to safely extracting data from the affected storage device.
Preparing for Data Recovery
Ensuring a stable and secure environment for retrieval efforts can drastically improve success rates. Follow these preparatory measures:
Creating Bootable Media
- Download a trusted bootable recovery distribution (e.g., Linux live CD with preinstalled recovery tools or specialized rescue ISO).
- Use a reliable USB flash drive (at least 8 GB) and a tool like Rufus or Etcher to create the bootable media.
- Verify the integrity of the ISO image by checking its SHA256 checksum.
Securing a Destination for Recovered Data
Always transfer recovered files to an external drive or network location to avoid overwriting source data. Consider these options:
- High-capacity USB-C or Thunderbolt SSD for speed and portability.
- Network-attached storage (NAS) with RAID protection for added redundancy.
- Cloud backup services if bandwidth allows for secure online storage.
Gathering Necessary Tools
- Screwdrivers and anti-static wrist strap for safe component handling.
- USB to SATA/IDE adapter for direct connection to the defective hard drive.
- Multimeter for further voltage testing if diagnostics extend to other components.
Choosing the Right Recovery Software
Selecting an appropriate application is a pivotal decision. The ideal data recovery solution should support offline operations, handle various file systems, and offer a clear interface for less technical users.
Key Features to Evaluate
- File system compatibility: FAT32, NTFS, HFS+, exFAT, EXT4.
- Deep scan capabilities for locating corrupted or lost partitions.
- Support for creating disk images or clones before recovery attempts.
- Preview functions to verify recoverable files before committing to extraction.
- Read-only operation to prevent accidental writes on the source drive.
Recommended Tools
- TestDisk & PhotoRec: Free, open-source utilities ideal for partition recovery and file carving.
- R-Studio: Professional-grade software with RAID reconstruction and network recovery.
- EaseUS Data Recovery Wizard: User-friendly with strong support for various file formats.
- Stellar Data Recovery: Comprehensive toolkit featuring video and email recovery modules.
Step-by-Step Retrieval Process
With diagnostics complete and tools at hand, follow these steps to recover your files:
1. Connect the Drive Externally
- Power down your workstation completely.
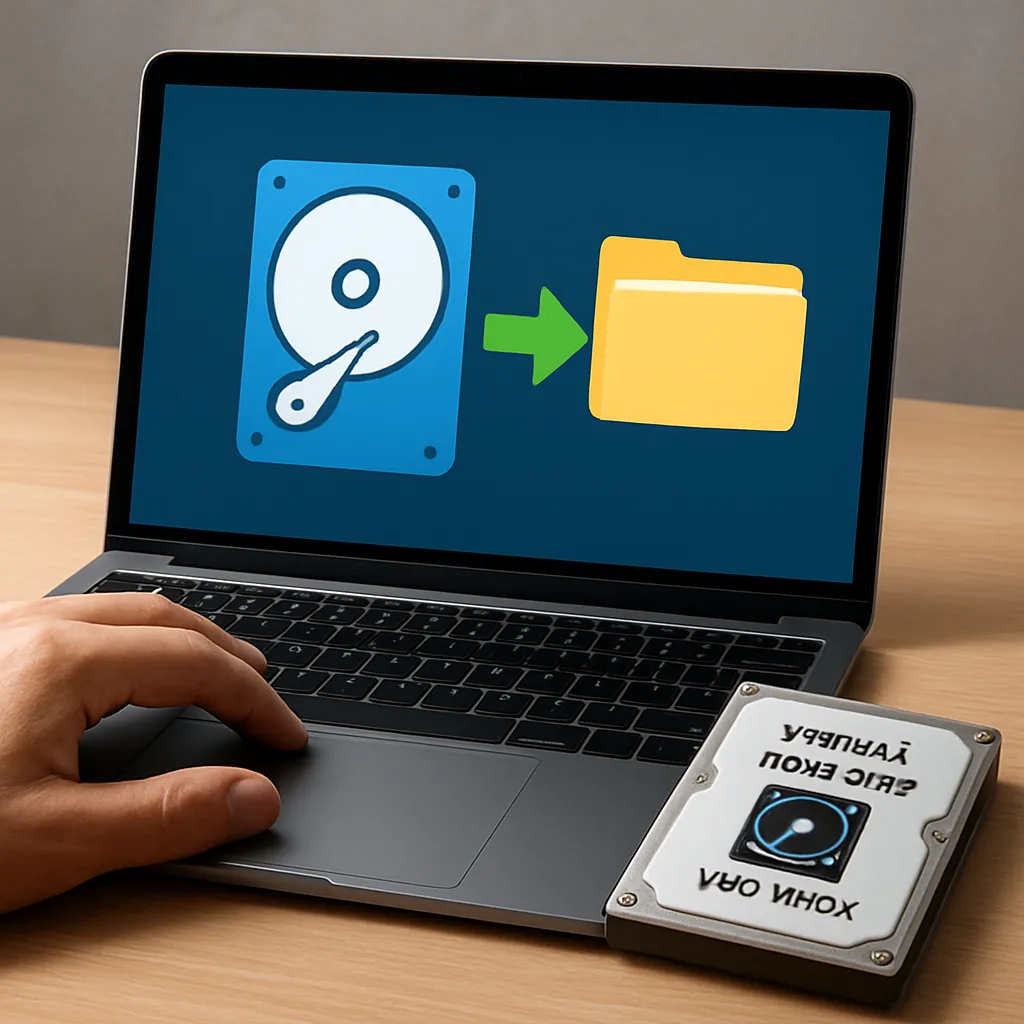
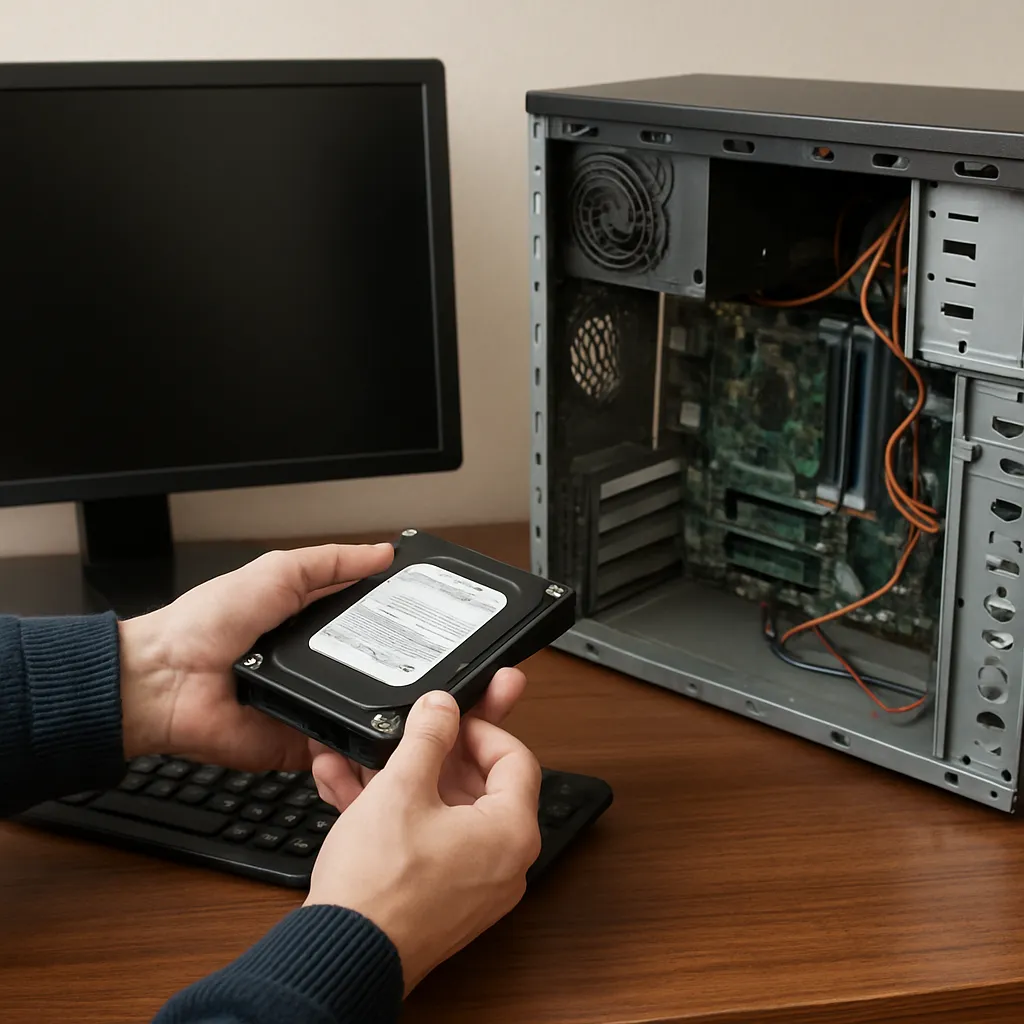
- Remove the faulty drive and attach it to a working PC via a USB-to-SATA adapter.
- Ensure the OS recognizes the drive without mounting it automatically, preserving its state.
2. Create a Drive Image
Imaging the defective disk should be the first action to avoid further wear. Use ddrescue or a similar tool:
- Launch a Linux live environment from your bootable media.
- Open a terminal and run: ddrescue -f -n /dev/sdX /path/to/image.img /path/to/logfile.log
- Monitor read errors and allow additional passes if necessary to maximize data capture.
3. Run the Recovery Software
Point the chosen application at the disk image rather than the physical device. This preserves the original drive and enables retries:
- Initiate a quick scan to detect existing partitions and file structures.
- Proceed to a deep scan if initial results are incomplete.
- Use the preview feature to confirm file integrity before extraction.
4. Extract and Verify Files
- Select desired files and export them to your external destination.
- Organize recovered data by date and folder type to streamline validation.
- Open a sample of documents, images, and archives to ensure usability.
Advanced Troubleshooting and Best Practices
If standard recovery methods fail or the drive exhibits mechanical noises, consider these advanced tactics:
Cold Freezing Technique
- Place the sealed drive in a static-free bag and store it in a freezer for a few hours.
- Reconnect quickly after removal to perform a targeted recovery pass.
- Use this method sparingly, as condensation can harm electronics.
Professional Data Recovery Services
When facing hardware failure beyond DIY repair, consult certified labs. They offer:
- Cleanroom environments for platter swaps.
- Microscopic head replacement.
- Specialized firmware repair for damaged controller boards.
Preventive Measures for Future Safety
- Implement scheduled backups with versioning on local and cloud storage.
- Monitor drive health via S.M.A.R.T. utilities and replace aging disks proactively.
- Use surge protectors and UPS systems to guard against power-related failures.