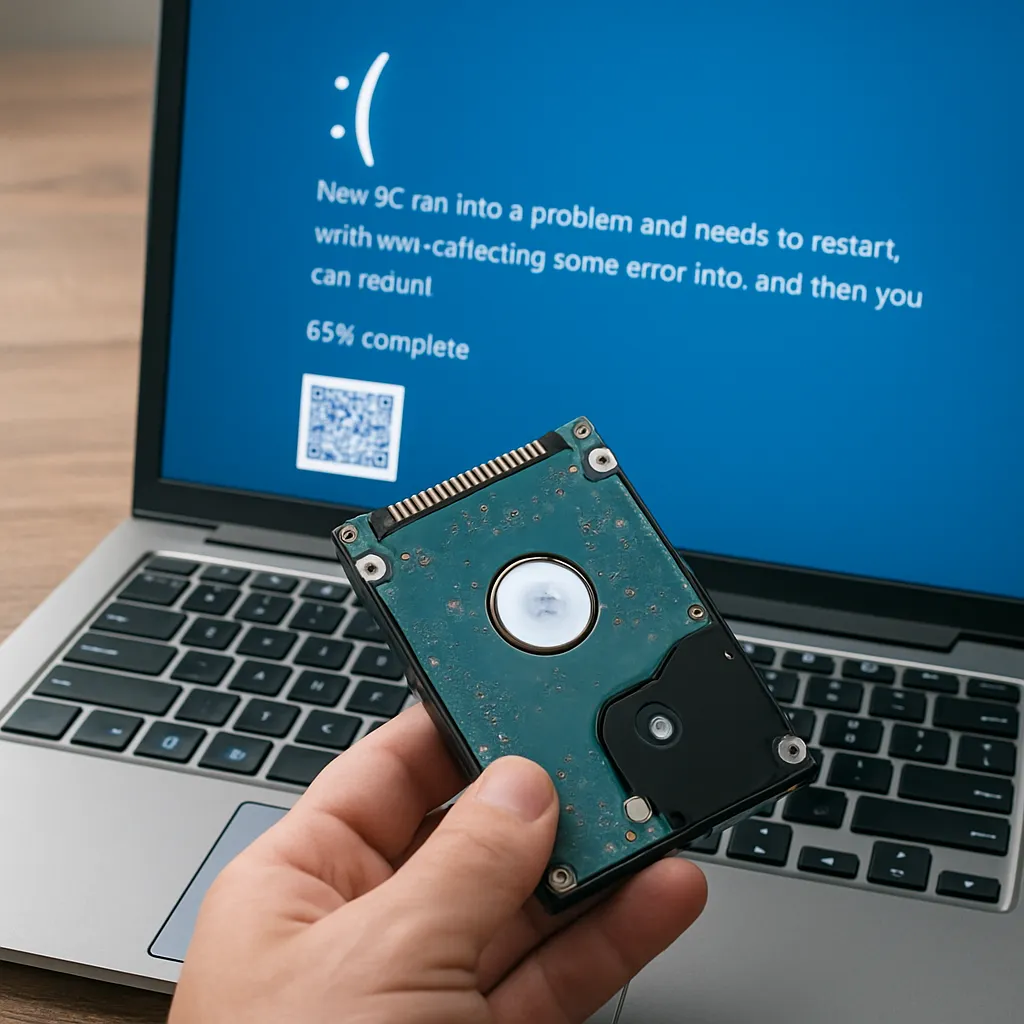
Recovering lost data from virtual disk files can be a challenging yet essential task for IT professionals and home users alike. Virtual Hard Disks (VHD/VHDX) often store critical system images, backups, or application environments. When these files become inaccessible due to logical errors, accidental deletion, or file system corruption, specialized tools and a clear process are required. This article explores effective techniques and features that make VHD recovery both robust and reliable.
Understanding Virtual Hard Disks and Common Failure Scenarios
Virtual Hard Disks (.vhd/.vhdx) are file-based representations of physical hard drives. They allow multiple operating systems to coexist on one physical machine or provide a portable backup solution. Despite their flexibility, VHD files can experience corruption for several reasons. Understanding these risks helps to choose the right recovery approach:
- Power outages during write operations
- Sudden hardware failures on the host machine
- Software bugs in virtualization platforms
- Accidental deletion or formatting of VHD containers
- Improper shutdowns leading to incomplete metadata updates
When a VHD becomes unreadable, its underlying file system or the partition table inside may be damaged. In dynamic VHDX files, fragmentation and segmentation issues further complicate recovery, requiring advanced analysis capabilities.
Key Features of Effective Recovery Tools
Selecting the right utility is crucial. A competent VHD recovery software should offer a combination of speed, accuracy, and advanced options for handling different failure modes.
- Deep Scan: Thoroughly inspects every sector within the VHD/VHDX file to locate file headers and signatures.
- Preview Capability: Allows users to view recoverable files before restoration, saving time and storage space.
- Partition Table Repair: Rebuilds corrupted MBR or GPT structures without manual intervention.
- Support for both dynamic and fixed-sized VHDX formats, including 4K logical sector alignment.
- Ability to handle complex file systems like NTFS, FAT32, exFAT, ReFS, and EXT variants.
- Snapshot Management: Recovers data from intermediate snapshots taken by the virtualization platform.
- Integrity Checks: Verifies restored files using CRC or SHA checksums to ensure no data was tampered with during recovery.
- Automatic handling of encryption layers, such as BitLocker, if the correct decryption keys are provided.
- Detailed recovery logs for audit and troubleshooting purposes.
- Efficient resource utilization to optimize performance on both commodity hardware and high-end servers.
Step-by-Step Guide to Recovering Files from VHD/VHDX
Mounting and Analyzing the Disk Image
Begin by creating a secure copy of the damaged VHD/VHDX file. Working on a duplicate prevents further damage to the original. Next, mount the VHD in read-only mode using your operating system’s built-in tools or with specialized mount utilities. This integrity-first approach ensures no write operations corrupt the disk image further.
- Use disk management consoles or command-line utilities (e.g., DiskPart on Windows) to mount the file.
- Inspect SMART data and file attributes to rule out host-level hardware issues.
- Generate a checksum of the mounted image to track any accidental changes.
Choosing the Right Recovery Mode
Different failure scenarios demand tailored modes:
- Quick Scan: Effective for recently deleted files or minor file system inconsistencies.
- Deep Scan: Essential when the file system is heavily damaged or partitions are missing.
- RAW Recovery: Extracts raw file fragments when no valid file system metadata remains.
- Partition Reconstruction: Rebuilds lost or damaged partition tables before extracting file data.
Initiate the scan with a Quick Scan if you suspect simple deletions. If results are unsatisfactory, escalate to a Deep Scan or RAW mode. During scanning, monitor progress and estimated time remaining.
Data Export and Validation
Once files are identified, select a safe destination located on a different physical disk. Overwriting source data is a common mistake that can render recovery impossible. Before final export:
- Sort recoverable items by file type, size, or modification date.
- Preview media files or documents to confirm readability.
- Use built-in checksum verification to confirm data resilience.
After export, organize recovered data into a new folder structure. Validate critical files by opening them in their native applications. If some files remain corrupted, consider rerunning the recovery process with a more aggressive scan setting or employ a file repair utility specialized for damaged formats.
Best Practices for Avoiding Future Data Loss
Prevention is always better than recovery. Implement these strategies to protect your virtual environments:
- Regular Backups: Schedule incremental and full backups of VHD/VHDX files to offsite or cloud storage.
- Integrity Monitoring: Deploy tools that continuously verify checksums and file system health.
- Snapshop Management: Retain multiple restoration points, but clean up obsolete snapshots to save space.
- Host Maintenance: Keep hypervisor software and drivers up to date to reduce the risk of unexpected crashes.
- Disaster Recovery Plan: Document and test your recovery procedures regularly under simulated failure scenarios.