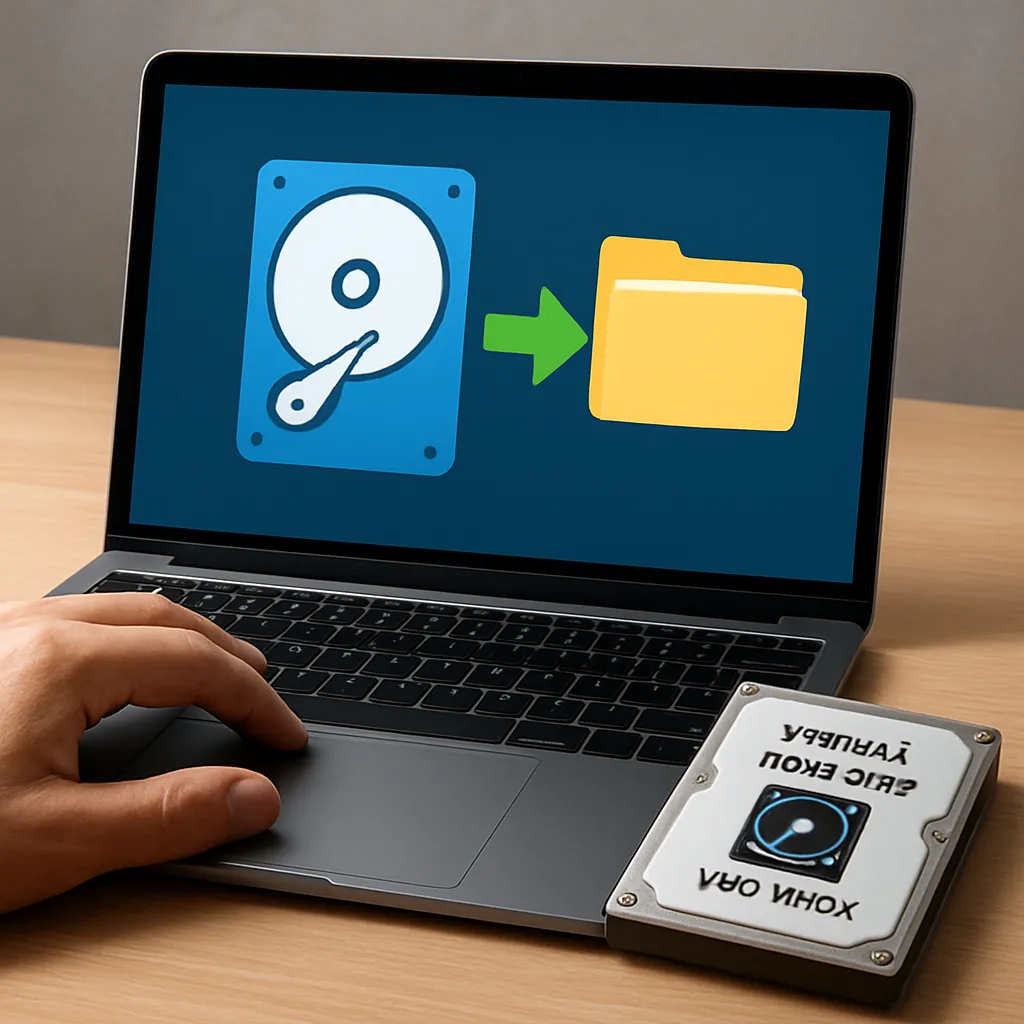
At the core of any reliable data management strategy lies the ability to **restore** files from earlier points in time. Whether you’ve accidentally deleted a critical document or encountered file corruption, previous system versions can serve as a lifesaver. This article explores the mechanisms underpinning version-based backups, offers a detailed restoration walkthrough, highlights prominent **recovery** software tools, and outlines best practices to safeguard your data.
Understanding Previous System Versions
Most modern operating systems maintain periodic snapshots or **restore points** that capture the state of files and system settings at specific intervals. Leveraging these snapshots allows users to recover individual files or entire directories without relying solely on manual backups. Key components include:
- Volume Shadow Copy Service (Windows)
- Time Machine (macOS)
- Third-party snapshot utilities (Linux and cross-platform)
Volume Shadow Copy and Restore Points
Windows implements the Volume Shadow Copy Service (VSS) to create consistent snapshots of disk volumes while applications continue to run. When System Protection is enabled, the OS generates restore points automatically before significant events such as software installations or system updates. Users can then right-click a folder or file, select “Restore previous versions,” and browse available snapshots.
Benefits of VSS snapshots:
- Minimal performance impact during snapshot creation
- Integration with System Restore and File History
- Ability to recover single files or entire directories
Time Machine on macOS
Apple’s Time Machine offers a user-friendly interface for restoring files from hour-by-hour, daily, and weekly **snapshots**. It enables users to browse an interactive timeline and visually compare versions of documents, photos, or entire home directories. Key features include:
- Automatic hourly backups
- Incremental backups to minimize storage usage
- Networked backup to Time Capsule or shared drives
Third-Party Snapshot Tools
For Linux or specialized requirements, tools like rsnapshot, BorgBackup, and Restic provide robust snapshot capabilities. These programs often support deduplication, encryption, and remote storage, making them ideal for enterprise environments and advanced home users seeking greater control over retention policies.
Step-by-Step Restoration Guide
Restoring files from previous system versions can vary by platform, but the general process remains consistent. Follow these steps to recover lost or corrupted data efficiently:
- Verify Snapshot Availability
- Open System Protection (Windows) or Time Machine preferences (macOS).
- Confirm snapshots exist for the date and time range when the file last existed.
- Execute the Restore
- Right-click the target file or folder and select “Restore previous versions” (Windows).
- Enter Time Machine’s interface, navigate to the desired point in time, select the file, then click Restore (macOS).
- Choose a Destination
- Restore to the original location or specify an alternate folder to avoid overwriting existing data.
- Verify File Integrity
- Open the restored file to ensure it’s intact and free of corruption.
- Compare file sizes, creation dates, and checksums if needed.
- Implement Preventive Measures
- Schedule regular backups or enable continuous protection features.
- Document recovery steps and educate team members.
Leveraging Recovery Software Tools
When system snapshots are unavailable or insufficient, dedicated recovery software can scan storage media for remnants of deleted or overwritten files. These applications utilize advanced algorithms to reconstruct file headers, recover fragmented data, and restore directory structures. Popular options include:
- Recuva – A free Windows utility supporting various file systems and offering deep scans.
- Disk Drill – Cross-platform solution with file preview, S.M.A.R.T. monitoring, and byte-to-byte backups.
- R-Studio – Professional-grade software for Windows, macOS, and Linux, ideal for forensic data recovery.
- PhotoRec – Open-source tool focusing on multimedia file recovery across many platforms.
Best practices when using recovery tools:
- Avoid installing software or writing new data to the affected drive.
- Create a disk image to preserve the current state before attempting recovery.
- Use deep or sector-by-sector scans for thorough results.
- Export recovered files to a separate storage device to prevent overwriting.
Optimizing Your Backup Strategy
To reduce downtime and data loss risks, establish a multi-layered backup and **versioning** plan:
- Local Snapshots
- Enable System Protection on Windows or Time Machine on macOS.
- Configure retention settings appropriate to your workflow.
- Offsite Backups
- Use cloud services like Azure Backup, AWS S3, or Backblaze B2 for **data protection** beyond the local network.
- Automate encryption and upload tasks to maintain privacy and compliance.
- Regular Testing
- Perform scheduled restoration drills to validate backup integrity.
- Document recovery time objectives (RTO) and recovery point objectives (RPO).
- Maintenance and Monitoring
- Keep firmware, drivers, and operating systems up to date.
- Leverage S.M.A.R.T. diagnostics and disk health reports to anticipate hardware failures.
Enhancing Recovery with Advanced Techniques
For enterprise environments or critical data repositories, consider integrating the following advanced methods:
- Continuous Data Protection (CDP) captures every change in real time, enabling minute-level granularity for restores.
- Immutable Backups stored on write-once media or using object locking to prevent tampering and ransomware encryption.
- Hybrid Cloud Architectures that combine on-premises snapshot appliances with cloud replication for high availability.
- Data Deduplication and compression to reduce storage footprint without sacrificing recovery speed.
Implementing these strategies will ensure a **reliable**, scalable, and secure recovery environment capable of handling any data loss scenario.