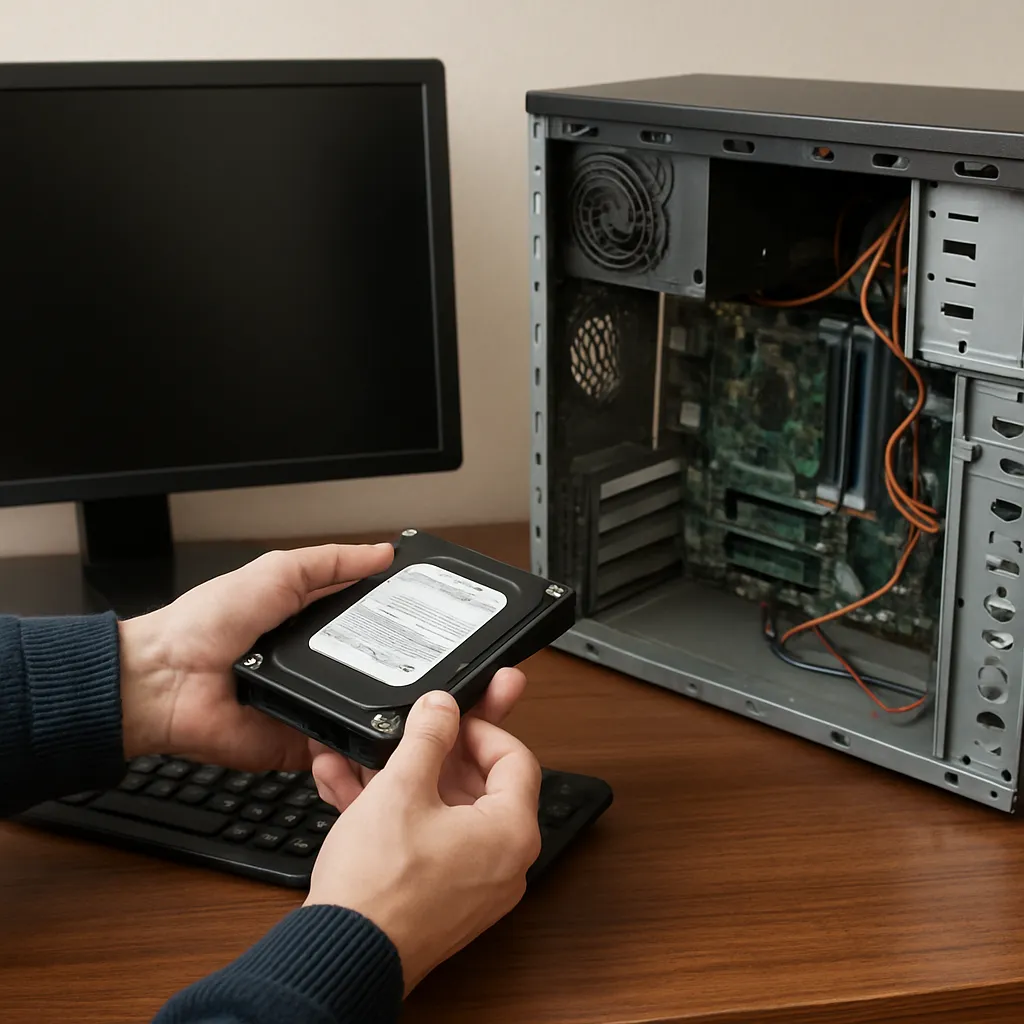
An unexpected disk read error can bring regular operations to a halt, jeopardizing valuable data and causing stress for individuals and organizations alike. Understanding the nuances of this challenge and deploying the right tools can pave the way for successful file retrieval. This guide explores the technical roots of read failures, highlights indispensable features of top-tier recovery solutions, and walks through a methodical approach to reclaim lost content while safeguarding future integrity.
Understanding Disk Read Errors
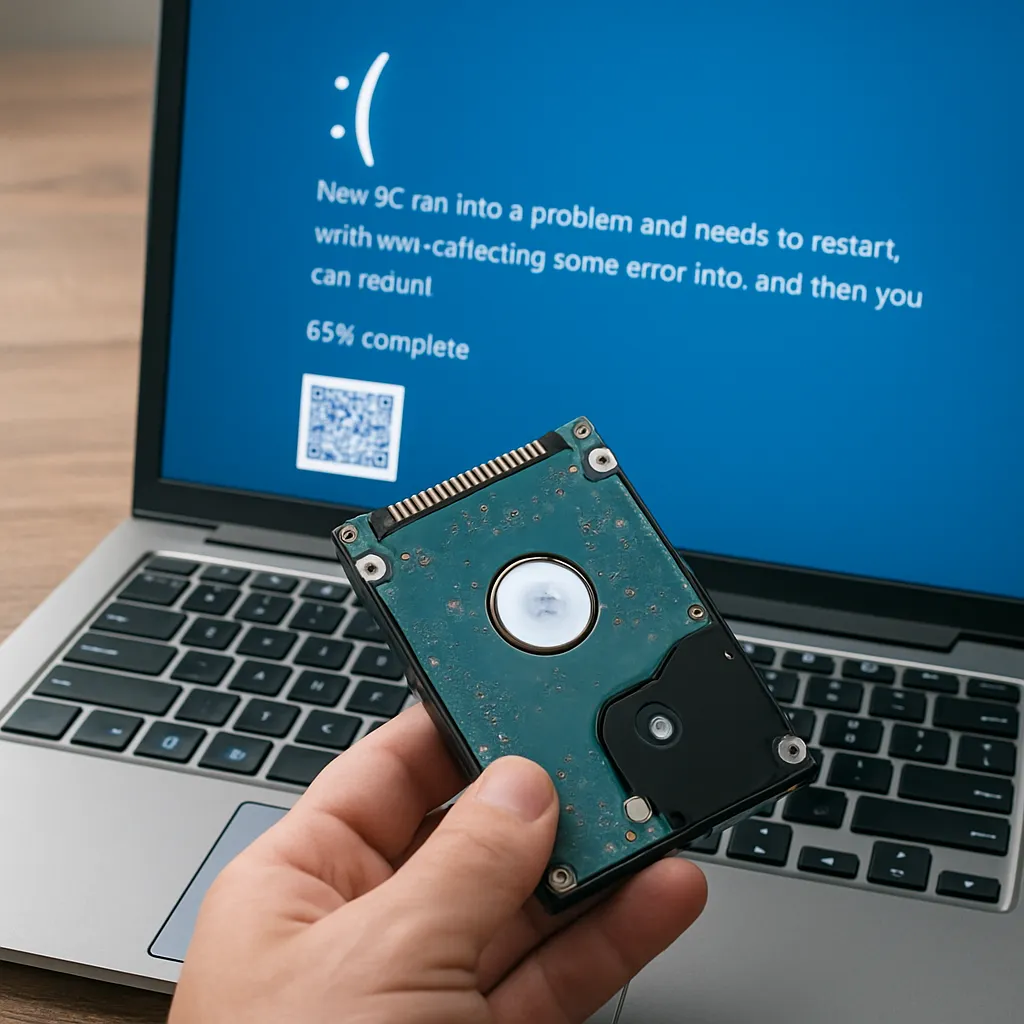
Disk read errors arise when the operating system cannot access a sector or block on a storage medium. These interruptions may stem from physical damage, logical corruption, or firmware malfunctions. While a scratched platter or a failing read/write head evokes a hardware disaster, bit rot and improper shutdowns can silently corrupt the filesystem. Recognizing the precise origin is essential before launching any recovery effort.
- Physical Failures: Surface scratches, motor stalling, or aging components that produce clicking or grinding noises.
- Logical Issues: Corrupted file tables, cross-linked files, or orphaned clusters caused by malware, abrupt power loss, or software bugs.
- Firmware Glitches: Broken translation layers between the disk controller and operating system that render sectors inaccessible without physical intervention.
Early detection of trouble signs—unexpected freezes, repeated SMART warnings, or CRC errors—can tilt the balance toward a full retrieval rather than irrevocable loss.
Key Features of Effective Recovery Software
Choosing an optimal tool can make the difference between partial success and a complete dead end. A robust application combines performance, versatility, and a user-friendly interface. Here are several pillars that elevate a basic utility into a professional-grade solution:
- Scan Modes: Offers both quick scans for recent deletions and deep scans for severely damaged partitions.
- File Type Recognition: Maintains an extensive database of document, image, audio, and video signatures to spot traces of lost files.
- Read-Only Environment: Ensures no further writes on the affected drive, preserving original disk conditions and maximizing recovery odds.
- Preview Functionality: Enables users to confirm the integrity of critical files before committing to a full restoration.
- User Interface: Balances advanced options for technicians with guided wizards for non-experts, reducing the margin for missteps in the recovery process.
Additional capabilities such as RAID reconstruction, virtual RAID support, and network recovery can prove invaluable for corporate environments with complex storage scenarios.
Step-by-Step Process to Recover Files
Assess the Situation
Before installing any tool, pause and evaluate the scope of damage. Does the system still boot? Are multiple volumes affected? Document any error messages or SMART indicators. If you detect physical grinding or burning smells, power down immediately and consult a data recovery lab. For logical errors where the drive remains silent, proceed with software-assisted retrieval.
Choose the Right Tool
Match your case to a specialized solution. Free utilities can work wonders for recently deleted data or simple FAT/NTFS corruption. When facing major file system breakdowns, bad sectors, or complex LUN configurations, seek professional-grade applications that incorporate hdd diagnostics and low-level sector imaging. Prioritize solutions that emphasize data protection by offering write-block enforcement and secure temporary image creation.
Perform the Recovery
Install the selected program on a different drive to avoid overwriting critical areas. Then:
- Select the target disk or partition that shows the read errors.
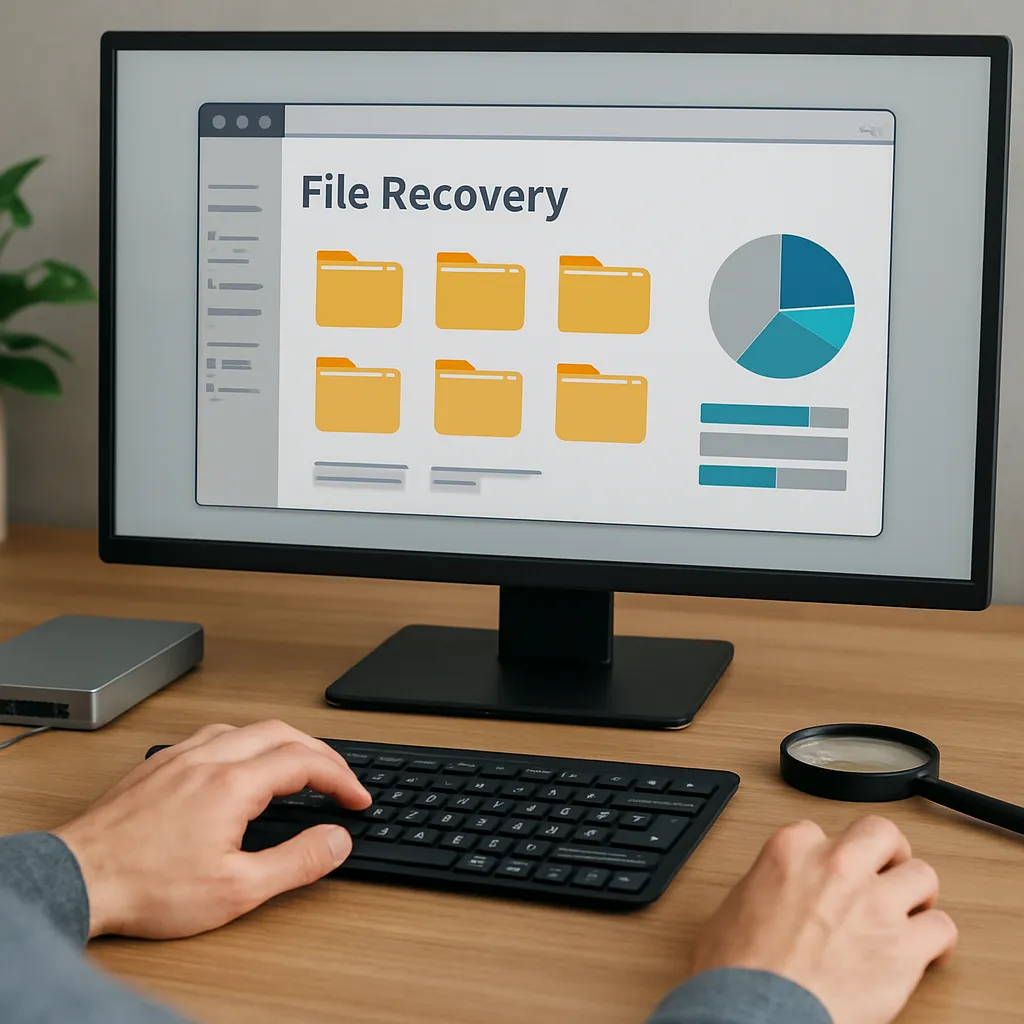
- Initiate a full scan, allowing the software to build a map of readable sectors and identify salvageable fragments.
- Monitor progress and review the list of detected files. Use the preview pane to verify that key documents, photos, or databases appear undamaged.
- Choose a secure destination—preferably on a separate physical disk—to export recovered items. This guarantees the original drive remains untouched.
When deep scanning, patience is paramount; complex drives with multiple faults can take hours to index completely.
Verify Recovered Data
After extraction, perform integrity checks on critical files. Images should open without artifacts, documents must retain proper formatting, and databases ought to load without missing tables. If any files remain unreadable, consider re-running the scan with alternate signature definitions or adjusting recovery parameters to capture fragmented pieces more effectively.
Preventive Measures to Minimize Future Risks
While powerful software rescues can salvage many dire situations, proactive strategies remain the cornerstone of data defense. Consider implementing the following:
- Regular Backup Schedules: Employ a 3-2-1 rule—three copies, two different media, one off-site or in the cloud.
- Disk Health Monitoring: Utilize SMART dashboards or dedicated utilities to track reallocated sectors and temperature fluctuations.
- Safe Shutdown Procedures: Avoid forced power-offs; always let the operating system complete sync and buffer flush operations.
- Surge Protection: Guard your storage array with quality UPS systems to prevent corruption from electrical anomalies.
- Filesystem Maintenance: Run scheduled CHKDSK or fsck routines during low-traffic windows to repair minor inconsistencies before they escalate.
By weaving these practices into your routine, you reduce the challenges of future disk failures and preserve the continuity of crucial workflows.