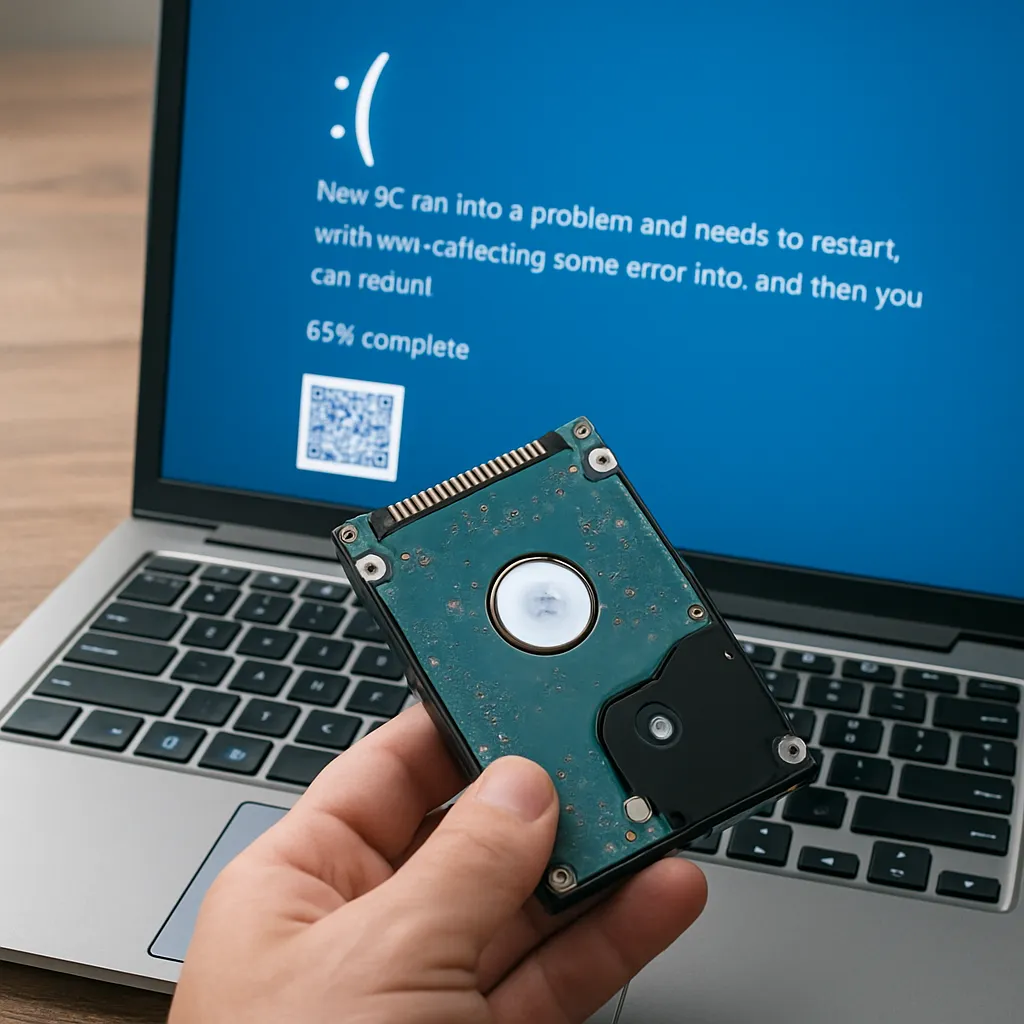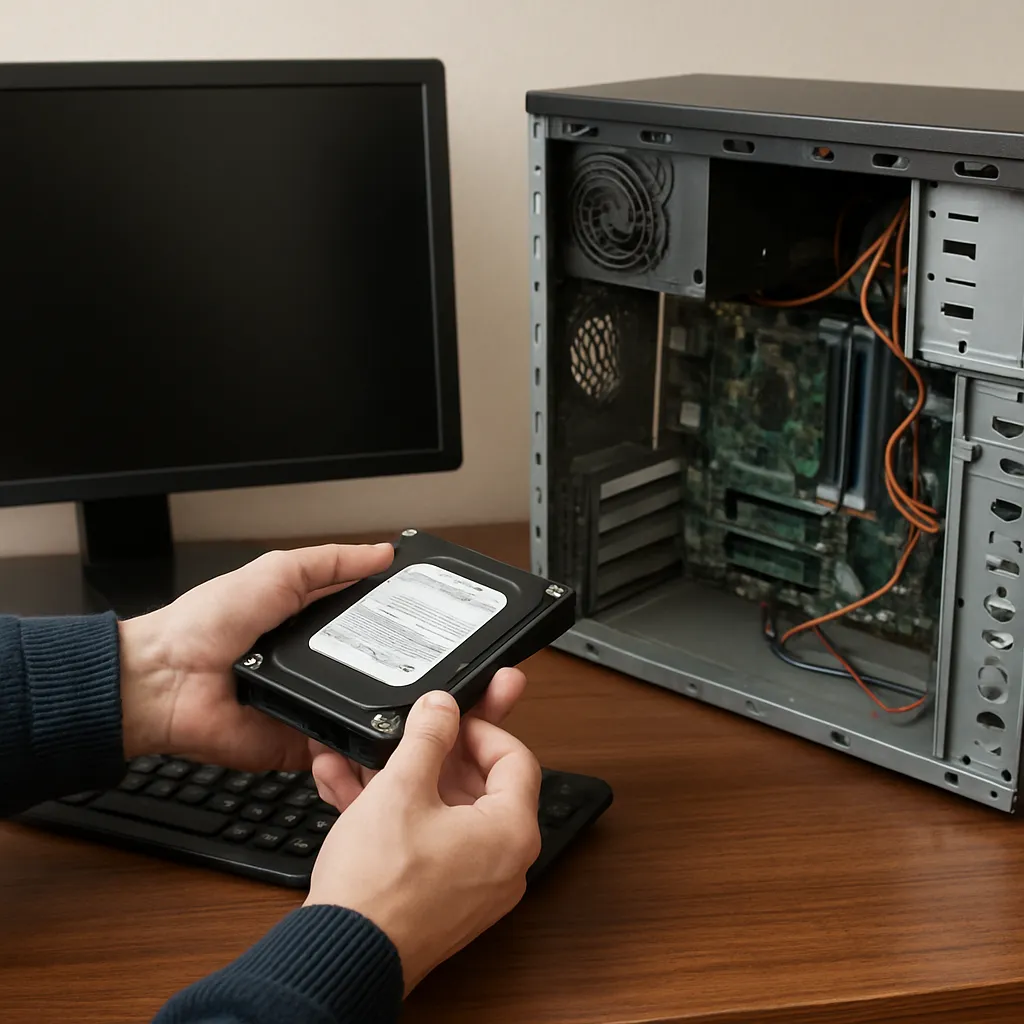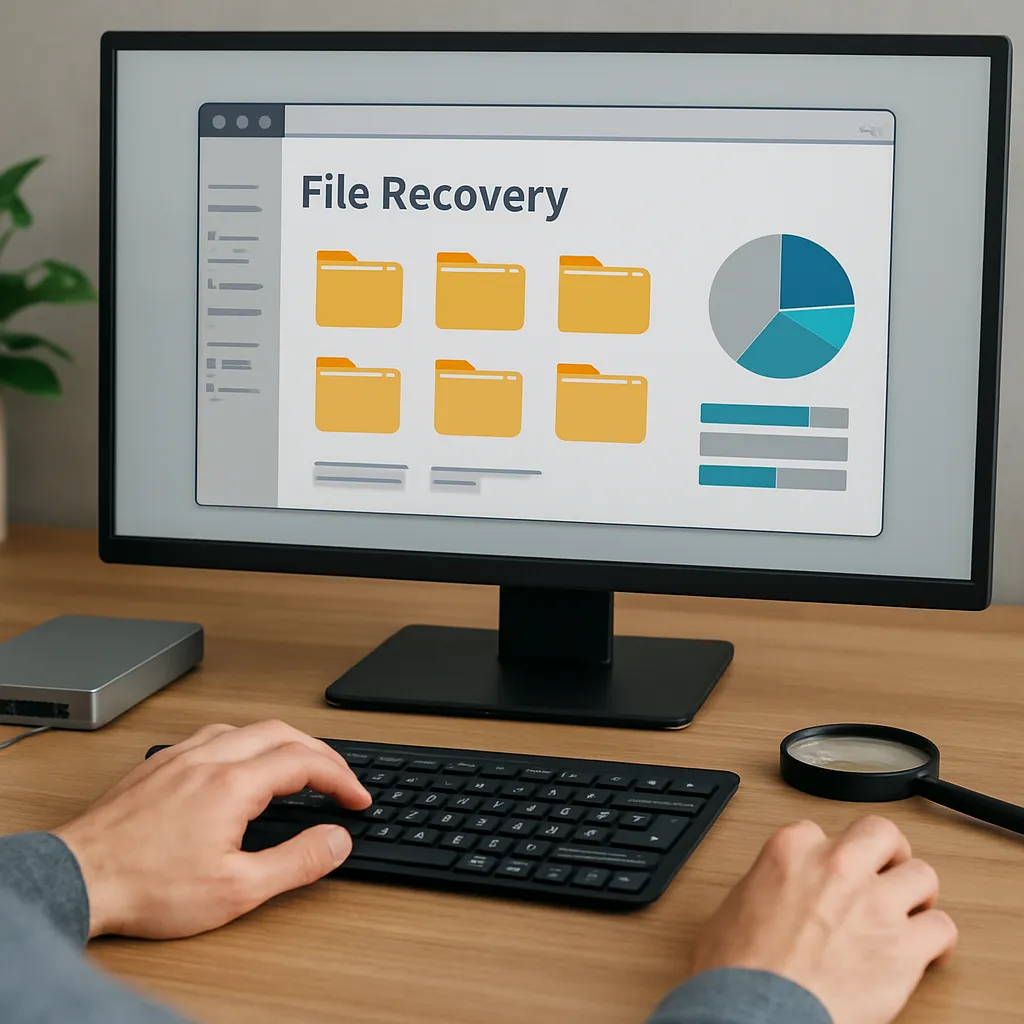
Partition operations are a powerful way to reorganize disk space, but they carry an inherent risk: unintended data loss. When you shrink a partition to free up space for another volume or to adjust your storage layout, any misstep can lead to missing or inaccessible files. Fortunately, modern data recovery software can help you retrieve lost documents, photos, videos, and other critical files after an accidental partition shrinking. This article explores the reasons why files may disappear, examines how recovery tools work, walks you through a detailed restoration workflow, and offers strategies to minimize future risks.
Understanding the Risks of Partition Shrinking
Before shrinking a partition, it’s vital to understand the underlying threats. When you reduce the size of a volume, you alter the file system metadata and update allocation tables. Any interruption—power failure, system crash, or software bug—can corrupt these structures and render the leftover space as unallocated space. Files whose clusters fall outside the newly defined boundaries become orphaned or partially overwritten. Key causes of data loss include:
- Misaligned clusters: The shrink operation may shift cluster boundaries, leading to fragmentation or loss of cluster pointers.
- Corrupted master file table: On NTFS or similar systems, damage to the main table can hide files even though their data still resides on disk.
- Interrupted operations: Sudden shutdowns during resizing can interrupt the process, leaving the partition in an inconsistent state.
- Tool incompatibility: Using unverified or outdated partitioning utilities can introduce errors, especially on newer file systems.
- Overwriting: Allocating the freed space to a new volume without a proper check can overwrite existing file fragments.
How Recovery Software Approaches the Problem
Effective recovery tools rely on a combination of metadata analysis, deep scan algorithms, and signature-based detection to locate missing files. Here is how they operate under the hood:
- Directory Reconstruction: The software parses partition tables and metadata entries to rebuild folder structures, even if the primary index is damaged.
- Signature Scanning: Known file formats (JPEG, DOCX, PDF, etc.) have unique headers and footers. By scanning raw sectors for these file signatures, the tool can identify and extract file fragments.
- Cluster Mapping: Some applications map clusters across the disk to detect continuity, preventing file corruption when fragments are scattered due to the shrink operation.
- Filter & Preview: After scanning, built-in filters allow you to sort by file type, size, or modification date. A preview feature lets you verify content before committing to recovery.
Step-by-Step Restoration Process
Important Note: Stop using the affected volume immediately after noticing missing files. Continued writes may overwrite recoverable data.
1. Initial Setup and Environment Preparation
Download a reputable recovery package and install it on a different drive or an external USB disk. This ensures that no additional data is written to the compromised partition. Connect any necessary external media for recovered file storage.
2. Performing a Quick vs. Deep Scan
Most recovery suites offer two modes:
- Quick Scan: Rapidly checks file tables for recently deleted entries. Ideal when you shrink a partition but haven’t used the system extensively afterwards.
- Deep Scan: Probes every sector for file system remnants and signatures. Required when the file table is severely damaged or missing.
Start with the quick scan. If the desired files don’t appear, switch to a deep scan. Be prepared: deep scanning can take hours on large drives.
3. Reviewing and Previewing Recoverable Files
When the scan is complete, use the software’s directory view or list view. Apply filters to narrow down by extension (e.g., .docx, .jpg), size thresholds, or modification dates. Select a few critical items and click the preview button. This step confirms file integrity before recovery.
4. Selecting Destination and Executing Recovery
Always recover to a different physical drive than the one you scanned. If you restore files to the same volume, you risk overwriting other lost data. Create a dedicated folder on an external SSD or USB drive. Then choose “Recover” or “Restore” and let the software copy all selected files. Monitor the process for errors and ensure enough free space on the target.
Best Practices to Prevent Future Data Loss
While recovery software is a lifesaver, the best strategy is prevention. Adopt these recommended practices:
- Regular Backups: Schedule automated backups to a remote server or cloud storage. Use versioning to retain historical copies.
- Disk Cloning: Before major partition changes, create a full sector-by-sector clone. Tools that support block cloning can spin up a mirror image for safe testing.
- Use reputable utilities: Stick with well-known partition managers that provide rollback options and integrity checks.
- Maintain a rescue drive: Keep a bootable USB with recovery software and diagnostic tools handy for emergencies.
- Monitor disk health: Use SMART monitoring tools to detect failing sectors or rising reallocated sector counts, which can predict potential drive failure.
- Document your steps: Keep a log of partitioning tasks, especially when resizing, so you can reproduce settings or identify mistakes.