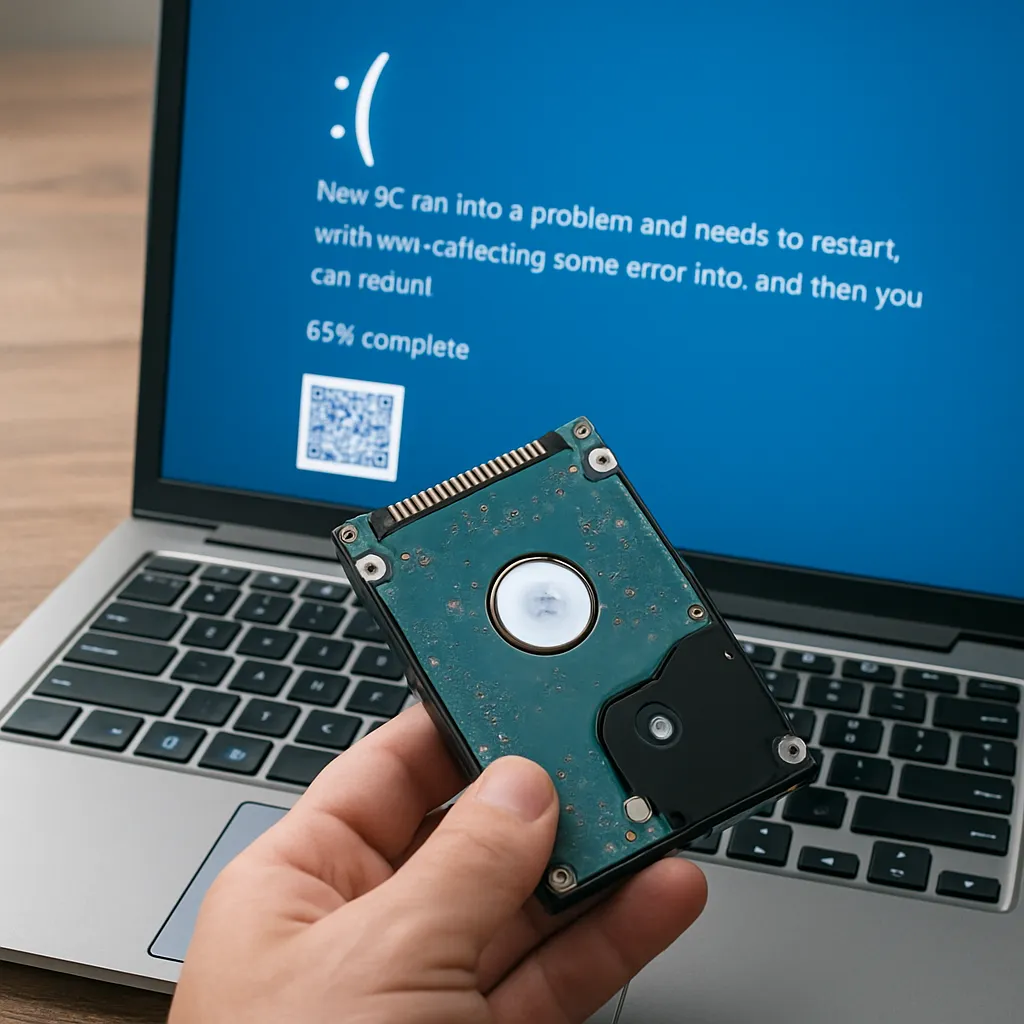
Experiencing an unexpected format on a storage device can bring the feeling that all your precious files have vanished forever. Fortunately, most data remains intact beneath the surface until it is **overwritten**, making recovery possible with the right approach and tools. This article explores practical strategies, from understanding how formatting affects file systems to selecting reliable recovery software and following a systematic retrieval process.
Understanding File Loss After Formatting
When a disk or partition is formatted, the system typically erases file system **metadata**—including directory structures and file tables—rather than the actual file contents. Two common types of format are quick format and full format. A quick format simply rebuilds the file system index, leaving data sectors untouched, while a full format may scan for bad blocks but still rarely overwrites every sector immediately.
- File Allocation Table (FAT) and Master File Table (MFT) on NTFS are marked as free, but the original data stays in place.
- Partition headers and boot records can be erased or corrupted, making the space appear empty.
- Overwriting even a fraction of the **sectors** will permanently destroy the underlying data.
Because the content resides in sectors until new data is written, prompt intervention is crucial to maximize recovery success.
Essential Steps Before Attempting Recovery
Immediately after discovering an unwanted format, refrain from saving, installing, or copying files to the affected drive. Any write operation reduces the chance of retrieving intact data. Follow these key preparatory actions:
- Stop Using the Disk: Power down or unmount the volume to prevent **overwrites**.
- Create a Disk Image: Use a raw cloning tool to produce a sector-by-sector copy, preserving the original state.
- Use a Different System: Mount the disk or image on a separate machine to avoid accidental writes.
- Assess File System: Identify NTFS, FAT32, exFAT, ext4, or other formats to choose compatible recovery methods.
By working on a cloned image instead of the original device, you maintain the **integrity** of your data throughout the recovery process.
Choosing the Right Recovery Software
Not all recovery tools deliver equal performance. Evaluate software based on the following attributes:
- Deep Scanning Capabilities: Ability to search for raw file **signatures** when directory structures are missing.
- Partition Recovery: Tools that rebuild lost partition tables and volume headers.
- File Preview: Preview supported file types before final restoration to save time and space.
- Speed and Efficiency: Multithreaded scanning engines accelerate the process on large volumes.
- Compatibility: Support for Windows, macOS, and various Linux distributions.
- Safety Features: Read-only access modes, write-blocker integration, and protected restore paths.
Popular solutions include EaseUS Data Recovery Wizard, R-Studio, PhotoRec, and Disk Drill. Proprietary algorithms differ, so cross-test multiple applications if initial scans yield limited results.
Recovery Process: A Step-by-Step Guide
Step 1: Mount or Load the Disk Image
After creating a sector-level clone, mount the image in your recovery tool. This read-only approach prevents further damage to the source data and ensures a safe working environment.
Step 2: Perform an Initial Quick Scan
Launch a quick scan to detect recently deleted files and recognizable directory entries. This phase often recovers a significant portion of data in minutes, especially after a superficial format.
Step 3: Conduct a Deep or Signature Scan
If the quick scan is insufficient, initiate a deep scan. This method scrutinizes each sector to reconstruct fragmented or **erased** files based on header and footer patterns. Although more time-consuming, it enhances overall recovery rates.
Step 4: Filter, Preview, and Select Files
Use name filters, file type checkboxes, and size ranges to narrow down thousands of results. Leverage the built-in **preview** module to verify document, image, or video integrity before restoration.
Step 5: Recover to a Safe Destination
Always direct recovered files to a separate physical drive or network share. Avoid writing back to the source device to prevent accidental overwrites and ensure the best chance for subsequent recoveries if needed.
Advanced Techniques and Best Practices
For professional-grade recovery, consider these advanced tactics:
- Hex Editor Usage: Inspect raw sectors manually to locate crucial file signatures or partition markers.
- Command-Line Tools: Utilize ddrescue, TestDisk, and other open-source utilities for scripting repeatable processes and handling damaged media.
- RAID and NAS Recovery: Employ specialized suites that understand RAID parity schemes and proprietary file systems used in network-attached storage appliances.
- Regular Backups: While not a recovery method per se, a robust backup strategy eliminates dependence on post-format restoration altogether.
Always document each action step, maintain a **recovery log**, and double-check recovered data integrity before declaring a successful operation.
Understanding File Systems and Formats
Different file systems handle data layout in unique ways:
- NTFS supports journaling and Master File Table redundancy, simplifying recovery if the journal remains untouched.
- FAT32 and exFAT lack robust metadata structures, making raw signature scanning more critical.
- ext4 and other Linux file systems use journaling and inode tables that can be rebuilt in many cases.
Awareness of these underlying architectures helps tailor scanning depth, algorithm selection, and restoration expectations.