Cloning a disk can be a powerful way to create an exact replica of your storage drive, but sometimes things go awry and you end up facing data loss. Whether due to corrupted sectors, incomplete processes, or misconfigured partitions, recovering your precious lost files after cloning can feel like navigating a minefield. This guide will walk you through essential steps, best practices, and recommended tools to restore your data and maintain optimal data integrity.
Understanding Disk Cloning and Potential Pitfalls
Disk cloning involves creating an exact, bit-by-bit copy of a source drive to a target drive. This process replicates every aspect of the disk, including the partition table, master boot record, and all hidden system areas. While simple in theory, several factors can jeopardize a successful clone:
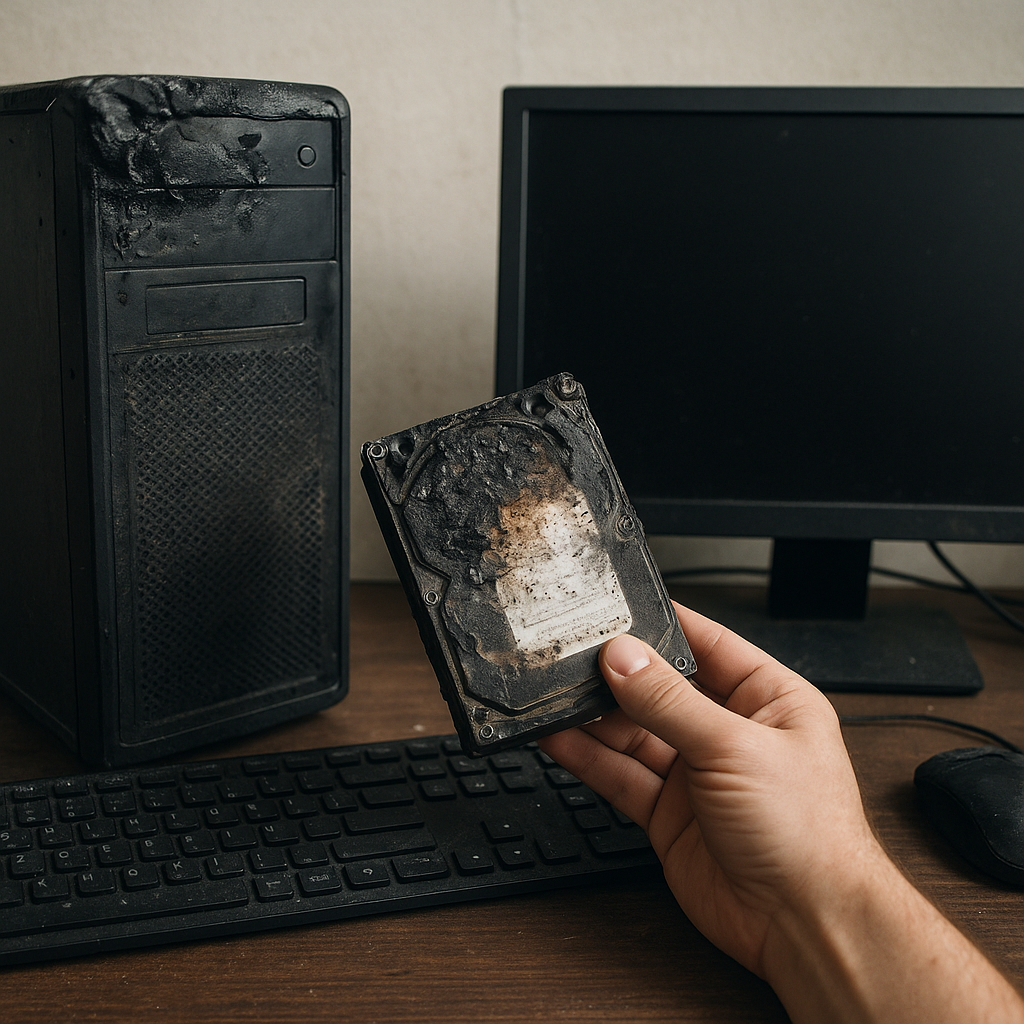
- Source drive containing bad sectors or mechanical issues
- Mismatched drive capacities or file system structures
- Interrupted operations due to power failures or software crashes
- Incompatibilities between cloning software versions
When any of these issues arises, the target disk may have unreadable blocks, corrupted partitions, or missing files. Knowing what can go wrong is the first step toward effective recovery.
Common Reasons for Data Loss After Cloning
Discovering missing files or unrecognized volumes after cloning is distressing. Here are typical causes:
Hardware-Related Failures
- Drive wear and tear leading to bad sectors
- Faulty cables, power surges, or unstable connections
Software and Configuration Errors
- Incorrect cloning settings (e.g., sector-by-sector vs. file-level cloning)
- Unsupported file system or outdated firmware
- Accidental formatting of the target disk
User Mistakes
- Choosing the wrong source or destination drive
- Halting the process prematurely
- Mismanaging partitions during post-cloning adjustments
Identifying the root cause informs your recovery approach. Hardware issues might require specialized tools, while software hiccups can often be solved with the right recovery software.
Choosing the Right Recovery Software
Not all utilities are created equal. When evaluating tools, consider these criteria:
- Compatibility with your file system (NTFS, FAT32, exFAT, ext4, etc.)
- Ability to reconstruct a damaged partition table
- Support for deep sector-level scans to bypass bad sectors
- User-friendly interface versus advanced command-line options
- Speed of data scanning and extraction
- Preview capabilities for recovering only the files you need
Popular solutions include:
- Professional-grade suites that offer full-disk imaging and RAID recovery
- Free, open-source tools suitable for basic file retrieval
- Cloud-based services with remote scanning capabilities
Select a tool that balances ease of use with powerful features. A robust backup strategy and frequent imaging can reduce recovery time and increase success rates.
Step-by-Step Guide to Recovering Lost Files
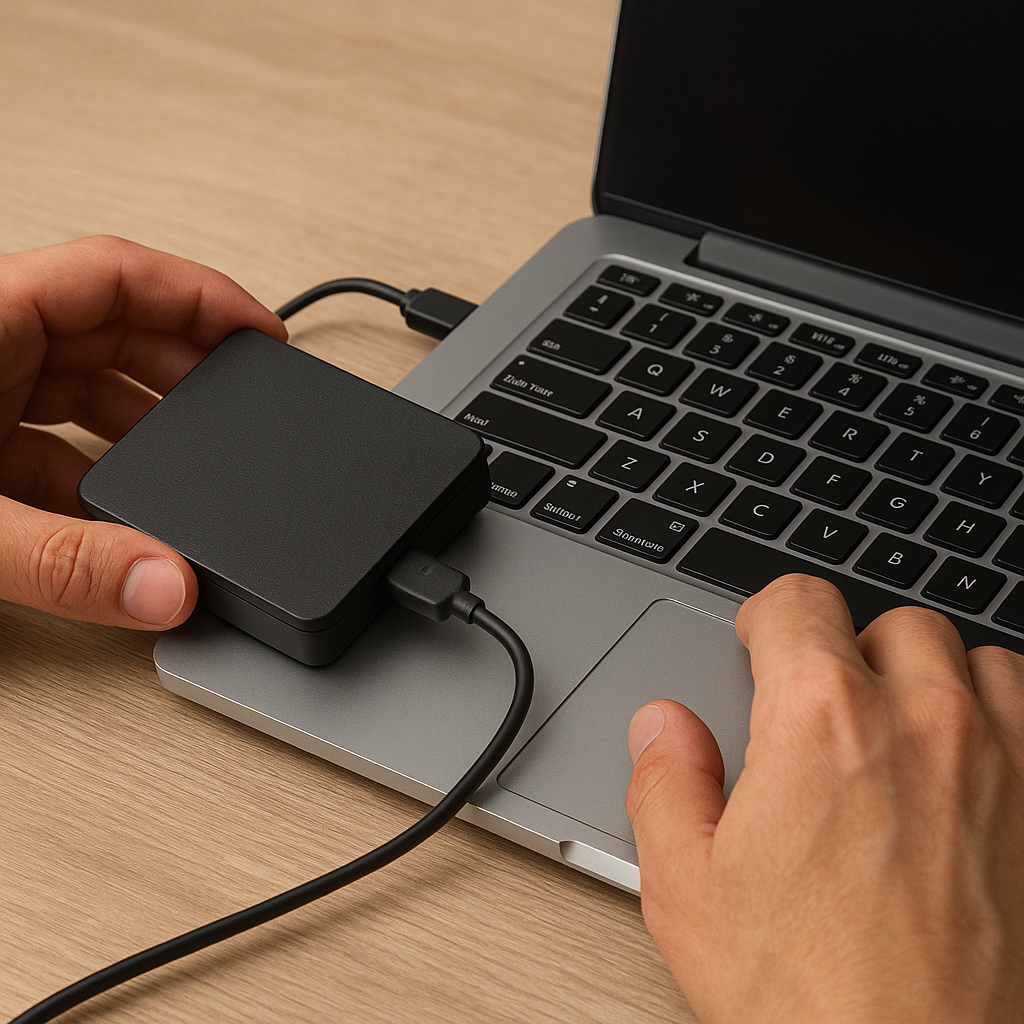
1. Stop Using the Target Disk
Continued operations on the disk can overwrite recoverable sectors. Immediately unmount or disconnect the cloned drive to preserve any remaining data.
2. Create a Read-Only Image
Before running any recovery, generate an image of the problematic disk in a read-only mode. This ensures you have a safe backup snapshot:
- Use tools that support low-level imaging.
- Save the image to a separate, reliable storage device.
3. Analyze the Disk Structure
Scan the image or original disk for partition records, file headers, and directory listings. Many utilities visualize the partition table and highlight damaged areas.
4. Perform a Sector-Level Scan
Enable deep scanning to locate file fragments and signatures. This may take hours, but it can recover files even when directory entries are missing.
5. Preview and Select Files
Once scanning completes, browse recoverable files via preview. Focus on critical documents, photos, and databases first.
6. Recover to a Safe Location
Always restore files to a different drive than the one under recovery. This prevents accidental overwrites and further corruption.
7. Verify Recovered Data
Open or hash-check recovered files to ensure integrity. Confirm that important applications can read database files or archives without errors.
Advanced Techniques for Complex Scenarios
Rebuilding Damaged Partition Tables
Specialized utilities can reconstruct corrupted partition entries from existing metadata. This technique often restores entire volumes without individual file recovery.
Handling Encrypted Disks
Encrypted volumes require additional steps:
- Obtain correct decryption keys or passwords.
- Use tools compatible with the encryption scheme (BitLocker, LUKS, VeraCrypt).
- Decrypt the image first, then proceed with standard recovery.
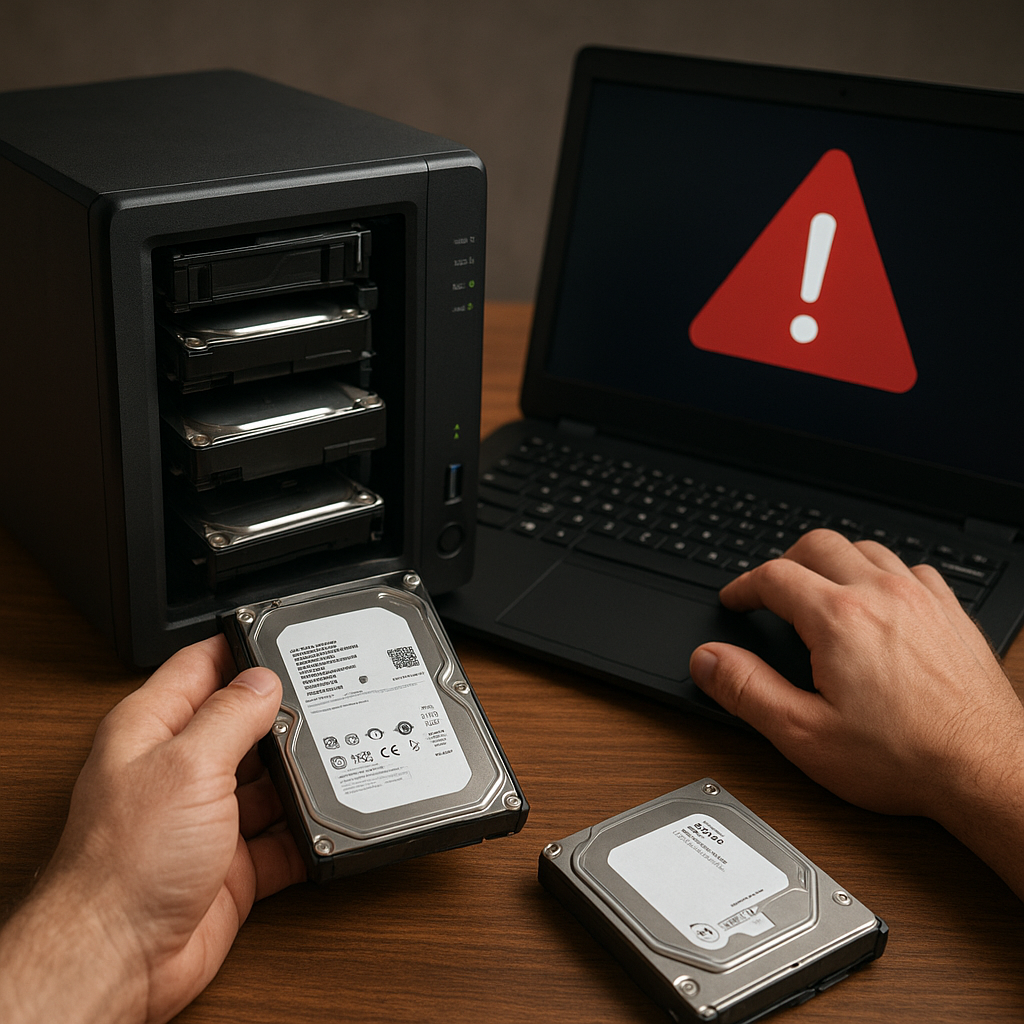
Dealing with RAID Arrays
RAID systems store data across multiple drives. If cloning a RAID member, you may need to rebuild the array virtually using your recovery software’s RAID constructor feature.
Preventive Practices to Avoid Future Data Loss
Eliminate panic by planning ahead. Incorporate these habits into your workflow:
- Implement a multi-tier backup strategy: local snapshots, external drives, and cloud backups.
- Verify clones immediately with checksum tools to confirm sector-by-sector accuracy.
- Schedule regular health checks for drives, monitoring SMART metrics for early signs of failure.
- Document your cloning and backup procedures to ensure consistent, repeatable operations.
- Keep recovery software up to date to benefit from the latest improvements and file format support.
Proper preparation drastically reduces recovery time and ensures that accidental omissions or hardware malfunctions don’t lead to permanent data loss.