Transferring files between devices, servers, or cloud storage can sometimes lead to unexpected data loss. Whether you’re moving important documents, media files, or project backups, encountering missing or corrupted files can be frustrating and costly. This article explores the key reasons behind file loss during transfer, guides you through selecting the most effective recovery software, and provides a detailed, step-by-step procedure to restore your lost data.
Common Causes of File Loss During Transfer
Understanding why files disappear or become corrupted can help you avoid future incidents. Here are some of the most frequent culprits:
Network Interruptions
Unstable internet connections or unexpected network outages can interrupt file transfers mid-process. When packets fail to reach their destination, files may be only partially transferred, resulting in corrupted or missing data.
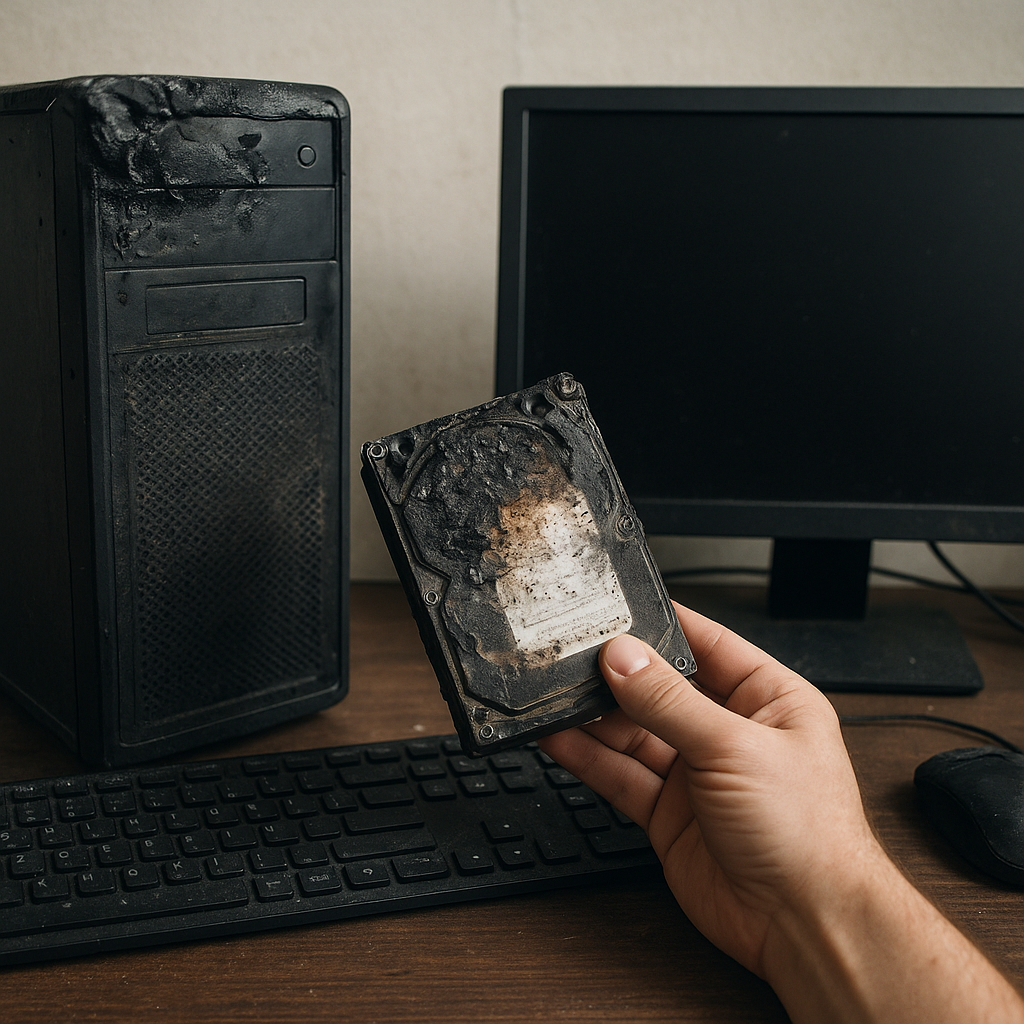
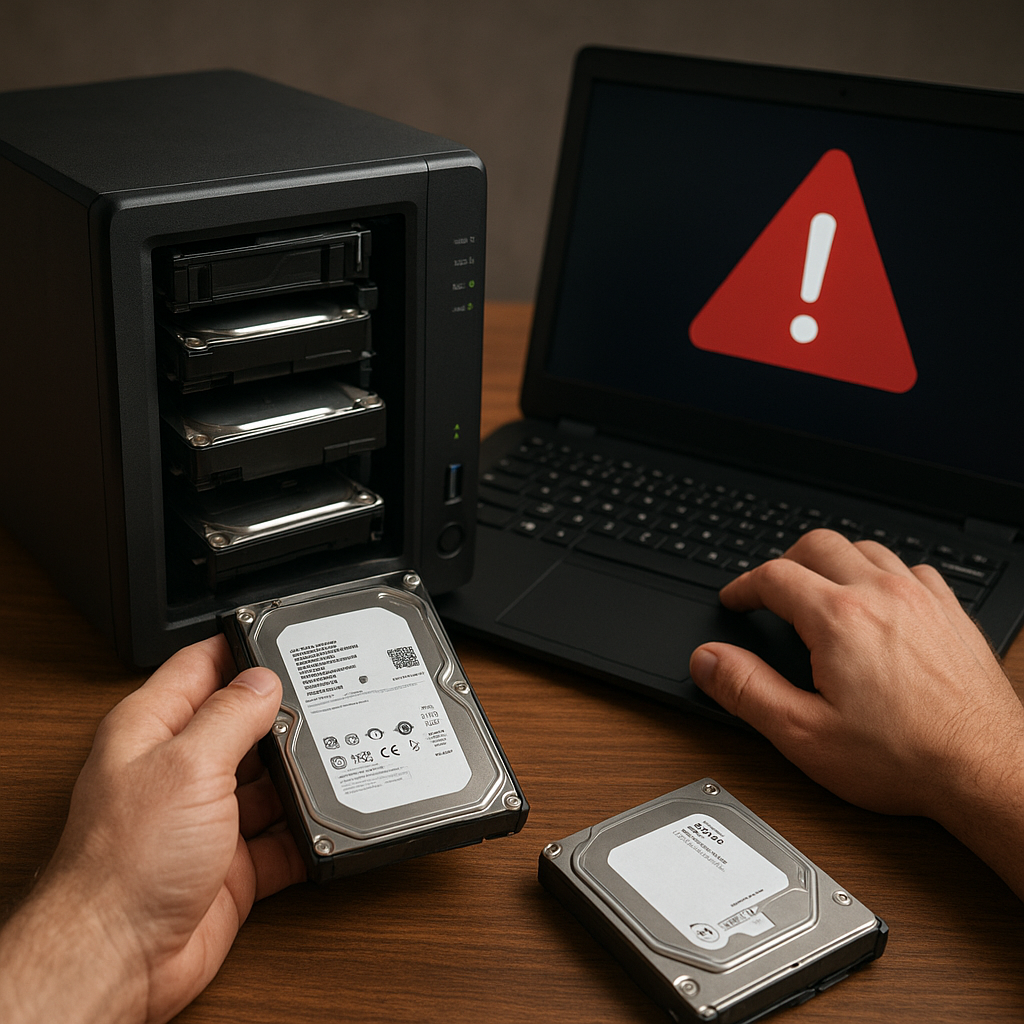
Hardware Failures
Issues with storage devices—such as failing hard drives, malfunctioning USB ports, or defective cables—can lead to read/write errors. These hardware malfunctions often cause file fragments to be lost or irreversibly damaged.
Software Glitches
Incomplete implementations of transfer protocols in some applications can cause data to be improperly handled. Bugs in file managers or FTP clients may inadvertently skip files or alter data streams, affecting file integrity.
Power Outages
Sudden power losses during large file transfers can leave files only half-written on the target device. Without proper journaling or transactional safeguards, these files become unreadable or disappear entirely.
Selecting Reliable Recovery Software
Not all recovery tools are created equal. Choosing the right software ensures a higher success rate and maintains the reliability of recovered files. Consider the following factors:
- Compatibility – Verify that the tool supports your operating system (Windows, macOS, Linux) and the file systems involved (NTFS, FAT32, HFS+, exFAT).
- Scanning Options – Some applications offer quick scans for recently deleted data, while others provide deep scans that analyze raw disk sectors to reconstruct lost files.
- User Interface – A straightforward interface helps you avoid mistakes during the recovery process, especially if you’re not an IT expert.
- File Preview – Previewing recoverable files before restoration ensures you retrieve the correct versions and avoid unnecessary clutter.
- Support & Updates – Regular updates address new file formats and emerging storage technologies, while responsive customer support helps resolve technical issues efficiently.
Popular recovery solutions include commercial products, open-source utilities, and free trial versions. Evaluate each option by testing their free editions on noncritical data before committing to a full purchase.
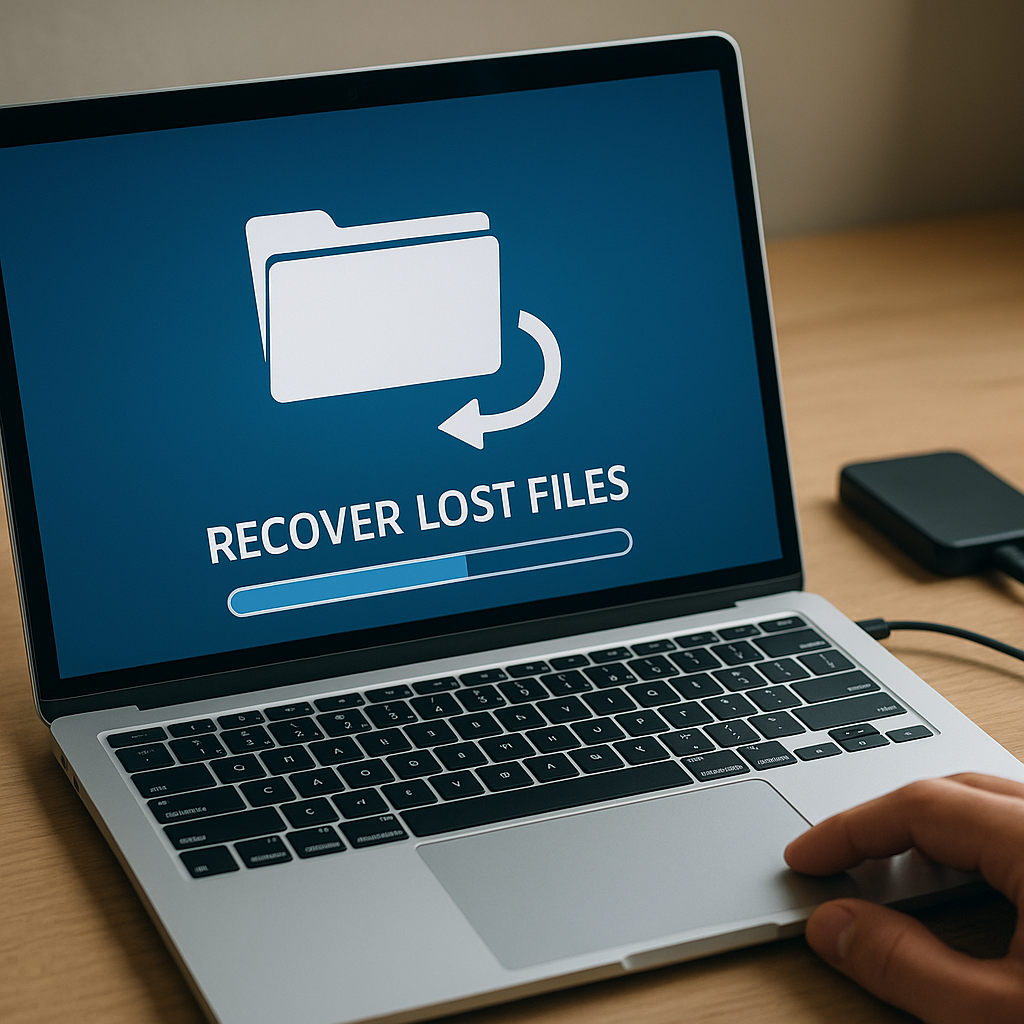
Step-by-Step Guide to Restoring Lost Files
Follow this structured approach to maximize the likelihood of successful file recovery:
1. Stop All Write Operations
Immediately cease using the affected drive or storage device. Continuing to write new data can overwrite sectors containing your lost files and reduce recovery chances.
2. Choose the Right Mode
Launch your recovery software and select between a quick scan for recently deleted files or a deep scan for thorough sector-by-sector analysis. When in doubt, start with a quick scan to save time, then proceed with a deep scan if necessary.
3. Configure Scan Parameters
Specify the target partition or drive where the transfer was originally directed. Adjust file-type filters if you’re looking for specific formats (e.g., .docx, .jpg, .mp4) to streamline the scanning process.
4. Execute the Scan
Initiate the scanning process. Depending on the drive size and scan depth, this may take from a few minutes to several hours. Monitor the progress bar and pause only if absolutely necessary.
5. Preview Recoverable Files
Once the scan completes, browse the list of recoverable items. Use the preview function to verify file integrity by opening thumbnails, text snippets, or metadata records.
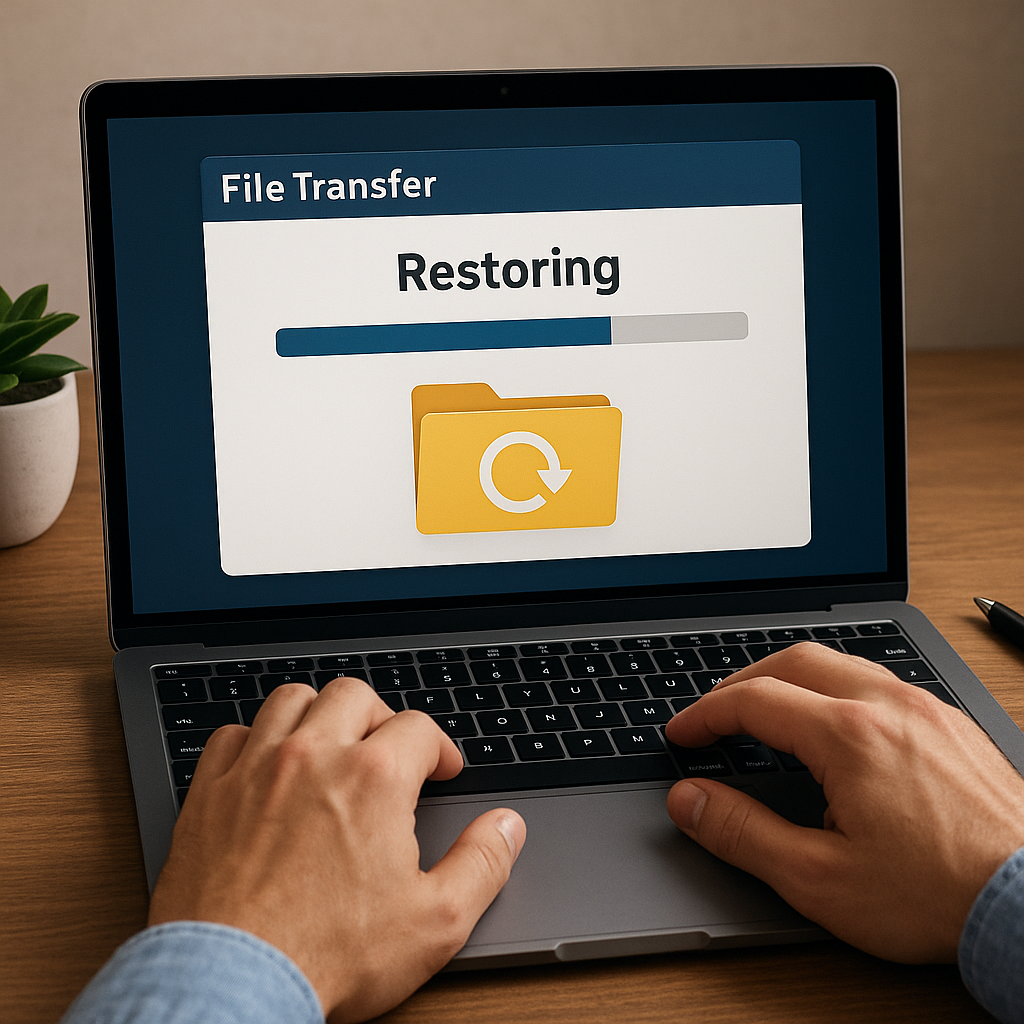
6. Select and Recover
Choose the files you need and specify a different destination drive for recovery. Never restore lost files to the same partition to avoid accidental overwrites. Click the Recover button and wait for the process to finish.
7. Verify Restored Data
Open the recovered files to ensure they are intact and uncorrupted. Play media files, view images, and open documents to confirm usability.
Best Practices to Avoid Future Data Loss
Regular precautions can significantly reduce the risk of losing files during transfers. Implement these measures as part of your standard operating procedures:
- Maintain Backups – Always keep at least two backup copies in separate physical or cloud locations. Follow the 3-2-1 rule: three total copies, on two different media, with one off-site.
- Use Checksums – Generate and compare file hashes (MD5, SHA-256) before and after transfers to ensure data hasn’t been altered or truncated.
- Employ Uninterruptible Power Supplies – Protect critical hardware with UPS devices to guard against power outages and voltage spikes during large transfers.
- Schedule Regular Drive Health Checks – Monitor S.M.A.R.T. attributes and run disk utilities to identify bad sectors before they cause data loss.
- Opt for Reliable Protocols – Use robust file transfer methods like SFTP, rsync, or dedicated data migration tools that support transactional transfers and resume capabilities.
- Keep Software Updated – Ensure that your operating system, drivers, and transfer applications are up-to-date to benefit from the latest stability and security fixes.
Implementing these strategies will ensure that file transfers remain smooth, reliable, and free of unwanted surprises, safeguarding your critical data assets for the long term.