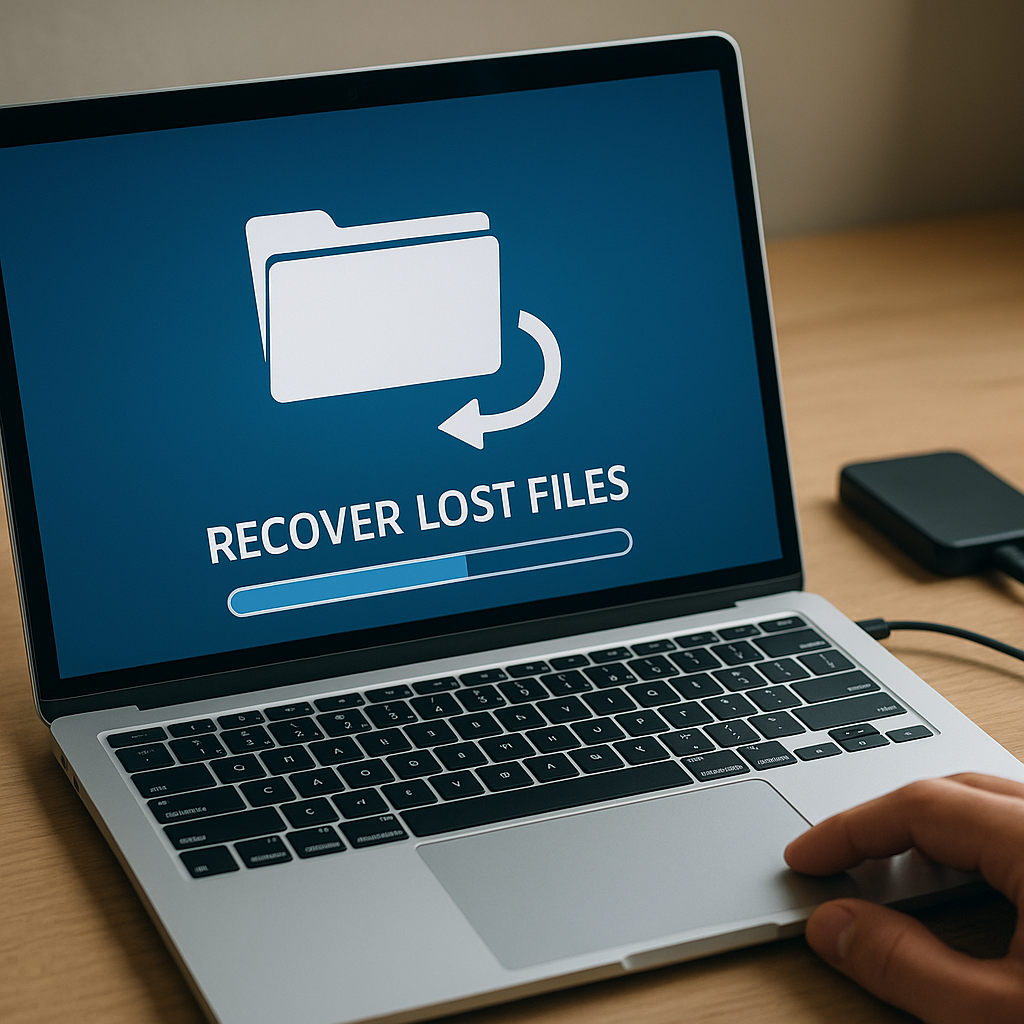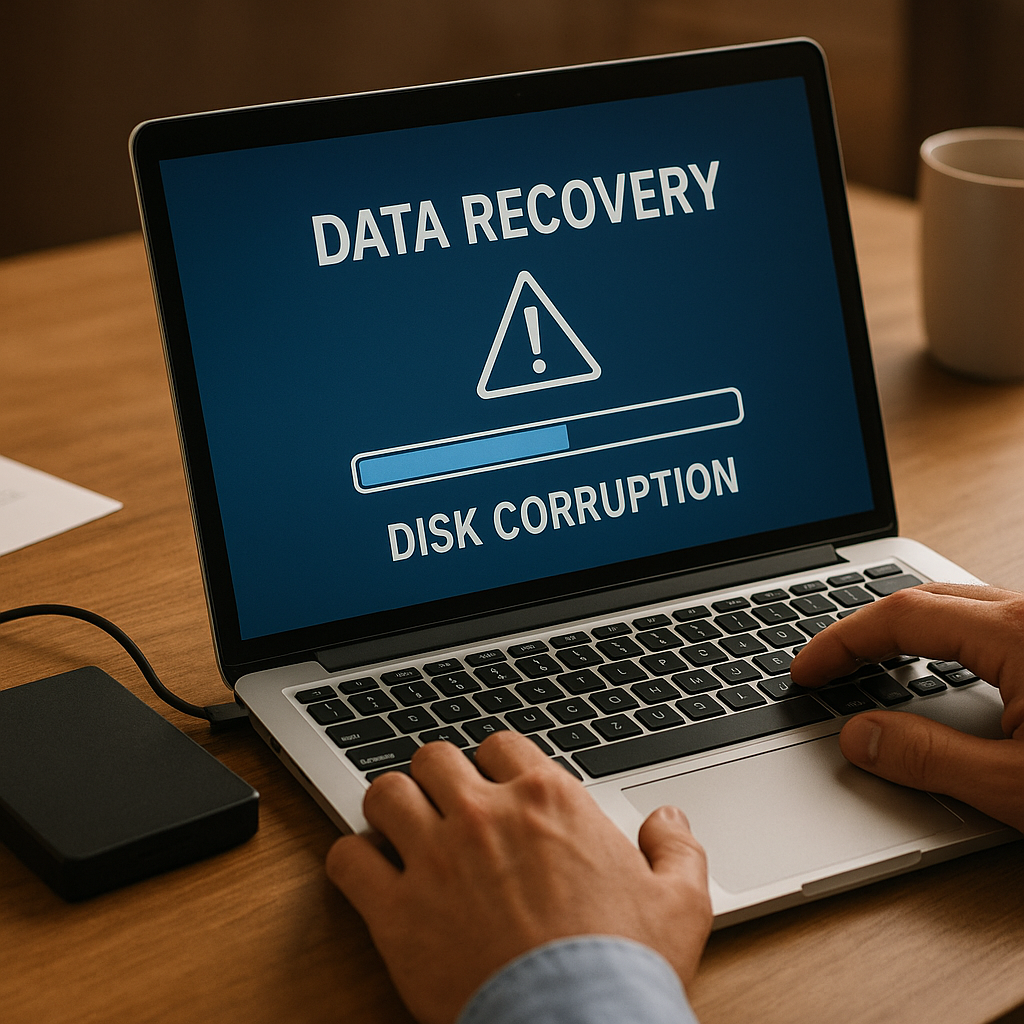
Data loss caused by unexpected disk corruption can cripple both personal projects and enterprise operations. Whether it’s a hard drive, SSD, or external USB device, understanding how to navigate the recovery process is essential. This guide walks you through the steps to restore your precious files, from initial diagnosis to final verification.
Understanding Disk Corruption
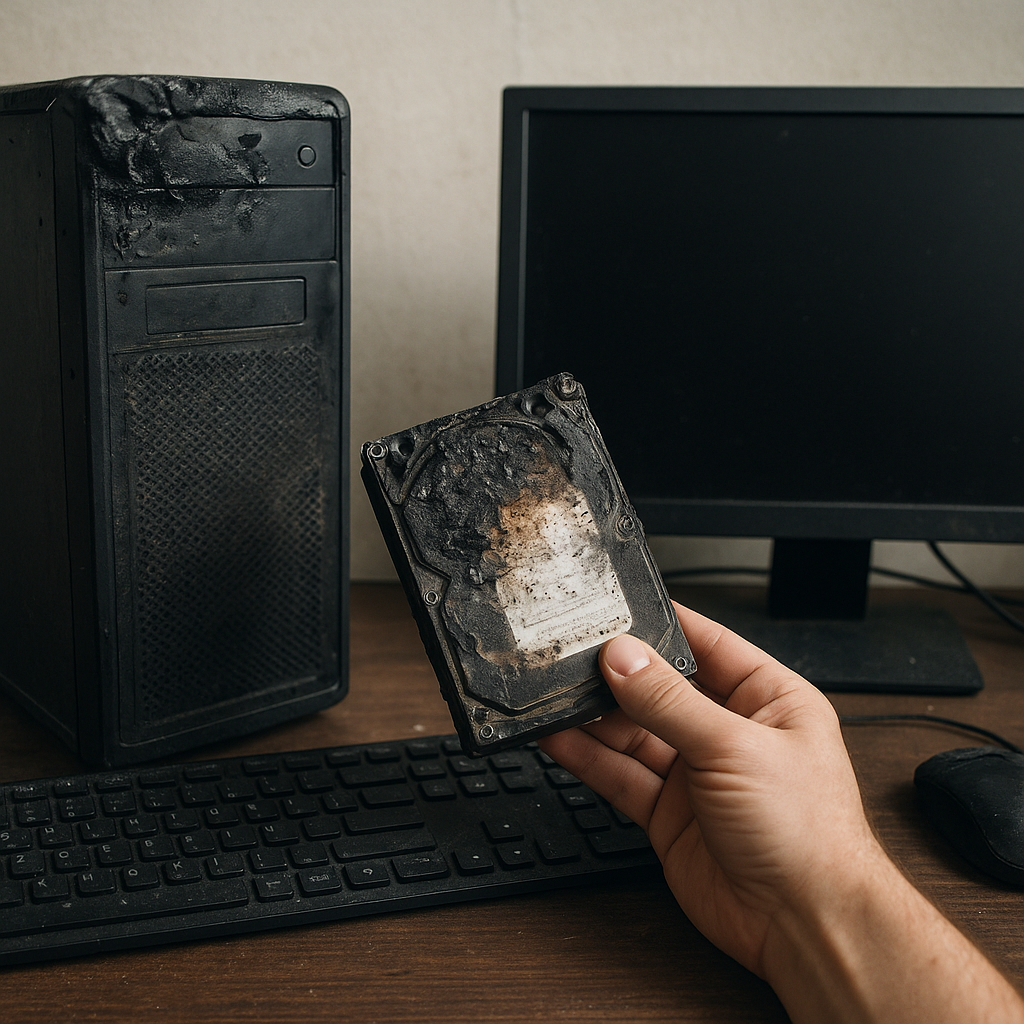
Before diving into a rescue operation, it’s important to grasp what corruption really means. When a storage medium develops bad sectors or experiences firmware glitches, the logical structure of the file system can become damaged. As a result, files may become inaccessible, directories might vanish, and read/write operations can fail with error messages such as “I/O device error” or “filesystem integrity compromised.”
Common causes of corruption include:
- Sudden power outages while writing data
- Unsafe removal of external drives
- Physical damage due to shock or extreme temperatures
- Malware or virus infections that alter system sectors
- Wear and tear on flash-based storage devices (e.g., SSDs, USB sticks)
Recognizing early warning signs—such as frequent system freezes, slow file access, and unusual clicking noises—can save you from a catastrophic loss. Acting promptly to preserve the drive’s state is crucial for a successful restoration.
Preparing for Recovery
Once you detect signs of trouble, follow these preparatory measures to maximize your odds of retrieving lost files:
- Stop Using the Affected Drive
Continued read/write activity risks overwriting sectors that still contain recoverable data.
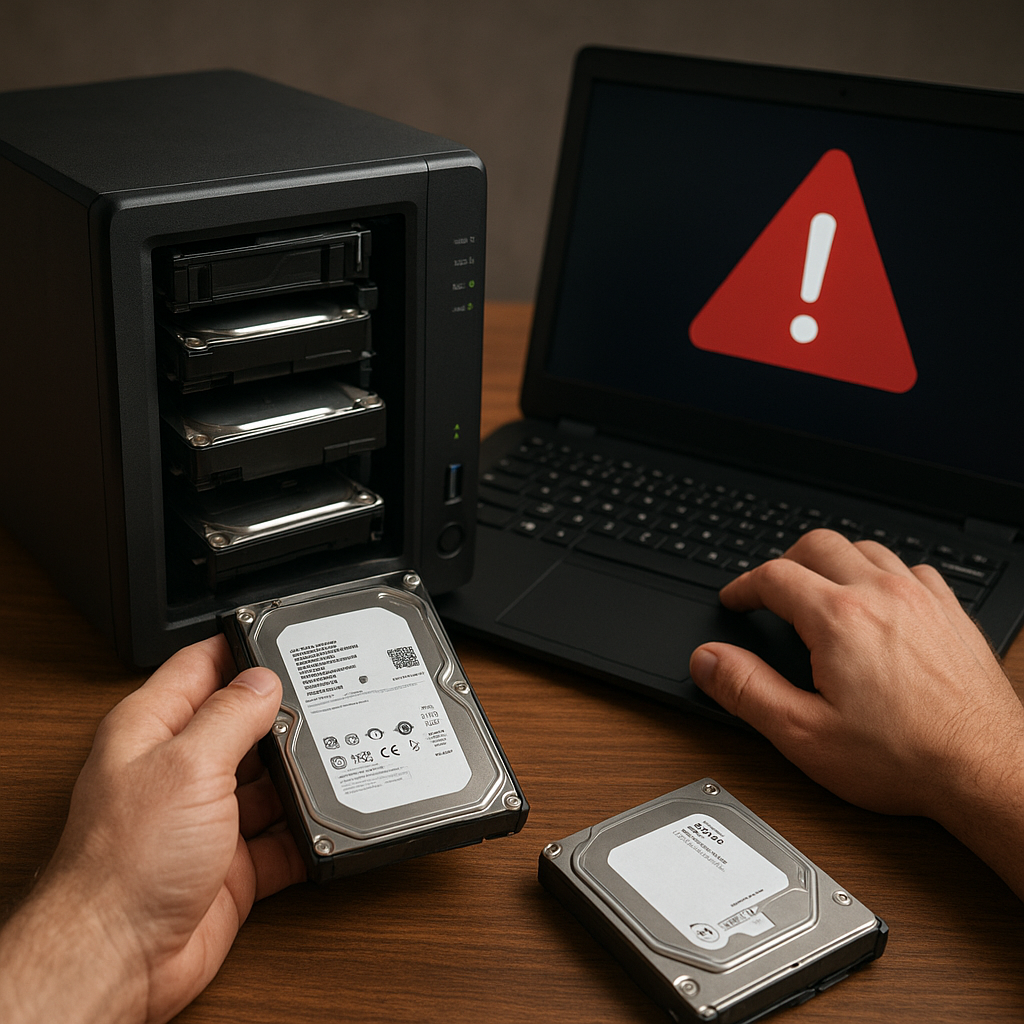
- Create a Sector-by-Sector Image
Use disk imaging tools to clone the corrupted drive onto a healthy storage device. Working on an image rather than the original protects your chances for later attempts.
- Choose a Clean Environment
Perform recovery on a system free of malware and with reliable power. A UPS (Uninterruptible Power Supply) can prevent mid-process outages.
- Compile System Logs and Error Codes
Document any error messages and record SMART data from the drive. These details help you or a technician pinpoint underlying issues.
Step-by-Step Recovery Guide
Choosing the Right Recovery Software
Selecting capable software is your first real action item. Key features to look for include:
- Support for multiple file systems (NTFS, FAT32, exFAT, HFS+, EXT4)
- Deep scan modes that inspect raw sectors
- Preview of recoverable files before purchase or final recovery
- Ability to reconstruct damaged directory structures
- Options for exporting logs and detailed reports
Popular tools in this domain include open-source options like TestDisk and paid solutions such as EaseUS Data Recovery Wizard, Recuva, or Disk Drill. Trial versions often let you verify recoverable content before unlocking full functionality.
Scanning and Diagnosing the Drive
With your selected tool installed on a separate, healthy drive, attach the cloned image or original device in read-only mode. Then:
- Run a quick scan to detect recently deleted files and lightly damaged sectors.
- If results are insufficient, initiate a deep scan to analyze every sector for residual data fragments.
- Use built-in filters to narrow results by file type (documents, photos, archives, videos).
- Monitor estimated time and suspend the process if abnormal delays or hardware errors arise.
After completion, most tools allow you to preview recoverable files. Confirm integrity by opening small text documents or thumbnail views of images. This step avoids wasted efforts on severely corrupted items.
Recovering and Verifying Files
When you’ve identified the files to restore, follow these best practices:
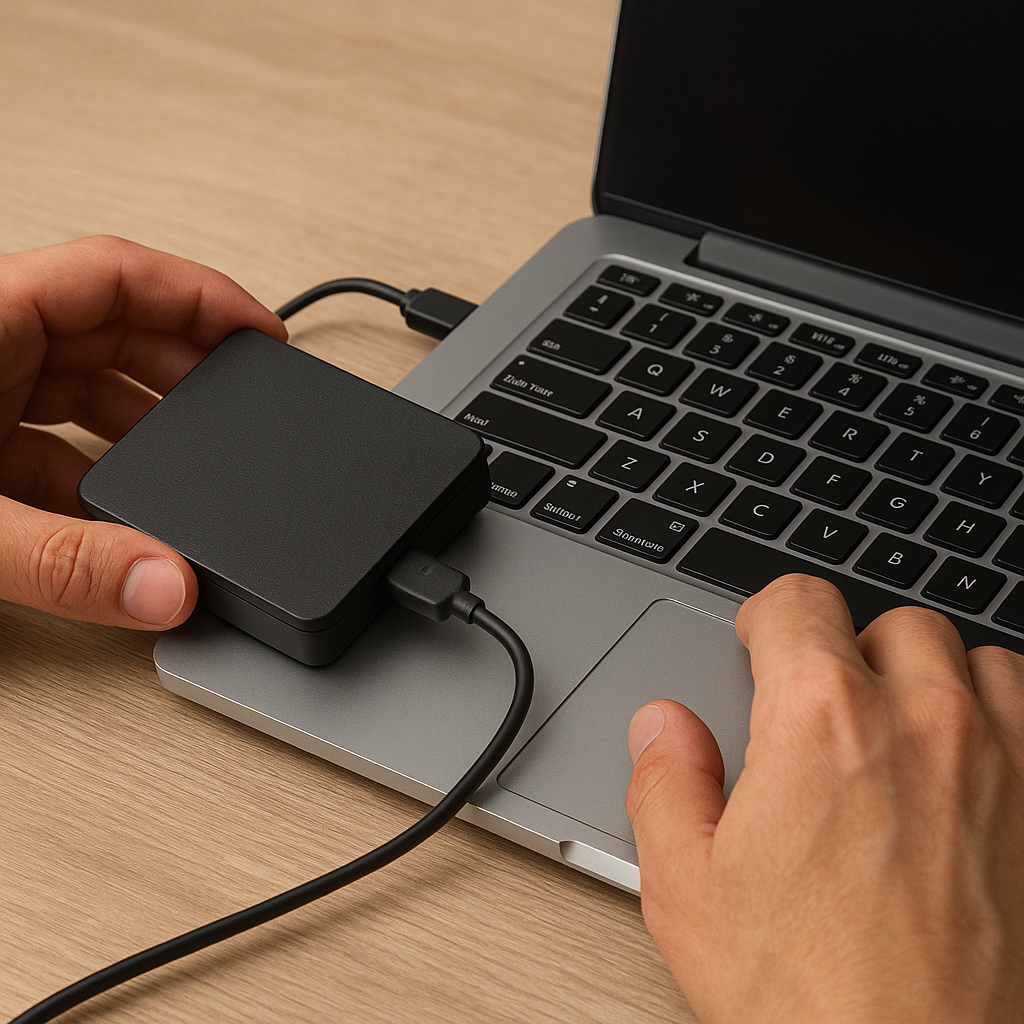
- Recover to a Separate Drive
Avoid writing back to the problematic media. Use an external HDD or ample SSD space.
- Check File Integrity
Open recovered files in native applications. For documents, verify full readability; for videos, confirm playability; for archives, test extraction.
- Use Checksums or Hashes
If you previously saved MD5 or SHA1 hashes, compare them against recovered data to ensure bit-perfect restoration.
- Log Your Process
Keep a record of filenames, sizes, and recovery status—this can inform future procedures or discussions with support personnel.
Best Practices to Prevent Future Data Loss
Once you’ve reclaimed your data, it’s vital to implement measures that reduce the risk of disk corruption recurring:
- Regular Backups
Adopt a 3-2-1 strategy: keep three copies of your data, on two different media, with one off-site.
- Routine File System Checks
Schedule automated chkdsk (Windows) or fsck (Linux/macOS) tasks to detect errors early.
- Firmware Updates
Keep your drive’s firmware and system BIOS current to address stability and compatibility fixes.
- Use Surge Protection
Protect against voltage spikes by connecting sensitive hardware through a surge protector or UPS.
- Monitor SMART Data
Deploy monitoring tools that alert you to deteriorating attributes like reallocated sectors or high read error rates.
- Maintain a Clean Operating Environment
Minimize dust, moisture, and extreme temperatures to extend hardware longevity.
Preventing corruption is always more effective than recovering from it. By staying proactive, you’ll safeguard your digital assets and avoid the stress of unplanned downtime or lost memories.