Retrieving files from a crashed flash drive can seem like an impossible task, but with the right approach and recovery software solutions, valuable data is often salvageable. This guide explores the underlying issues behind flash drive failures and offers practical techniques to restore lost content. Whether you’re a casual user or an IT professional, understanding the key steps in the recovery process can make the difference between data loss and successful restoration.
Common Causes of Flash Drive Failures
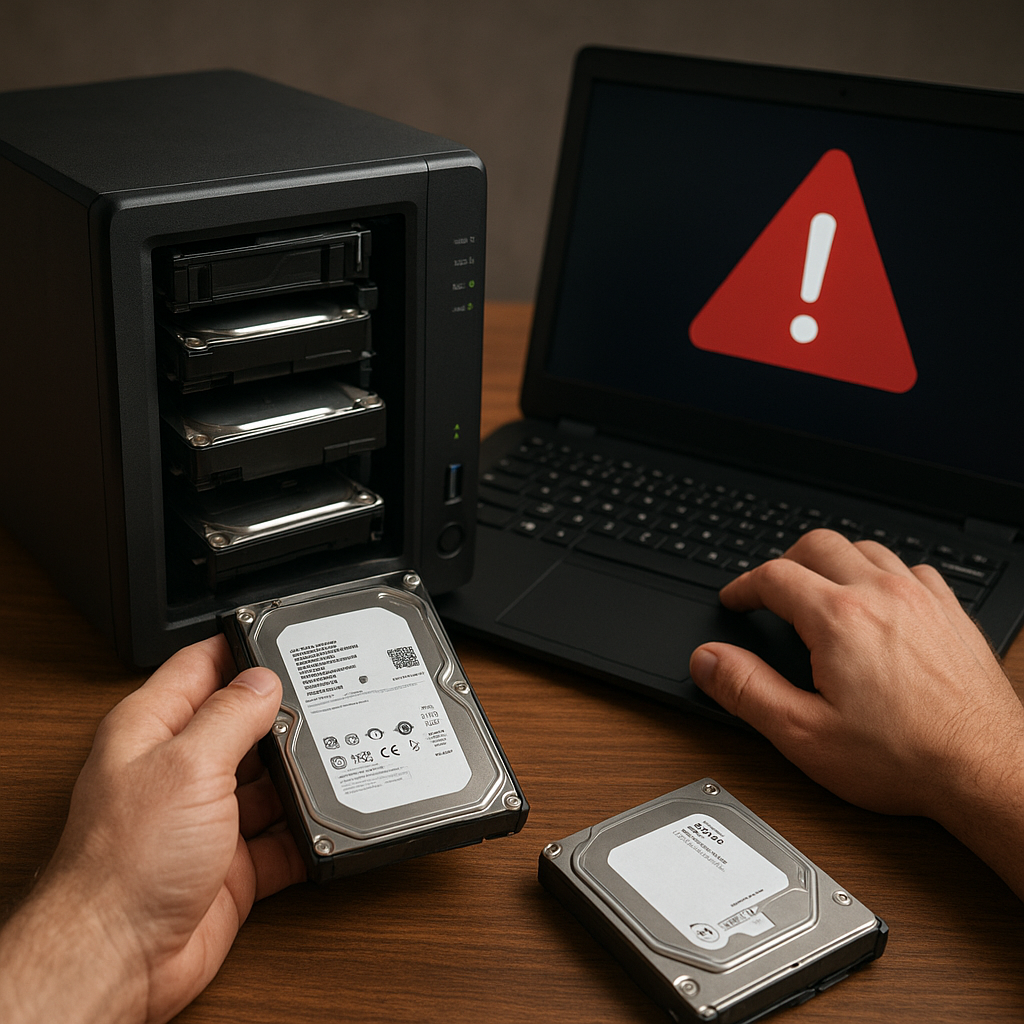
Before diving into recovery methods, it’s crucial to recognize why a flash drive might crash. Identifying the root cause can help you choose the most effective recovery strategy and avoid further damage.
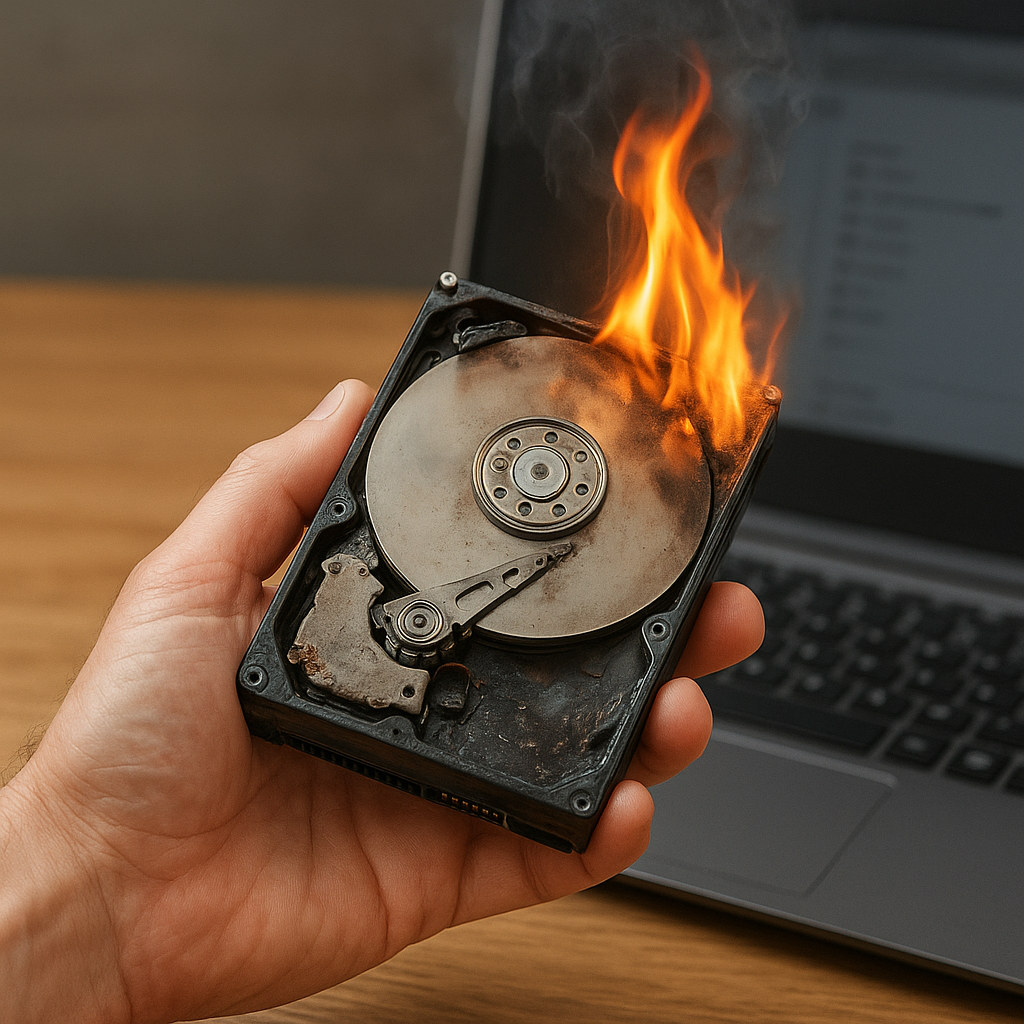
- Physical Damage – Dropping, bending, or exposing the drive to liquids can compromise internal circuits.
- File System Corruption – Improper ejection or power loss during write operations often corrupts the FAT, NTFS, or exFAT structure.
- Firmware Malfunctions – Manufacturer firmware bugs or a failed firmware update can leave the drive inaccessible.
- Logical Errors – Accidentally formatting the drive or deleting partitions removes pointers to stored files, though data blocks may remain intact.
- Wear-Leveling Exhaustion – Flash memory has a finite number of write cycles; reaching that limit can render certain cells unreadable.
Preparing for Data Recovery
Taking precautions before attempting any recovery process preserves data integrity and reduces the risk of permanent damage. Follow these initial measures to ensure a safe environment for file retrieval.
- Disconnect the flash drive immediately if you suspect physical harm or corruption.
- Avoid writing any new data to the drive; operations like formatting or saving files can overwrite recoverable sectors.
- Use a write-blocker or mount the drive in read-only mode when possible, preventing accidental writes.
- Document the drive’s original state: note its capacity, the file system type, and any strange behaviors you’ve observed.
- Install updates for your chosen recovery software to benefit from the latest bug fixes and device compatibility.
Selecting the Best Recovery Tool
Not all utilities are equal. Some tools specialize in logical recovery while others excel at creating disk images or circumventing firmware issues. Evaluate features such as:
- Support for multiple file systems (FAT32, exFAT, NTFS, EXT).
- Ability to clone or create a byte-for-byte disk image in case of imminent hardware failure.
- Options for deep scan vs. quick scan, balancing speed and thoroughness.
- User interface considerations: command-line utilities offer granular control, while graphical interfaces cater to novices.
- Vendor reputation and user reviews highlighting successful recoveries on similar devices.
Methods to Recover Files
Once you’ve prepared your workspace and chosen a suitable tool, proceed with one of the following approaches. Select the method that aligns with the nature of the crash.
Using Built-In Operating System Tools
Most modern operating systems provide basic recovery utilities that can help identify and repair logical errors.
- Windows CHKDSK: Run in a Command Prompt as chkdsk /f /r X: to scan and fix file system inconsistencies.
- macOS Disk Utility: Use the “First Aid” feature to verify and repair corrupt partitions.
- Linux fsck: Execute sudo fsck /dev/sdX1 for detailed reports and optional auto-repair of EXT-based file systems.
While these utilities can restore readability to the drive, they may not recover deleted files or severely damaged sectors. For deeper restoration, third-party software is often necessary.
Graphical Recovery Software
Graphical tools simplify the process with point-and-click workflows. Popular solutions include:
- Recuva – Offers a user-friendly wizard to scan for accidentally deleted files and recover them in a few steps.
- EaseUS Data Recovery Wizard – Provides a deep scan mode that reconstructs lost directory structures.
- Disk Drill – Features quick scan, deep scan, and the ability to build byte-level disk images for safe operations.
These programs typically allow you to preview recoverable files, select targets, and choose a safe destination drive for recovered data. Always save retrieved files to a separate device to avoid overwriting.
Advanced Recovery Strategies
When standard utilities fail, advanced techniques can help tackle severe crashes or hardware failure scenarios. Below are methods frequently employed by data recovery professionals.
Creating a Forensic Disk Image
Imaging the drive ensures you work on a clone rather than the original device. Tools like ddrescue (on Linux) or commercial forensic suites can:
- Perform intelligent retries on faulty sectors.
- Map out unreadable areas for future reference.
- Allow you to mount the image file in read-only mode for repeated recovery attempts.
Employing Sector-by-Sector Recovery
For heavily damaged drives, scanning each block individually can reveal fragments of files. Techniques include:
- Hexadecimal carving to locate file headers and footers.
- File signature analysis to identify formats such as JPEG, DOCX, or PDF.
- Recombining segmented data streams based on sequence numbers in file headers.
Bypassing Controller-Level Corruption
If firmware corruption prevents device enumeration, some experts replace or reprogram the flash controller’s BIOS. This process is risky and generally limited to specialist laboratories.
Preventing Future Data Loss
While recovery techniques can be remarkably powerful, prevention remains the best defense against the headache of data loss. Adopt these best practices:
- Enable automatic backups to cloud storage or a local backup server.
- Safely eject your flash drive using the operating system’s “eject” function.
- Rotate between multiple flash drives to avoid wearing out a single device.
- Employ secure erasure tools when disposing of old drives to protect sensitive information.
- Keep your recovery software updated to handle new file systems and device firmware.