Recovering data from a physically damaged drive requires both technical know-how and the right set of tools. When a storage device shows signs of hardware failure, rushing into software solutions without proper precautions can lead to irreversible data loss. By combining careful assessment, specialized recovery software, and methodical procedures, you can often retrieve critical files even from severely compromised media.
Understanding Physical Damage in Storage Drives
Types of Damage
Hard disks and solid-state drives can suffer various forms of physical harm. Mechanical failure in an HDD often involves a malfunctioning read/write head crashing onto the platter, scratches on magnetic surfaces, or a seized spindle motor. In contrast, SSD damage may originate from controller chip failure, corrupted firmware, or burnt-out NAND memory cells. Identifying the type of damage is essential to choosing an effective recovery strategy.
Signs of a Failing Drive
Look out for unusual clicking sounds, repeated drive spin-ups and spin-downs, extended boot times, Windows Blue Screens, or sudden device disappearance in Disk Management. Error codes in system logs—alternatively called error logs—can hint at bad sectors or unstable electronics. Immediate recognition of these symptoms can prevent further degradation.
Assessing Severity
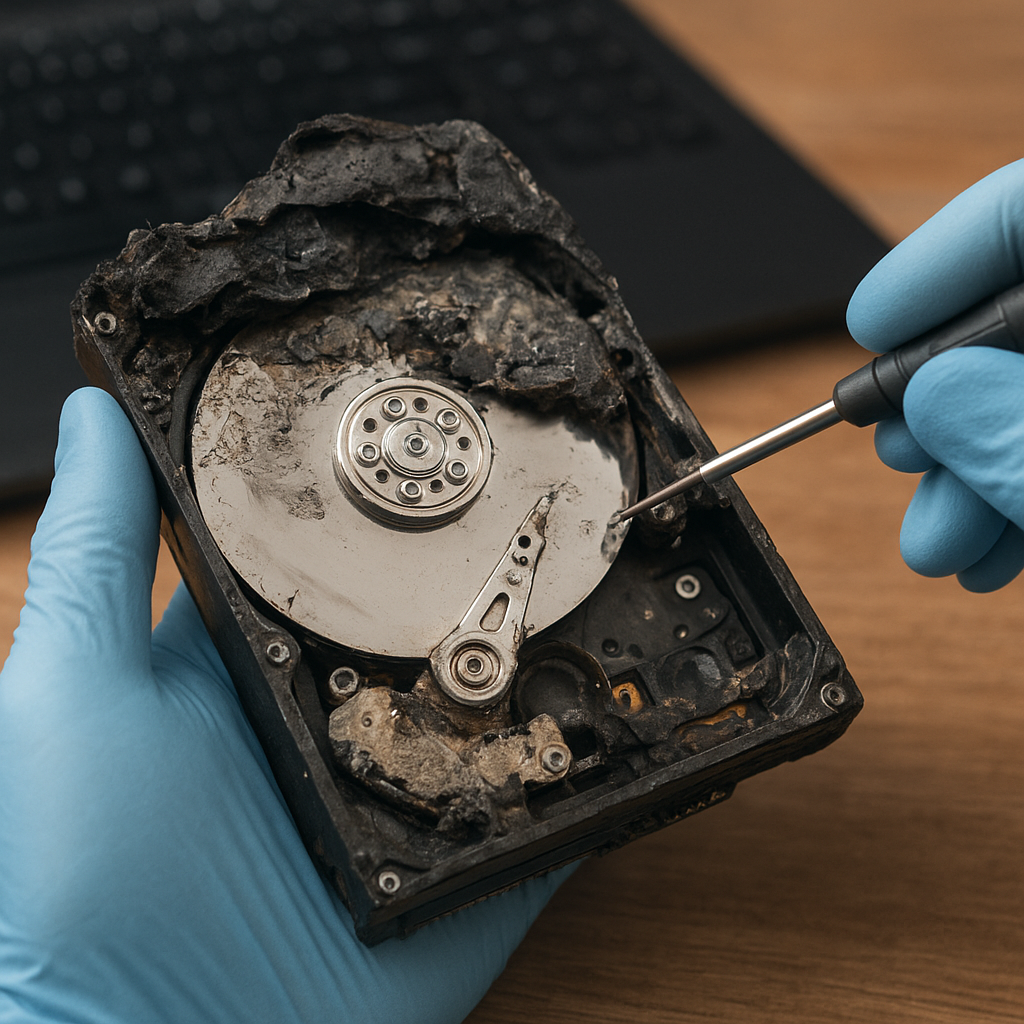
Before any software interaction, determine the extent of physical impairment. A drive that still spins but emits faint grinding noises suggests moderate damage and might respond to careful imaging. A completely unresponsive device may require professional clean-room intervention. Categorize the issue as:
- Light damage: minor head misalignments or bad sectors
- Moderate damage: head crashes, intermittent electronics faults
- Severe damage: PCB burnouts, platter scratches, controller failure
Initial Precautions and Preparations
Power Control and Environment
Avoid powering the drive repeatedly, as each spin-up can worsen internal damage. Always connect the failed disk to a stable power source using a reliable SATA-to-USB adapter or dock equipped with surge protection. Work in a professional environment free from magnetic fields and with proper grounding to minimize electrostatic discharge.
Preventing Further Data Loss
Write operations can overwrite recoverable data. Use hardware or software write blockers to mount the device in read-only mode. This ensures that no accidental writes corrupt crucial sectors. Then, log all initial observations and error codes before proceeding.
Documenting and Imaging
Take photographs of labels, PCB board revisions, and any visible damage. Create a full disk imaging plan before attempting data extraction. Tools like GNU ddrescue can clone failing media, capturing even damaged blocks by retrying reads and skipping ahead to minimize drive stress.
Selecting the Right Recovery Software
Essential Features
Not all recovery utilities address physical damage scenarios equally. Key capabilities include:
- Bad sector handling with retry and timeout management
- Raw disk cloning functionality
- File signature scanning and hexadecimal pattern recognition
- Support for multiple file system types (NTFS, FAT, ext4, APFS, etc.)
- Logging and error reporting for later analysis
Popular Tools
Some widely trusted utilities are:
- GNU ddrescue – command-line disk imaging
- R-Studio – professional-grade recovery with RAID support
- EaseUS Data Recovery Wizard – user-friendly interface
- Disk Drill – advanced scanning algorithms
- PhotoRec – specialized in file carving
Choosing Between Free and Commercial
Open-source tools often excel at raw imaging and low-level access, while paid software provides intuitive GUIs, guided wizards, and bundled data preview options. Assess budget constraints against the criticality of lost data to select the best solution.
Step-by-Step Data Recovery Process
1. Disk Imaging
Begin by creating a bit-by-bit copy of the damaged drive onto a healthy storage medium. Use dedicated imaging tools with adjustable read-retry parameters to maximize successful data capture from problematic zones. Patience is key: imaging a heavily damaged disk may take several hours or days, depending on the extent of corruption.
2. Analyzing the Image
Work exclusively on the cloned image to preserve the original. Load the image into your recovery software and perform a surface scan to map out bad blocks. Monitor logs for sectors marked unreadable. In many cases, file structures can be reconstructed without accessing every single byte.
3. File Reconstruction
Utilize signature-based carving to locate files by their headers and footers. This technique is invaluable when partition tables or directories are compromised. Recover documents, photos, and videos even if the metadata is missing, by instructing the software to search for known file signatures (e.g., JPEG, DOCX, PST).
4. Exporting Recovered Data
Save recovered files to a separate, reliable storage device. Avoid writing to the same disk image. Maintain an organized folder structure, labeling each batch with the date and recovery method used, to track success rates and refine your approach on future projects.
Advanced Techniques and When to Seek Help
DIY vs. Clean-Room Recovery
Simple head swaps or PCB replacements can sometimes be performed at home if parts are available and sterilized. However, any operation involving platter contact demands a certified clean-room environment. Mishandling in a non-sterile setting can embed dust particles, causing permanent data loss.
Professional Lab Services
When facing catastrophic failures—such as platter scratches or complex electronic damage—engage specialized data recovery labs. They possess micro prop tools, controlled atmospheres, and expert engineers capable of executing delicate procedures. Expect a higher cost, but weigh this against the value of irreplaceable data.
Cost vs. Benefit Analysis
Evaluate the cost of professional recovery against the importance of the files. Many labs offer a “no recovery, no fee” policy, ensuring you only pay when results meet expectations. Always verify credentials and success rates before shipping sensitive hardware.
Preventative Strategies for Future Protection
Robust Backup Plans
Implement the 3-2-1 backup rule: three data copies, on two different media, with one off-site. Combine local backups on external drives with cloud solutions to guard against both physical and logical failures.
Monitoring and Maintenance
Regularly check S.M.A.R.T. attributes for early warning signs of drive degradation. Schedule periodic surface scans and keep firmware up to date to reduce the risk of sudden hardware faults.
Safe Handling Practices
Label drives, store them in anti-static bags, and avoid transporting them while powered on. Minimize shock and vibration during operation by using shock-absorbing mounts or protective cases.


