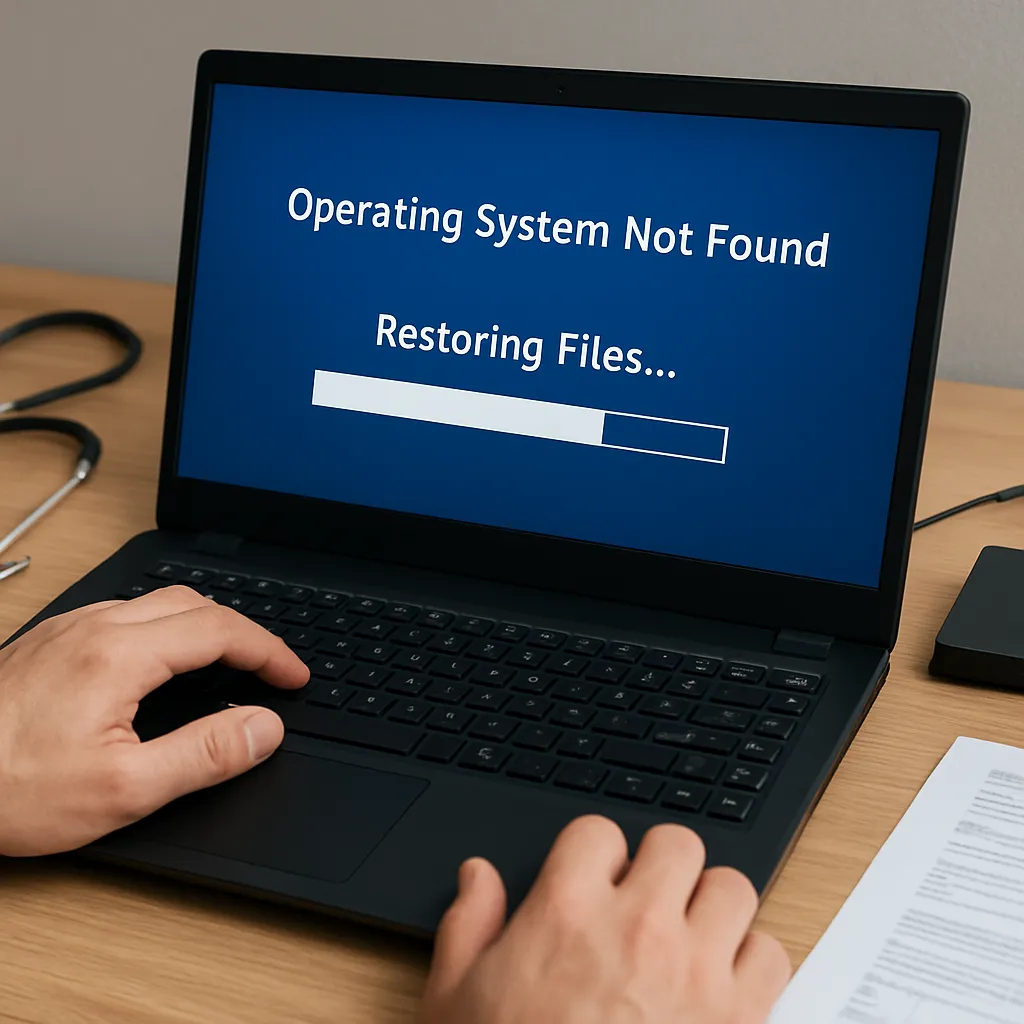
Encountering a botched Windows installation can be a harrowing experience, especially when crucial files seem lost in the chaos. This guide dives deep into the realm of data recovery, offering step-by-step methods to resurrect your documents, photos, and system configurations. With the right approach and tools, you can transform a mounting disaster into a triumph of digital resilience.
Understanding Installation Failures
Installation errors often stem from hardware incompatibilities, corrupted installation media, or unexpected power interruptions. Recognizing the root cause is vital before embarking on any recovery journey. Here are common culprits:
- Corrupted ISO or installation files
- partition
- power loss during setup
Before proceeding, ensure your hardware is stable and the installation source is verified. Unstable conditions can further jeopardize file integrity.
Preparing for Data Recovery
Jumping straight into a recovery tool without proper preparation can lead to partial restoration or worse—permanent data loss. Follow these preparatory steps:
- Disconnect unnecessary peripherals to minimize system variables.
- Use a reliable secondary computer to download recovery software and create a bootable USB.
- Label or note existing drive layouts. Knowledge of NTFS versus FAT32 can guide your choice of recovery methods.
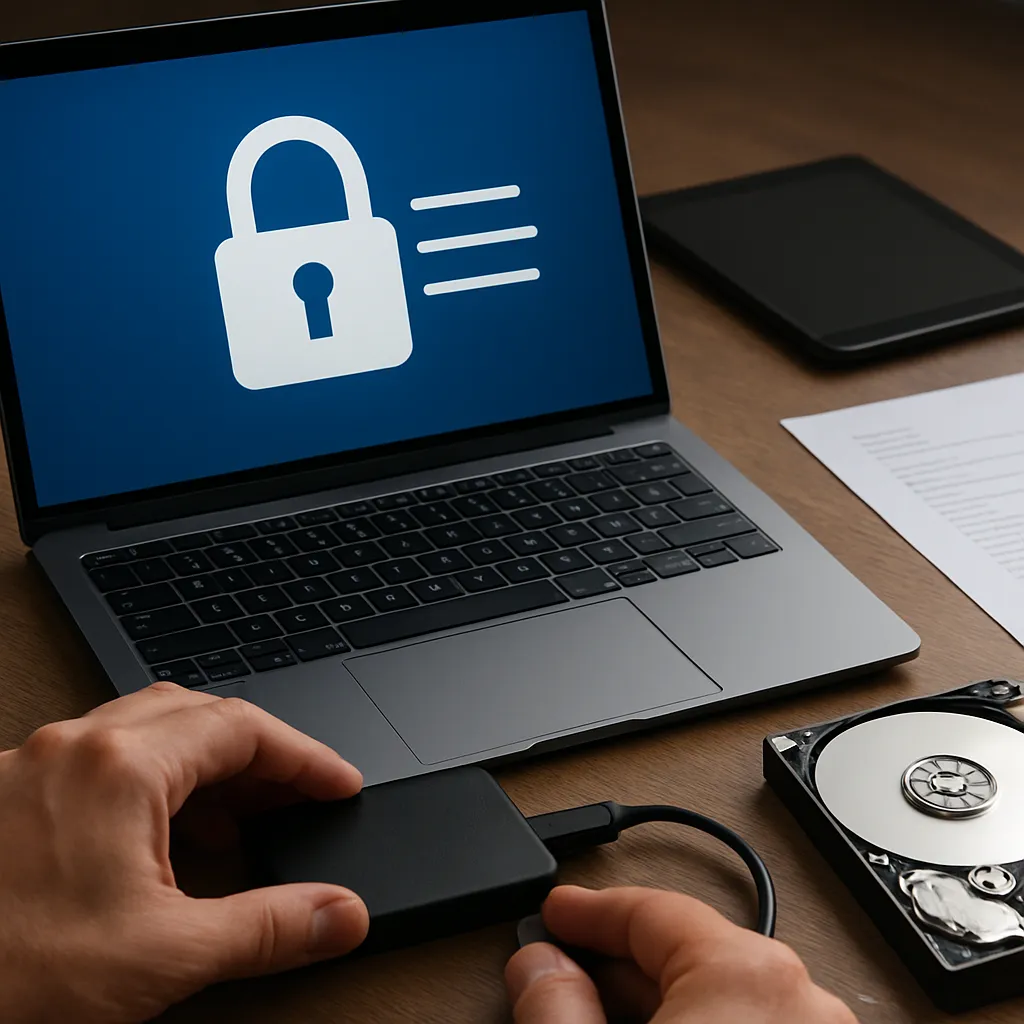
- Consider read-only cloning of the affected disk to preserve its current state.
- Ensure you have enough space on an external drive to store recovered files.
By isolating the affected disk and preparing recovery media, you safeguard untainted data from accidental overwrites.
Using Recovery Software Tools
Modern recovery applications employ advanced scanning algorithms to locate lost files, even when directory structures are damaged. Here’s a breakdown of popular strategies:
- Quick Scan: Swiftly scans file tables for recently deleted entries. Best when data loss is recent.
- Deep Scan: Examines every sector to reconstruct files based on known signatures. Time-consuming but thorough.
- Partition Recovery: Targets entire volumes that vanished due to formatting or accidental deletion.
- Bootable Media: Runs recovery tools outside the corrupted Windows environment, minimizing interference.
Examples of robust utilities include:
- Recuva – lightweight tool for basic file retrieval.
- R-Studio – advanced features like RAID reconstruction.
- EaseUS Data Recovery Wizard – user-friendly interface with guided wizards.
- TestDisk – open-source powerhouse for partition restoration.
Manual vs Automated Recovery Processes
Choosing between manual and automated approaches depends on your technical comfort and the severity of corruption.
Automated Recovery
Most users prefer automated wizards, which streamline the workflow into a few clicks. These tools detect lost partitions, scan file systems, and display recoverable items in a clear interface.
- No need for command-line knowledge.
- Fast previews of recoverable images and documents.
- Built-in filters by file type or date range.
manual Recovery
For complex scenarios—like custom RAID arrays or obscured boot records—manual intervention can be more effective. This process involves:
- Using Terminal or Command Prompt utilities such as chkdsk and diskpart.
- Editing partition tables with TestDisk’s console commands.
- Hex-level inspection to carve files based on signature patterns.
- Recovering specific sectors using ddrescue or similar dd-based tools.
Manual methods demand patience and an understanding of file system architectures, but they can yield results when automated tools falter.
Practical Recovery Walkthrough
Let’s walk through a typical recovery scenario using a bootable USB drive:
- Create a WinPE or Linux-based USB with your preferred recovery suite.
- Boot the affected system from the USB, entering recovery mode.
- Run a Deep Scan on the primary Windows volume.
- Select files for restoration and direct them to an external storage device.
- Verify recovered file integrity before formatting or reinstalling Windows.
Always perform a checksum or open critical documents to confirm successful recovery. If files appear corrupted, consider rerunning the scan with different sector offsets.
Preventing Future Data Loss
Recovery is never as seamless as proactive protection. Adopt these best practices to minimize future headaches:
- Implement an automated cloud or local backup schedule.
- Use surge protectors to safeguard against sudden power failures.
- Maintain updated driver and firmware versions.
- Regularly test boot media and disaster recovery plans.
- Partition sensitive data separately from the system volume.
By combining preventive measures with a solid understanding of recovery tools, you’ll be equipped to tackle installation failures and other data mishaps with confidence.