Recovering files after a factory reset on Windows can feel like an uphill battle, but with the right approach and tools, you can **restore** critical documents, photos, and media you thought were lost forever. This guide dives deep into the world of data recovery, offering step-by-step instructions, expert tips, and recommended software to help you regain access to your information.
Understanding Factory Reset and Data Loss
A factory reset, also known as a system restore or system refresh, wipes your computer’s operating system back to its original state. While this process can resolve persistent software issues, it also erases user data on the system partition. Key factors influencing recovery success include:
- Overwritten sectors: New data writes can permanently obliterate old files.
- Partition table integrity: Damage to the partition structure may complicate scans.
- File system type: NTFS and FAT have different metadata storage methods.
- Time elapsed since reset: The sooner you attempt recovery, the higher the odds.
Why Data Becomes “Lost”
When a factory reset occurs, Windows typically marks all user areas as empty. These sectors are then flagged as available, but the actual bits remain intact until they’re **overwritten** by new files. As long as no significant write operations have occurred, specialized recovery algorithms can piece together remnants and rebuild your files.
Common Misconceptions
- “Lost” files are immediately gone: In most cases, they persist on disk until replaced.
- Built-in Windows tools suffice: The default Recycle Bin or File History may not cover post-reset scenarios.
- All file types recover equally: Media files, documents, and archives have varying success rates.
Steps to Recover Files After Factory Reset
Follow this structured procedure to maximize your chances of successful recovery:
1. Minimize Disk Activity
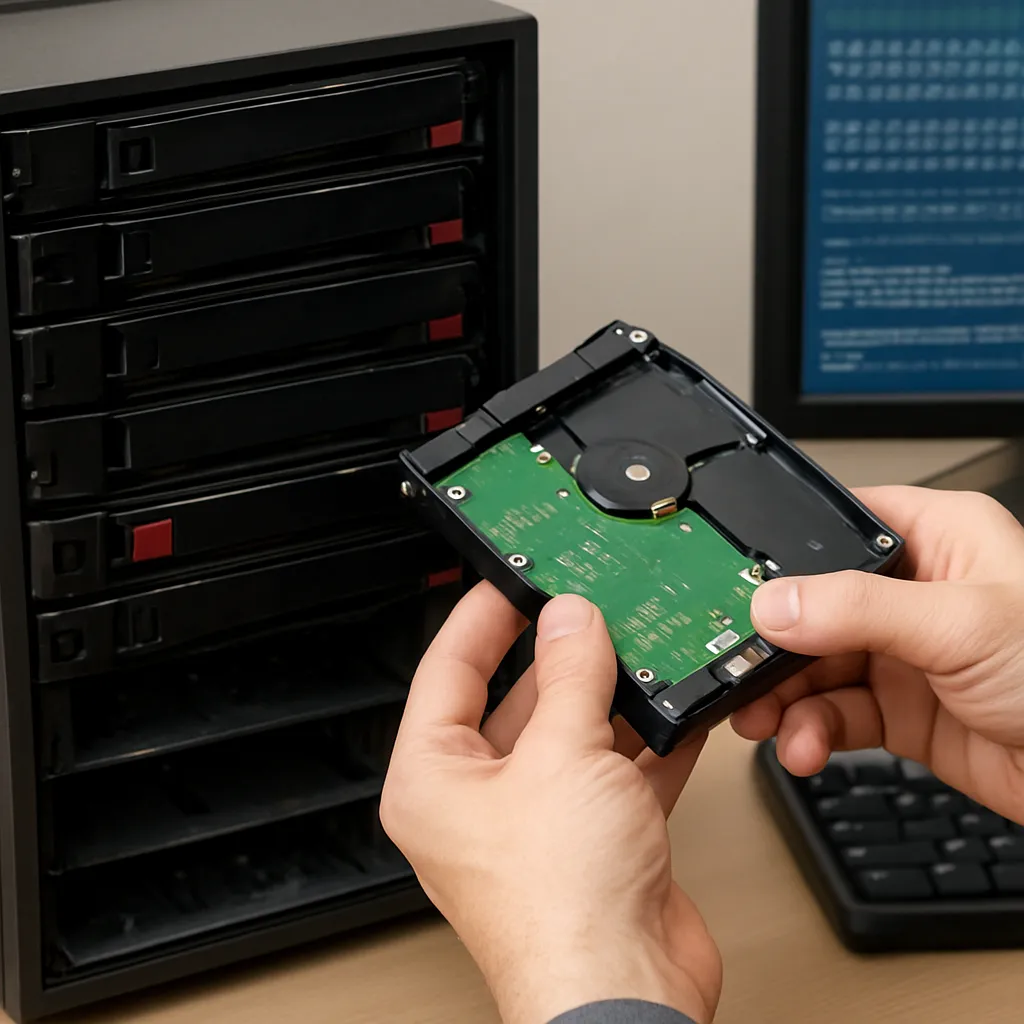
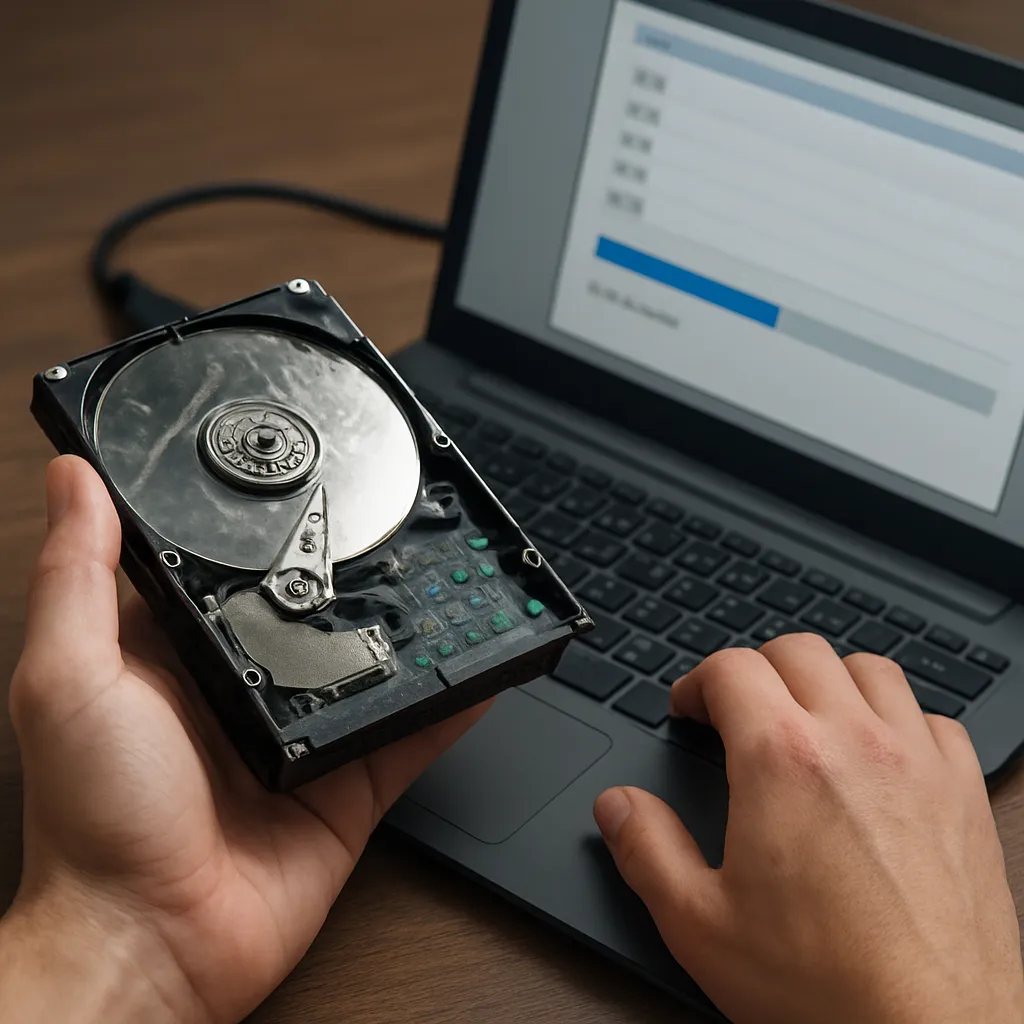
Immediately power down or disconnect the drive. Continued usage can trigger new writes that overwrite critical sectors. If possible, remove the drive and attach it to another system as a secondary disk.
2. Choose a Reliable Recovery Software
Not all tools are created equal. Look for applications offering:
- Deep scan or raw recovery modes
- Support for NTFS, FAT32, exFAT, and other common file systems
- User-friendly previews for photos and documents
- Ability to export scan results for later sessions
3. Perform a Scan
Launch the software and select the target drive. Use the deep scan or raw search option to locate traces of deleted files. This process may take hours, depending on drive size and hardware speed.
4. Preview and Select Files
Once the scan completes, review the detected items. Most applications allow you to filter by file type, size, and date. Choose only the necessary files to avoid unnecessary data writing during export.
5. Export to a Different Drive
Save recovered files to an external USB drive or network share. Never write data back to the original disk until you’re certain you’ve recovered all critical items.
Advanced Recovery Tips and Best Practices
To further enhance recovery success, consider these expert recommendations:
Use Disk Imaging
Create a full bit-for-bit image of the affected drive before running any recovery attempt. This preserves the original state and allows multiple attempts without risking data integrity.
Leverage File Signatures
Signature-based detection identifies files by their unique header and footer patterns. This method can uncover fragments even if the file system metadata is corrupt.
Employ Multiple Software Solutions
No single tool excels at every scenario. Combining two or more reputable recovery programs can yield better overall results, as each uses different algorithms and scanning strategies.
Monitor SMART Data
Drive health plays a vital role in recovery. Check SMART attributes to ensure your disk isn’t failing mechanically. If you observe high reallocated sector counts or pending sectors, clone the drive immediately and work on the clone.
Prevent Future Loss with Proactive Measures
After recovery, adopt robust backup strategies:
- Automated cloud backups for critical files
- Local image backups for full system recovery
- Offsite storage for disaster resilience
Selecting the Right Recovery Software
Choosing effective software is crucial. Here are properties to seek in a professional-grade application:
- Cross-platform compatibility if you switch operating systems
- Ability to handle RAID and dynamic volumes
- Integrated file preview and sorting tools
- Support for exportable scan sessions
- Comprehensive documentation and customer support
Free vs. Paid Tools
Free utilities can be useful for basic recovery tasks, but they often limit:
- Number of files recovered
- Maximum data volume
- Access to advanced scanning modes
Professional solutions justify their cost by delivering higher recovery rates, faster performance, and dedicated technical support. Evaluate trial editions before committing to a purchase.