Encountering a failed firmware update can feel like a devastating blow to anyone relying on digital devices for daily tasks. When an update goes sideways, critical data stored on the affected device may become inaccessible or even at risk of permanent loss. Knowing how to effectively **recover** files after a firmware update failure is essential for both home users and IT professionals. This article will guide you through the causes of update failures, the preparatory steps you should take, a detailed recovery workflow, and advanced options when basic solutions fall short.
Understanding Firmware Update Failures
Firmware is the specialized low-level **software** that facilitates communication between hardware components and higher-level operating systems. While modern devices typically handle updates automatically, several factors can interrupt or corrupt the process. Gaining insight into these pitfalls helps you respond more calmly and confidently when disaster strikes.
Common Causes of Failure
- Power interruptions or sudden shutdowns during the update
- Incompatibility between the new firmware version and existing hardware
- Network disruptions when downloading update packages
- Insufficient storage space on the device
- Pre-existing corruption within device partitions or file systems
Risks to Data Integrity
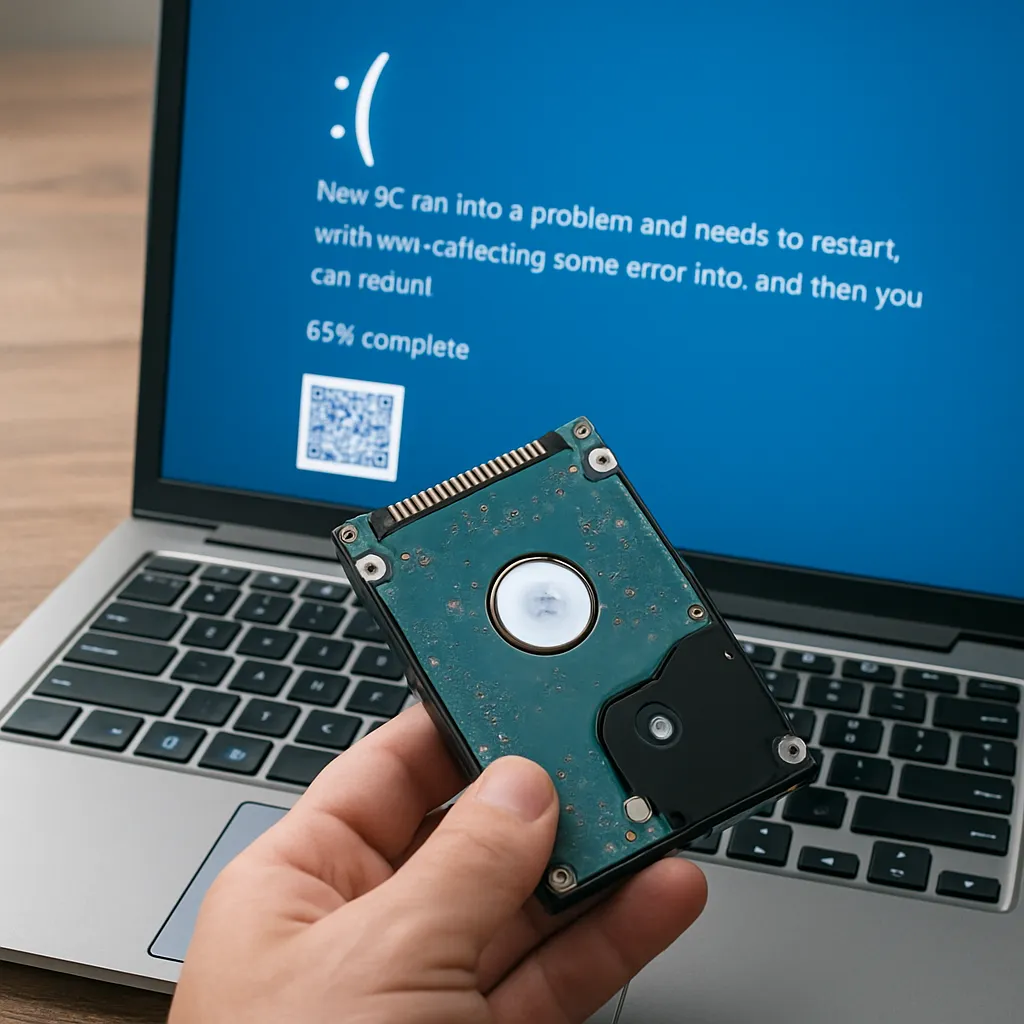
When a firmware update fails, file allocation tables and critical system partitions may become **corrupted**, resulting in lost access to user data. In some cases, the device can enter a boot loop or a bricked state, preventing normal operation and complicating access to on-device storage. It’s crucial to recognize that firmware failures strike at the very heart of the device’s **integrity**, and careless attempts to fix the issue can exacerbate data loss.
Preparing for Troubleshooting and Data Recovery
Before you launch into recovery efforts, assembling the right resources and understanding the scope of the problem will save time and reduce the risk of further damage. Preparation is the cornerstone of any successful data restoration project.
Creating a To-Do List
- Verify the exact model and firmware version of the device
- Check for replacement or emergency firmware provided by the manufacturer
- Identify whether onboard memory is accessible via standard interfaces
- Gather an external **drive** or host PC for file extraction
- Ensure you have adequate power supply or an uninterruptible power supply (UPS)
Essential Recovery Software
Choosing a robust data recovery tool is vital. Look for software that can:
- Recognize a variety of file systems (FAT, NTFS, ext4, HFS+)
- Perform deep **scanning** of raw storage sectors
- Reconstruct damaged **partition** tables
- Offer a preview of recoverable files before extraction
- Support bootable media creation for offline recovery
Examples of reliable recovery suites include those featuring both graphical and command-line modes, with modules for **storage** imaging and checksum verification. Having such **tools** at hand enables a comprehensive approach to salvaging data from a compromised device.
Step-by-Step Guide to Recover Files After a Firmware Update Failure
With preparations complete, you can proceed through a systematic workflow designed to maximize the chances of full data restoration. Follow each step carefully and avoid skipping tasks, as omissions can lead to irreversible data loss.
1. Assess the Situation
Power on the device and observe any error messages. Determine whether the device:
- Boots into a recovery or safe mode
- Shows a blank screen or an unresponsive interface
- Displays firmware update errors (e.g., checksum mismatch)
Document all observed behaviors and error codes. This information helps you choose a targeted recovery method and informs technical support, if needed.
2. Choose the Right Software
Select a recovery application suited to your device’s architecture. For instance, microcontroller-based gadgets may require dedicated embedded recovery kits, whereas smartphones and tablets often allow USB-based access via ADB or specialized protocols. Focus on software that emphasizes:
- Non-destructive analysis (no writes to the source device)
- Read-only imaging capabilities
- Support for the device’s native file system
3. Perform a Partition and File System Scan
Connect the device to your host PC using the appropriate interface (USB, SATA dock, JTAG). Launch the recovery tool and initiate a thorough scan of all accessible **partitions**. During this process:
- Generate a disk image or sector-by-sector clone to work with, preserving the original media
- Allow the software to identify lost or deleted file records
- Monitor progress and review initial scan logs for error patterns
Deep scans can take several hours, depending on storage capacity and device speed. Patience during this phase is critical to accurate recovery.
4. Recover and Validate Files
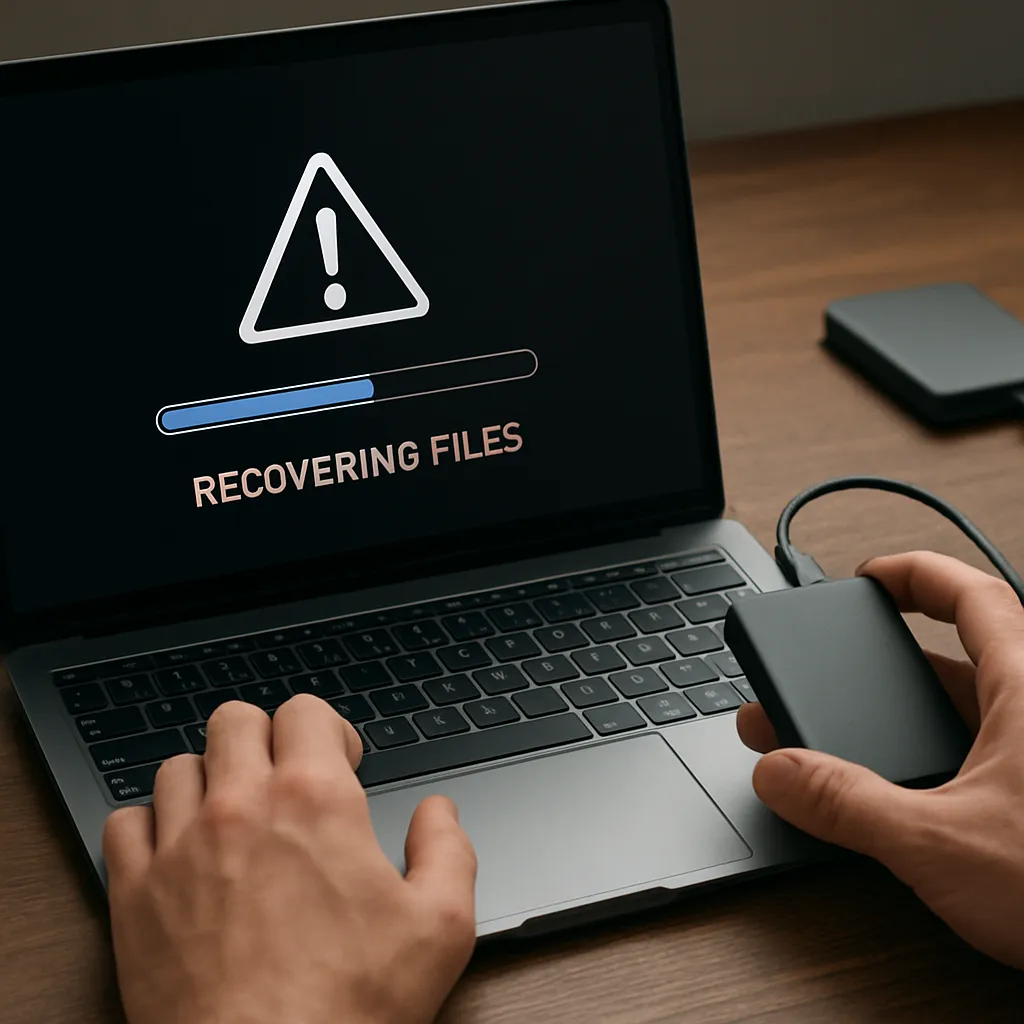
Once the scan completes, use the preview function to inspect recoverable files. Prioritize critical documents, photos, or project files. When selecting files for retrieval:
- Check file integrity by opening sample documents in their native applications
- Use checksum or hash values when available to ensure files aren’t partially truncated
- Export recovered files to a separate **backup** location, never back onto the original device
After extraction, organize files according to importance and verify that no dependencies (e.g., accompanying resource files) are missing. This step ensures your data remains coherent and usable.
5. Prevent Future Failures
With files secured, address the underlying cause of the firmware failure. Actions may include:
- Updating to an official, manufacturer-provided firmware package
- Applying incremental updates rather than jumping multiple firmware versions
- Maintaining regular backups to cloud or external storage
- Monitoring system health and storage conditions (e.g., for bad sectors)
Adopting these best practices reduces the likelihood of repeat incidents and preserves the long-term health of your devices.
Advanced Techniques and Professional Assistance
In cases where standard recovery software cannot fully restore your data—particularly when hardware-level damage or encryption obstacles are present—you may need to employ advanced methods or seek expert help.
Using Command-Line Tools
Linux-based tools like ddrescue or TestDisk offer granular control for power users comfortable with terminal environments. These utilities can:
- Clone failing media with customized read attempts
- Locate lost partitions by analyzing raw byte sequences
- Recover boot sectors and critical file system metadata
While command-line solutions deliver powerful features, they demand a thorough understanding of storage architecture to avoid accidental data overwrites.
When to Consult a Professional
If your device shows signs of physical damage (e.g., burned components or broken connectors) or houses proprietary encryption that standard tools cannot bypass, professional data recovery labs provide the necessary environment and expertise. Technicians can:
- Perform chip-off or board-level recovery
- Use specialized hardware testers to bypass firmware locks
- Handle sensitive or high-value data with secure chain-of-custody procedures
Engaging professionals comes with higher costs, but it often represents the only viable path to retrieving critical information under extreme circumstances.