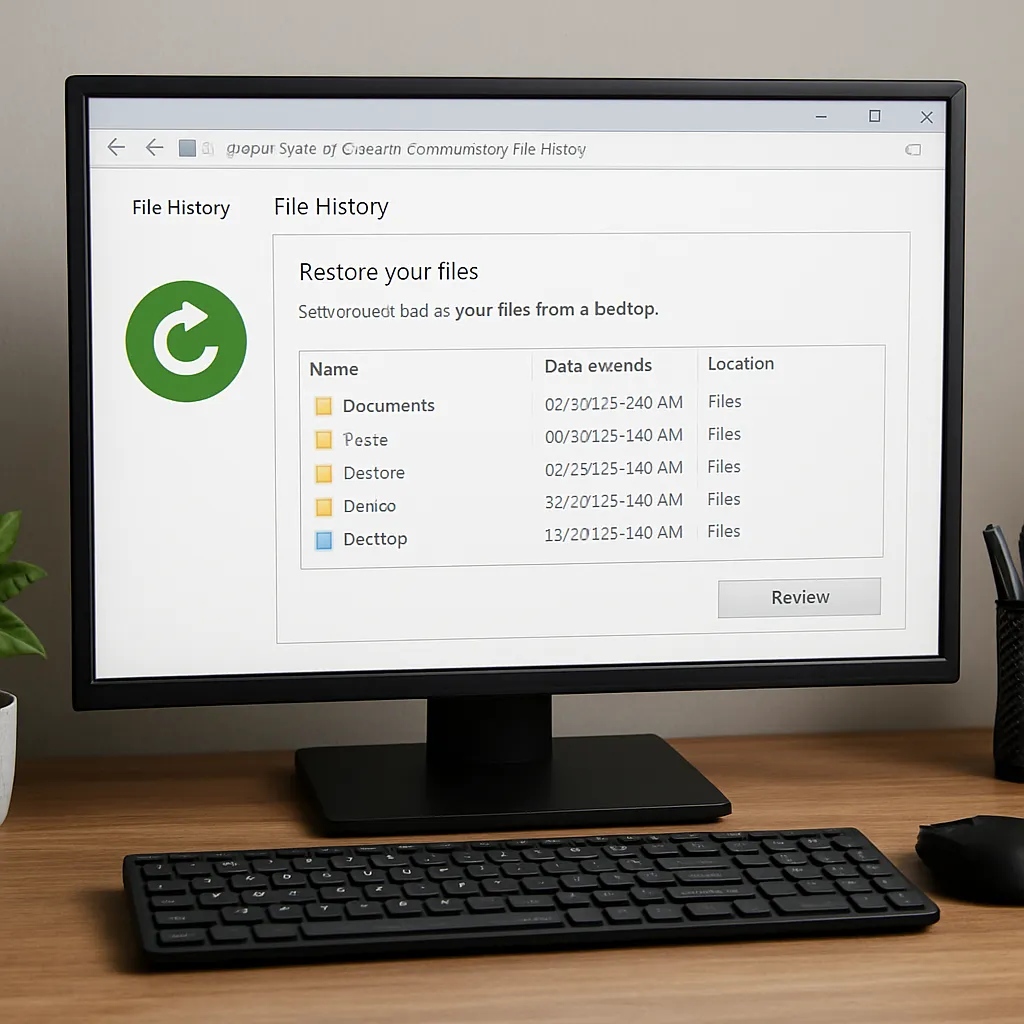
Windows File History stands out as a **powerful** tool for keeping your personal files safe and accessible. By automatically creating versions of documents, images, and other data, File History reduces the risk of permanent data loss. In this article, you will learn how to set up File History, perform a seamless restoration of your files, and explore complementary **recovery software** solutions to further enhance your backup strategy.
Understanding Windows File History
Windows File History is a built-in backup feature introduced in Windows 8 and improved in Windows 10 and 11. Unlike traditional one-time backups, File History continuously monitors designated folders and creates incremental copies of files at set intervals. If a file is accidentally deleted or overwritten, you can restore a previous version with just a few clicks.
Key components of File History include:
- Backup target: An external hard drive, USB flash drive, or network location where file versions are stored.
- Source folders: User Libraries (Documents, Pictures, Videos, Music), Desktop, Contacts, and Favorites. You can add other folders manually.
- Version history: Time-stamped copies of files, allowing you to browse and recover an earlier snapshot.
- Retention policy: Configurable settings to control how long old versions are kept and when they are deleted.
Using File History effectively requires understanding its limitations. It is not a full system image tool—it does not back up the operating system or installed applications. For that, you would use system imaging or third-party disk cloning utilities. However, for everyday document-level recovery, File History is ideal.
Setting Up File History Backup
Before you can restore files, you must configure File History on your Windows PC. Follow these steps:
- Open Settings > Update & Security > Backup. Select “Add a drive” and choose an external drive or network share.
- Click “More options” to customize backup frequency (default every hour) and retention (forever or specific time span).
- Under “Back up these folders,” ensure the critical folders are included. Use “Add a folder” to include project directories or other custom locations.
- Optionally, click “Exclude these folders” to skip temporary or large directories that don’t need versioning.
- Check the backup status and logs to confirm File History is running. Look for recent timestamps under “Last backup.”
If you’re using a network share, ensure you have the correct permissions and stable connectivity. An intermittent connection can lead to skipped backups or corrupted snapshots. Also, verify that your backup drive has ample free space; otherwise, retention policies may delete older versions sooner than planned.
Restoring Files with File History
Recovering lost or modified files is straightforward:
- Open the folder where the file originally resided (e.g., Documents > ProjectFolder).
- Select the “Home” tab in File Explorer and click “History.” This launches the File History interface with a timeline view of all backed-up versions.
- Browse through versions using the arrows. Each snapshot shows thumbnails or preview details of files in that folder at the time.
- Choose the version you want to restore. Click the green “Restore” button to recover it to its original location. To avoid overwriting the current version, hold Shift or use the right-click menu to restore to a different folder.
If you accidentally deleted an entire folder, navigate above the missing folder’s level before launching File History. This ensures the folder appears in the snapshot list. You can then restore the entire folder structure in one action.
In cases of corrupted File History data or missing backups, you may need specialized recovery software to retrieve individual version files from the backup drive. These utilities can scan the drive for recoverable FN files or shadow copies left by Windows.
Advanced Recovery Software and Techniques
While File History is excellent for standard file recovery, there are scenarios where third-party tools can fill the gaps:
- Disk Imaging: Backup the entire drive, including OS, applications, and hidden sectors, using tools like Macrium Reflect or Acronis True Image.
- Shadow Copy Extractors: Utilities such as ShadowExplorer allow you to browse Volume Shadow Copies created by Windows outside of File History.
- Data Carving: When file tables are damaged, tools like Recuva or PhotoRec scan the raw sectors to reconstruct lost files.
- Version Repositories: Enterprise-grade solutions (e.g., Veeam, Acronis Cyber Protect) maintain multiple backup copies across local and cloud locations for robust redundancy.
Best practices for complementing File History include:
- Maintaining a schedule that balances frequency and storage consumption.
- Testing recovery procedures periodically to ensure backups are not corrupted.
- Combining local backups with cloud-based storage for offsite protection against theft, fire, or hardware failure.
- Encrypting sensitive backups to safeguard personal or business data from unauthorized access.
By integrating File History with advanced recovery software, you create a multi-layered defense strategy that minimizes downtime and **maximizes** data availability. This approach ensures that whether you face accidental deletion, malware encryption, or hardware damage, your important files remain reachable and intact.