Recovering data from a disk suffering from I/O errors demands a blend of technical knowledge and the right tools. This article explores effective strategies and methodologies to maximize the chances of file restoration. You will learn how to diagnose faults, select optimal recovery solutions, and execute a systematic recovery process that safeguards your valuable information.
Understanding I/O Errors and Data Loss
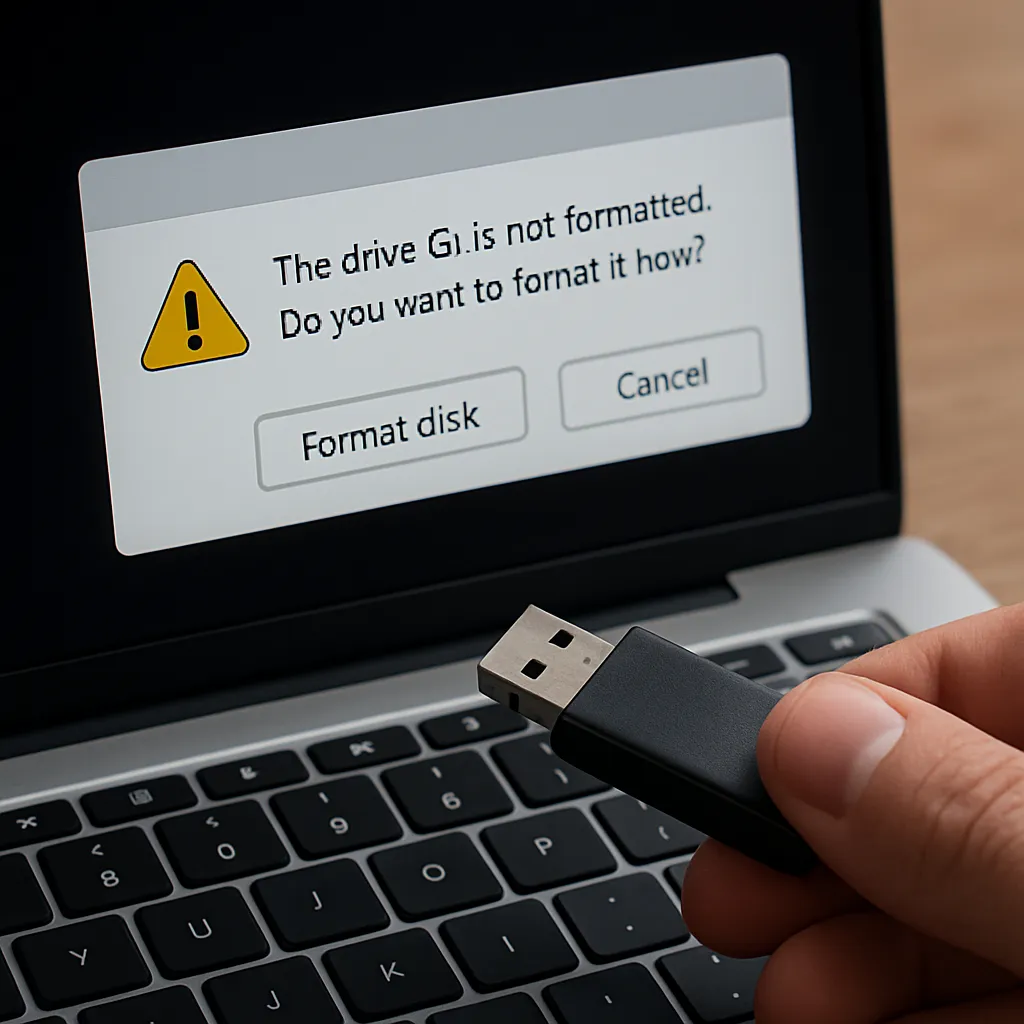
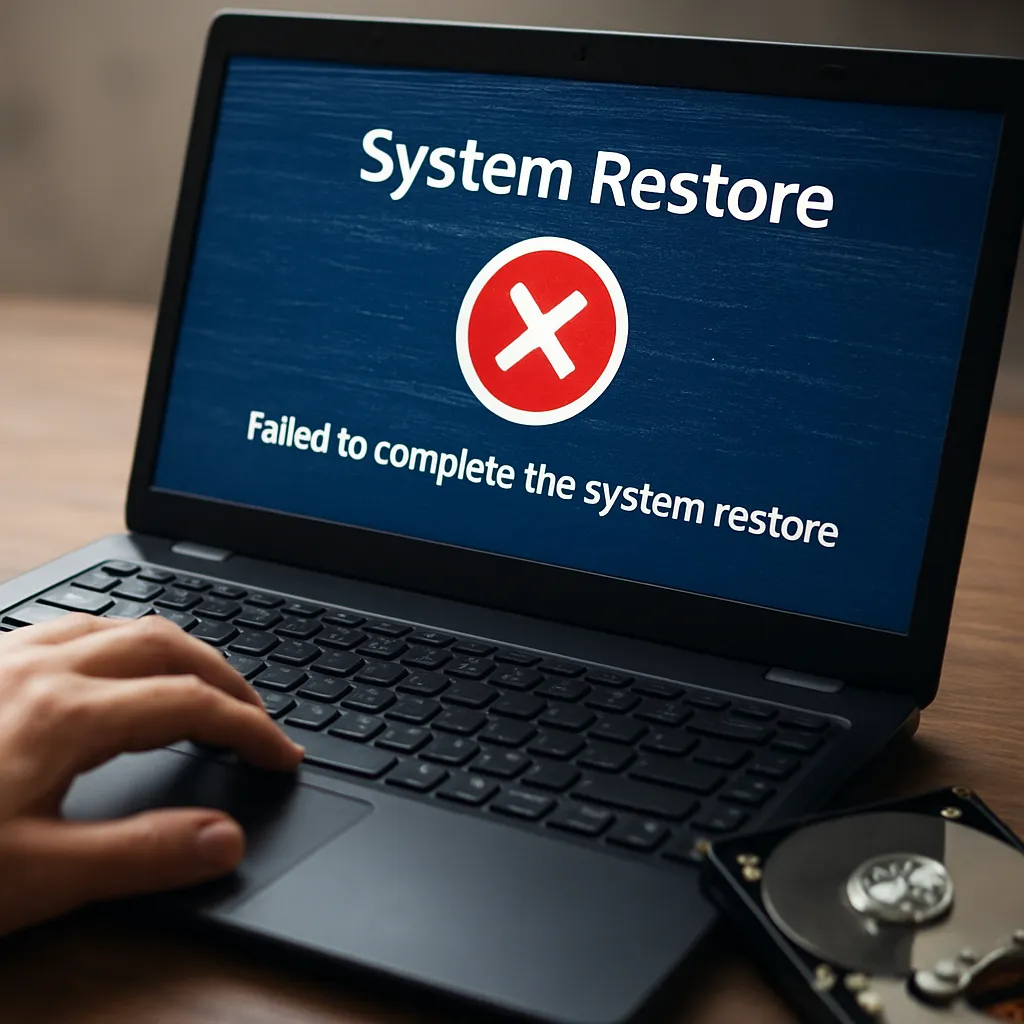
When a storage device shows signs of malfunction, such as unusual noises or system freezes, it often results from bad sectors, corrupted file tables, or failing electronics. I/O (Input/Output) errors occur when the operating system fails to read or write data from the disk. You might experience error messages citing “cyclic redundancy check” or “unable to read sector.” A thorough understanding of common error sources is crucial for planning an effective recovery.
- Hardware wear and tear: Disks degrade over time due to mechanical movement or thermal stress.
- Logical corruption: File systems may become inconsistent after abrupt shutdowns or improper ejections.
- Bad sectors: Portions of the platters can no longer retain a magnetic charge, making them unreadable.
- Firmware glitches: Controller firmware bugs can misinterpret disk geometry or fail to communicate with the OS properly.
Identifying Symptoms
Early detection of I/O errors significantly increases recovery success. Look for these warning signs:
- Repeated system hangs when accessing specific folders or files.
- SMART (Self-Monitoring, Analysis, and Reporting Technology) alerts in diagnostics logs.
- Uncommonly slow disk throughput during normal operations.
- Frequent error codes referencing read/write failures.
After noticing these indicators, avoid further writes on the disk to prevent exacerbating the issue. Transition immediately to a diagnostics phase.
Choosing the Right Recovery Software
Not all recovery tools are created equal. Some excel at reading damaged disks at a low level, while others offer advanced file carving from raw data. Here are essential criteria for selecting a robust solution:
- Imaging capabilities: The ability to clone a failing disk into a stable image file minimizes the risk of data loss during repeated read attempts.
- Error management: Tools with built-in retries, adjustable timeouts, and customizable sector skipping can navigate around stubborn bad blocks.
- User interface: Clear progress indicators and detailed logs help you track the recovery process and analyze failure points.
- File system support: Ensure compatibility with NTFS, FAT32, exFAT, ext2/3/4, APFS, HFS+, or any specialized format you need.
- Advanced algorithms: Some software uses heuristics and pattern matching to reconstruct fragmented or deleted files more accurately.
Evaluating Performance
Before committing to a purchase or a full recovery run, test candidate tools in a trial mode. Verify how they:
- Perform diagnostics on a healthy test disk to establish a performance baseline.
- Handle intentional errors you introduce, such as by marking sectors unreadable with software utilities.
- Report on extraction speed and success rates for typical file sizes and types (documents, images, video).
Licensing and Support
Premium recovery suites often include technical support, regular updates, and access to specialized modules. However, freeware alternatives can suffice for basic scenarios. Balance cost against the criticality of the data and the complexity of the failure.
Step-by-Step Recovery Process
A systematic approach minimizes the risk of making errors that could permanently destroy data. Follow these phases carefully:
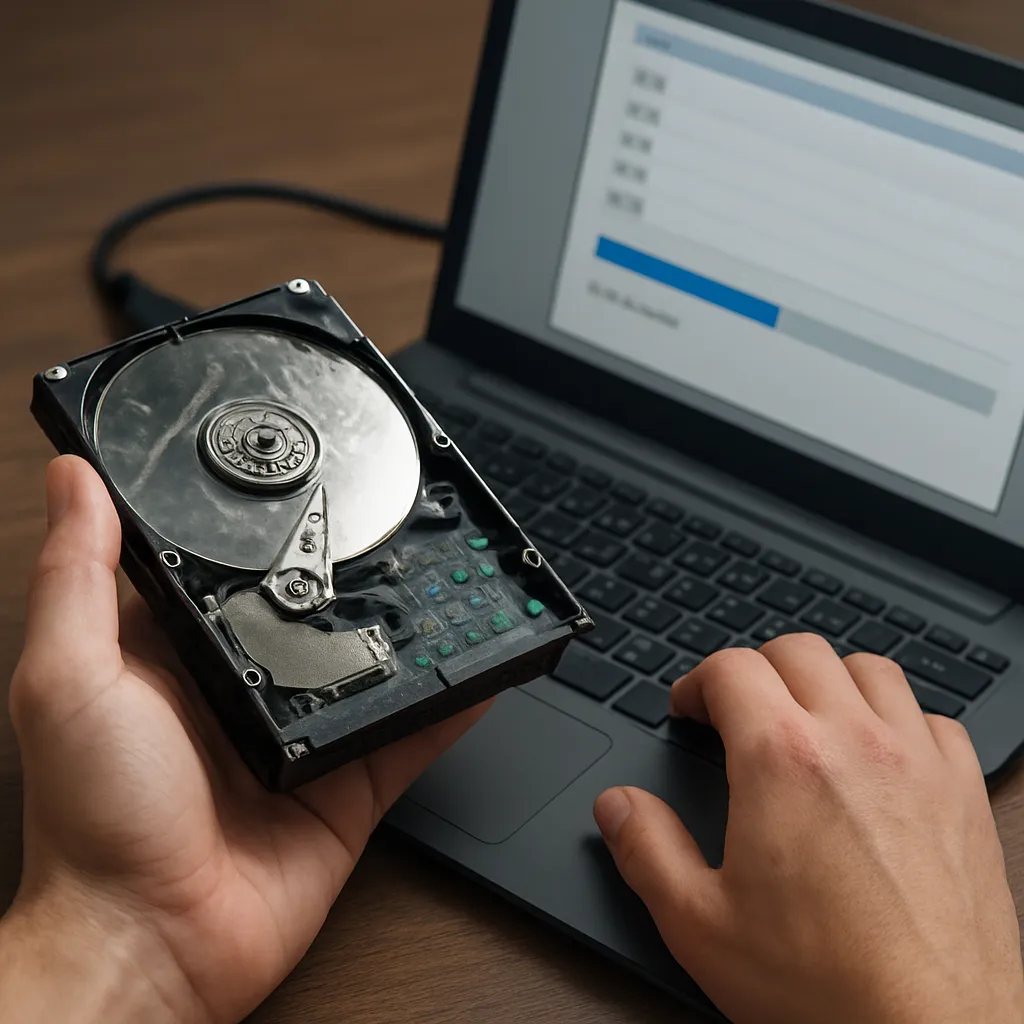
1. Disk Imaging
Creating an image of the failing disk is the cornerstone of safe recovery. Operate in read-only mode whenever possible to preserve the original media. Advanced tools allow you to:
- Limit read speed or set maximum retries per sector to reduce mechanical strain.
- Generate a log of bad sectors encountered during cloning.
- Resume imaging from the last successful block in case of interruptions.
2. Preliminary Scanning
Once you have a stable image, run a quick scan to map all file structures and identify recoverable items. This stage focuses on:
- Reconstructing directory trees and file allocation tables.
- Cataloging file signatures for known formats (e.g., JPEG, DOCX, PDF).
- Marking incomplete fragments for later in-depth analysis.
3. Deep Recovery
The deep scan phase uses low-level reading and algorithms to piece together data fragments. It may take hours or days, depending on the volume and damage level. Key activities include:
- File carving to locate headers, footers, and metadata patterns.
- Repairing minor corruption through checksum validation and overlap analysis.
- Exporting recovered files to a safe destination, ensuring they remain intact.
4. Verification and Integrity Check
After recovery, verify file integrity before declaring success. Techniques to ensure reliability include:
- Running MD5 or SHA checksums against known good copies.
- Opening documents, playing media, or loading databases to confirm usability.
- Reviewing error logs for unresolved bad sectors that may indicate incomplete recovery.
Advanced Techniques for Severe Disk Damage
When dealing with catastrophic failures—such as spinning head crashes or controller board malfunctions—standard software tools might not suffice. In these scenarios, consider:
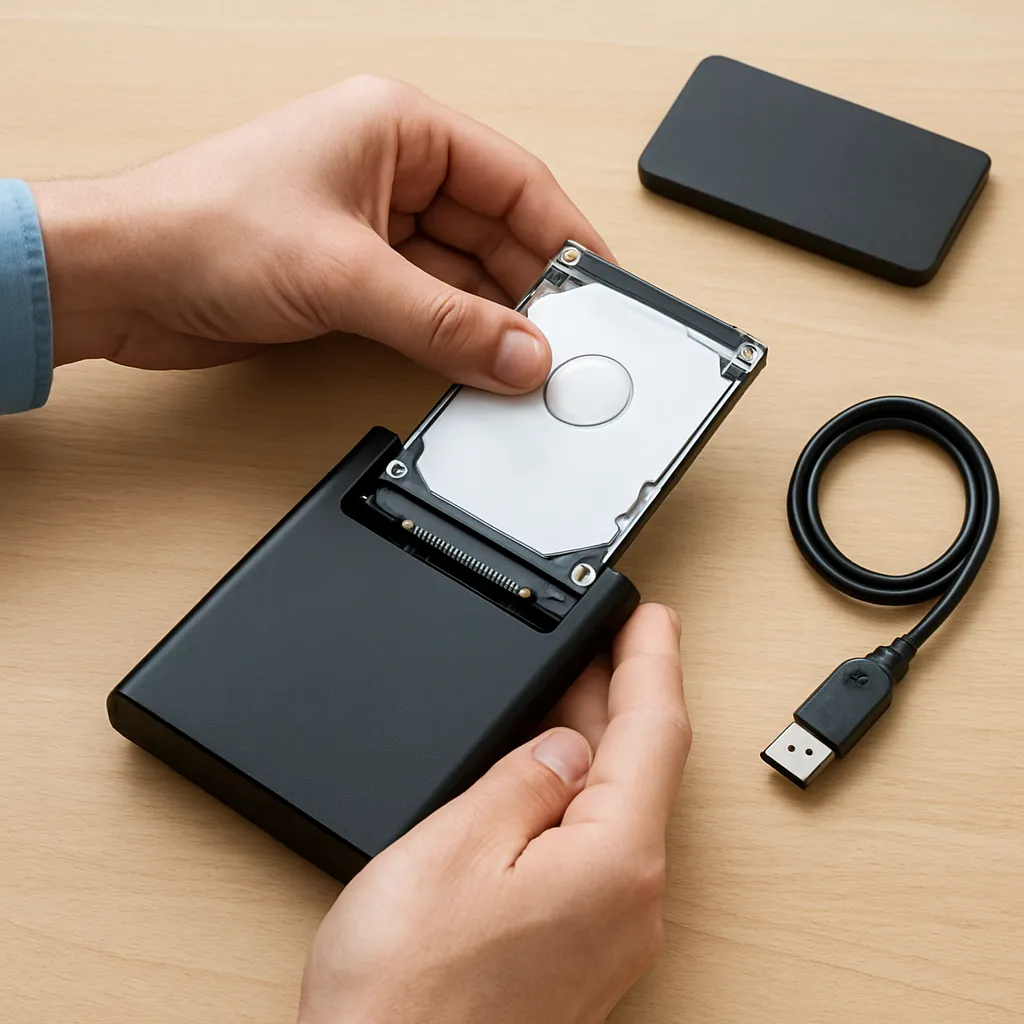
Cleanroom Component Swaps
For mechanical breakdowns, professional data recovery labs perform resilience-focused operations. They replace damaged heads or circuit boards under dust-free conditions. This level of service often recovers data that home utilities cannot.
Electronics Repair
Faulty power regulation or corrupt firmware blocks can render a disk invisible to the system. By exchanging PCB (printed circuit boards) from a compatible donor disk and transferring the unique calibration data (adaptive memory), technicians can restore functionality.
Manual Sector Remapping
Some specialist tools allow direct editing of the disk’s defect list, effectively remapping bad sectors to spares. This manual intervention can rescue critical data from areas deemed irrecoverable by automated software. Exercise caution, as incorrect remapping may overwrite healthy data.
Utilizing imaging Hardware
Hardware imager devices offer higher throughput and damaged-sector management than software-only approaches. They maintain power stability, dynamically adjust read patterns, and integrate built-in failover systems to maximize read success.
Implementing these advanced measures often demands significant investment and technical skill. For most users, combining the right software, a disciplined workflow, and proper hardware will yield the best balance of cost and success. By understanding the nature of I/O errors and applying rigorous recovery protocols, you can significantly improve the odds of restoring your valuable files.