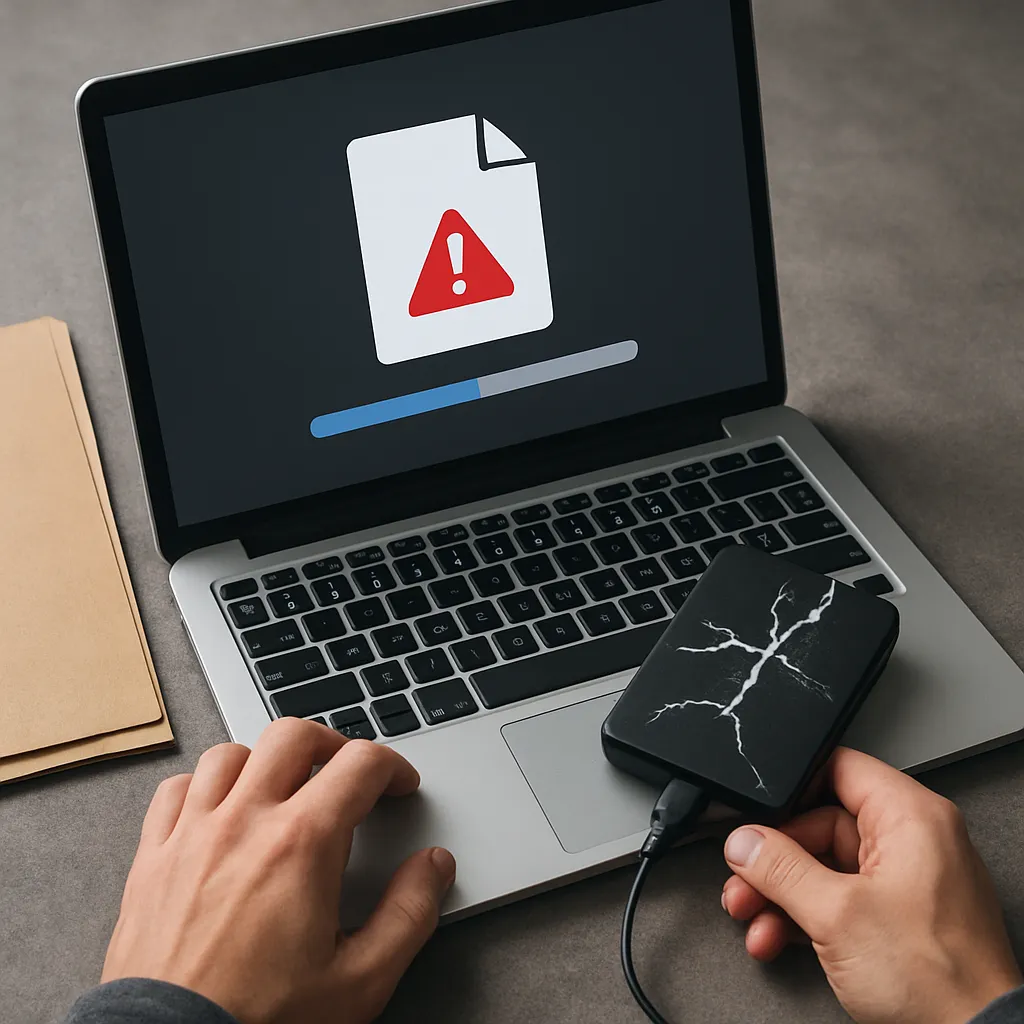
Recovering data from a scratched or damaged optical disc can feel like a daunting task, but with the right approach and software tools, you can often restore precious files lost to scratches, sectors unreadable by your drive, or other optical media failures. This guide explores the causes of CD/DVD damage, outlines preparatory steps, reviews top recovery programs, offers a detailed retrieval procedure, and suggests preventive measures to protect your discs in the future.
Understanding Optical Media Damage
Causes of Disc Damage
- Physical scratches from improper handling or storage
- Exposure to heat, sunlight, or humidity leading to warping or delamination
- Manufacturing defects in the reflective laser layer
- Oxidation of the aluminium layer over time
- Accumulated dust or finger oils on the data side
Signs of a Failing CD or DVD
- Recurrent read errors or slow access speeds
- Frequent “disc not recognized” messages by the operating system
- Strange noises coming from the drive
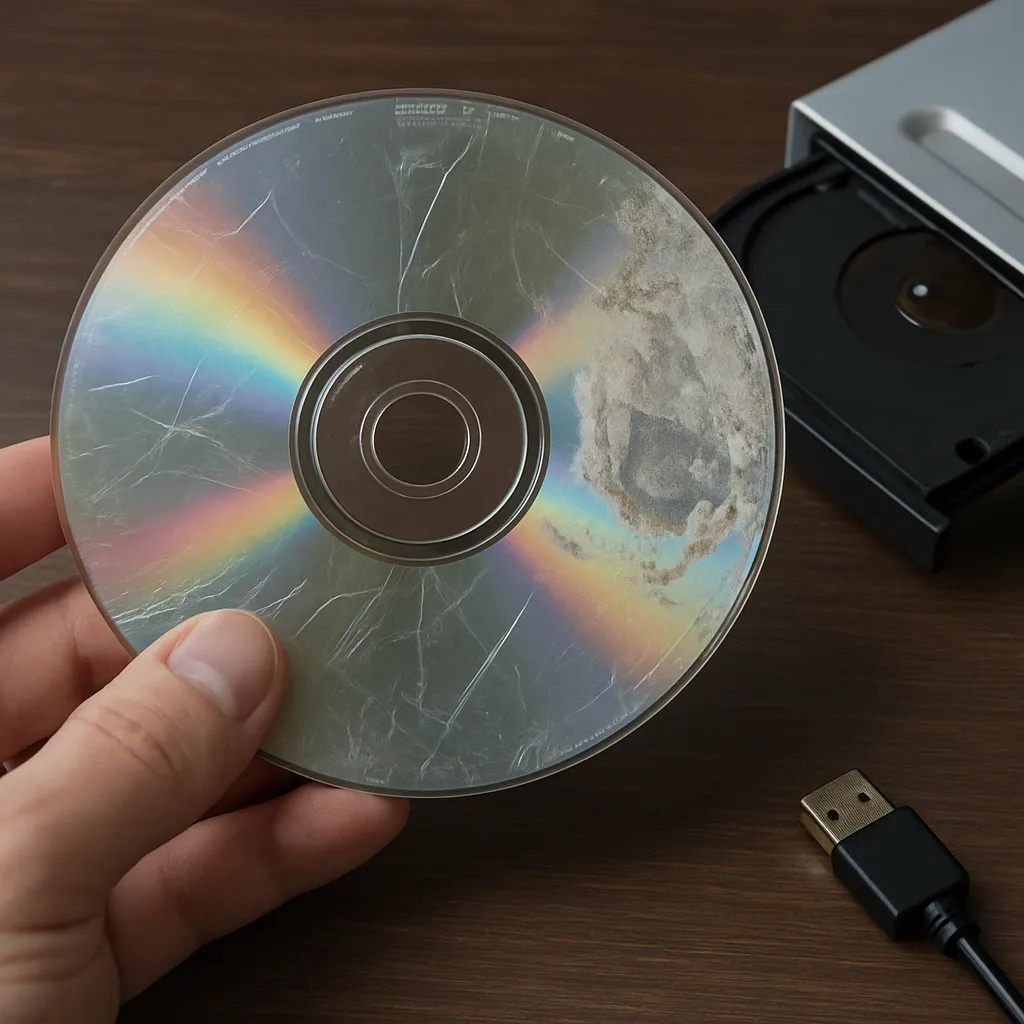
- Visible pits, cracks, or deep scratches on either side
- Intermittent skips when playing multimedia content
Preliminary Steps Before Recovery
Before diving into complex recovery strategies, perform these essential preparatory tasks to maximize your odds of success:
- Clean the disc gently with a soft lint-free cloth, wiping from the center outward.
- Use a mild cleaning solution or isopropyl alcohol to remove stubborn residues.
- Inspect under good lighting to identify the most severe damage areas.
- Consider copying the disc as an ISO image using built-in OS utilities or basic imaging tools to preserve the current state.
- Ensure your CD/DVD drive is functioning properly, or test on multiple drives to determine if the issue is disc- or drive-related.
Software Tools for CD/DVD Recovery
Commercial Tools
- IsoBuster: Industry-standard utility that supports deep sector scanning and data extraction from damaged discs.
- CD Recovery Toolbox Pro: User-friendly interface with automated scanning and a high success rate on scratched media.
- Roadkil’s Unstoppable Copier (Pro): Advanced functionality for reading every readable data fragment and stitching partial files.
Freeware Solutions
- ddrescue (GNU): A powerful command-line tool that repeatedly attempts to read bad sectors and builds a map of lost data.
- VLC Media Player: Can sometimes bypass errors when reading audio/video tracks directly.
- Exact Audio Copy (EAC): Optimized for extracting audio CDs with emphasis on checksum-verified accuracy.
Choosing the Right Tool
- Match the tool to the disc type (audio, video, data).
- Check for support of multi-session discs if your media contains multiple disc sessions.
- Look for advanced error-handling modes like “try harder” or “skip block” in the software settings.
Step-by-Step Recovery Process
Follow these stages carefully to extract as much data as possible from your damaged CD or DVD:
- Launch your chosen recovery application and select the damaged drive as source.
- Configure read parameters: set maximum retry attempts, angle of laser focus adjustments, and any available low-level mode.
- Start a full disc scan or image creation. In commercial tools, enable “sector-by-sector copy” or “raw mode”.
- Monitor progress logs for critical read errors and mark files that failed initial read attempts.
- If imaging fails, switch to a data extraction mode that reads at the file level instead of sectors.
- For partially recovered files, use file repair utilities (e.g., JPEG repairers for corrupt images or video repairers for AVI/MPEG files).
- Save recovered files to a different physical drive to avoid overwriting disc images.
Advanced Techniques
Multi-Pass Scanning
Re-run scans at different speeds. Slower speeds often yield better results on discs with deep scratches because the drive has more time to re-focus the laser on damaged sectors.
Customized Read Offsets
Some recovery utilities allow adjustment of read offsets to correct optical drive calibration issues. Tweaking offset values can sometimes locate data in misaligned sessions.
Hex-Level Data Analysis
If you have programming experience, mount the disc image in a hex editor. Search for file signatures (headers) to manually carve out critical documents or media segments.
Preventive Measures to Protect Optical Media
- Store discs vertically in jewel cases or dedicated binders to minimize bending stress.
- Avoid exposing discs to extreme temperatures and direct sunlight for prolonged periods.
- Label discs with non-abrasive inks and avoid placing adhesive labels on the data side.
- Create backup copies or migrate essential files to modern storage solutions periodically.
- Use high-quality media from reputable manufacturers with protective coatings.