Recovering lost data can be a critical task for individuals and IT professionals alike. Whether accidental deletion, system failure, or hardware issues are to blame, knowing how to navigate the Windows backup ecosystem is essential. This guide provides comprehensive insights into the process of restoring files using the Windows Backup Utility, ensuring you regain access to your important documents and media with minimal downtime.
Understanding the Windows Backup Utility
The Windows Backup Utility is a built-in feature that simplifies the process of creating and managing backups on various editions of the operating system. Unlike third-party software, this tool integrates seamlessly with the Windows environment, offering a straightforward interface to safeguard your data.
Key Components of the Backup Utility
- Backup Scheduler: Allows you to automate regular backups to external drives or network locations.
- Shadow Copies: Maintains previous versions of files, helping you recover from accidental overwrites.
- System Image Creation: Generates a complete snapshot of your operating system, ensuring you can recover not only files but also system settings and applications.
Supported Backup Destinations
- External Hard Drives or SSDs
- Network Attached Storage (NAS)
- Mapped Network Folders
- Local Drives (not recommended for disaster recovery)
Preparing to Restore Your Files
Before you begin the restore process, it’s vital to verify that your environment is ready. A misstep in preparation can lead to failed recoveries or partial data loss.
Verifying Backup Integrity
Use built-in checksum or third-party tools to confirm that the backup archive isn’t corrupted. A successful integrity check reduces the risk of errors during restore.
Ensuring Compatibility
- Operating System Version: Confirm that the Version of Windows from which the backup was created matches or is compatible with your current OS.
- Destination Media Health: Run disk checks (chkdsk) on external drives to detect bad sectors.
- Access Permissions: Ensure you have administrative privileges both on the local machine and the network share (if applicable).
Step-by-Step Restoration Process
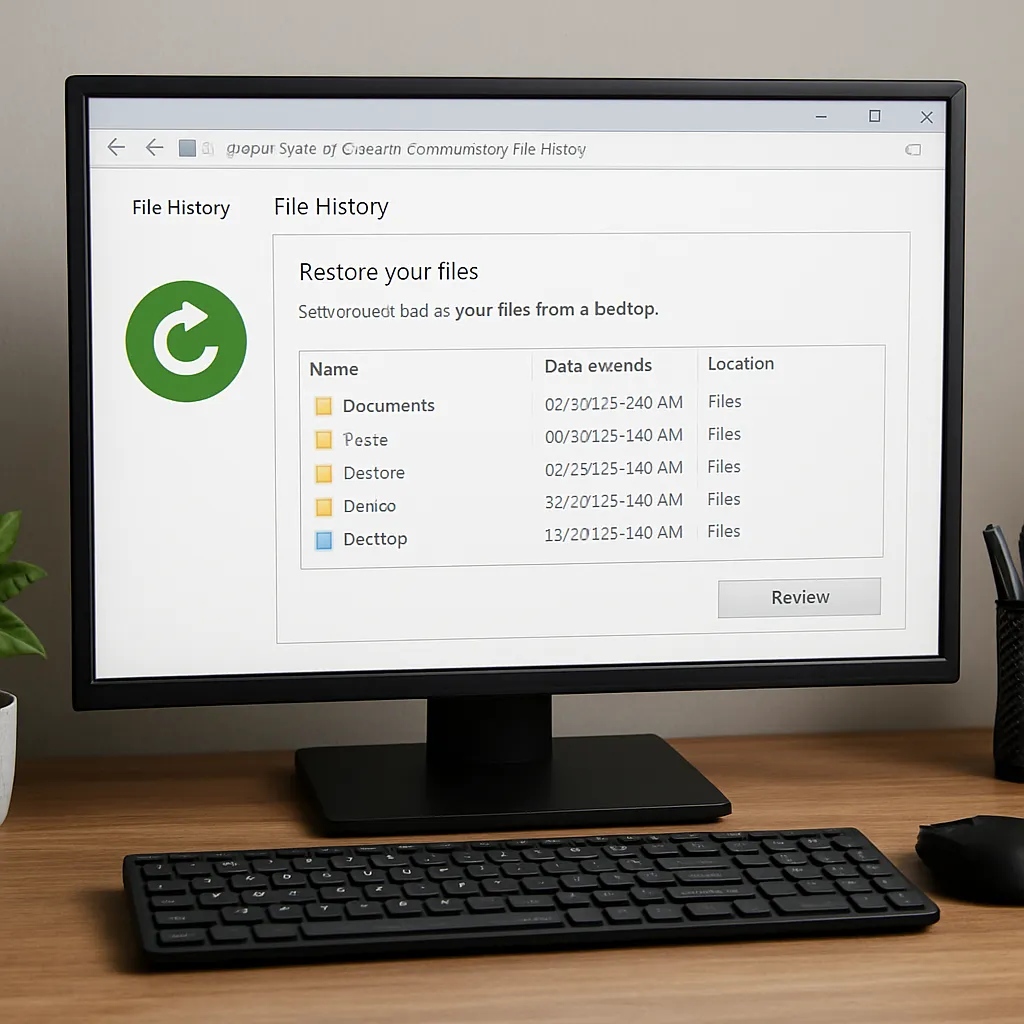
Follow these steps to efficiently restore your Files from a Windows backup:
- Open Control Panel and navigate to “Backup and Restore (Windows 7)” or “Backup Settings” in newer editions.
- Select “Restore my files” or “Restore all users’ files,” depending on your needs.
- Choose “Browse for files” or “Browse for folders” to locate specific items, or select “Restore entire backup” for a full recovery.
- Click “Next” and specify the restore location:
- Original location (recommended for convenience).
- A new location (useful to prevent overwriting current data).
- Review the summary, then click “Restore” to commence the process. A progress bar will indicate completion percentage.
- Once finished, verify that all critical files are accessible and intact.
Troubleshooting Common Issues
Even with meticulous preparation, you may face occasional hiccups. Below are frequent problems and their solutions:
- Backup Not Detected: Ensure that the drive is powered on and properly connected. Update disk drivers from Device Manager if necessary.
- Error Code 0x80070003: Indicates missing files in the backup catalog. Try running the System File Checker (sfc /scannow) before restoring.
- Insufficient Storage: Free up disk space by deleting temporary files or select a smaller subset of data for recovery.
- Access Denied: Launch the utility as an administrator. Check NTFS permissions on the backup files and folders.
- Corruption in Backup Archive: Use the Windows Event Viewer to locate specific errors. If corruption is severe, consider employing specialized Recovery software to extract data.
Advanced Tips for Reliable Data Recovery
Beyond the standard restore workflow, these strategies can bolster your backup and recovery resilience:
- Encryption: Protect your backups using BitLocker or other encryption tools. Even if physical media is stolen, your data remains secure.
- Redundancy: Maintain at least two backup copies in different locations to guard against Disaster scenarios like fire or theft.
- Version Control: Keep multiple backup sets spanning different dates. This helps you recover from Corruption introduced days or weeks ago.
- Test Restores: Schedule periodic drills to validate that your backup process still functions. A monthly test ensures that no silent errors derail your plan.
- System Imaging: Combine file-level backups with full system images. This dual approach lets you restore individual files quickly or recreate the entire system after catastrophic failure.
Leveraging Third-Party Recovery Tools
While the Windows Backup Utility is powerful, certain complex scenarios benefit from specialized Utility applications:
- File Carving: Recovering deleted or partially overwritten files through raw data scans.
- RAID Reconstruction: Protect environments running RAID arrays with tools that understand stripe sizes and parity data.
- Deep Scan Mode: Scan for lost partitions and hidden volumes not visible to the Windows tool.
Popular options include EaseUS Data Recovery Wizard, Recuva, and R-Studio. Always download from reputable sources and verify digital signatures to avoid malicious impostors.
Maintaining a Robust Backup Strategy
An effective backup and Recovery plan encompasses regular reviews and updates. Changes in hardware, software, or data volume can impact your strategy’s effectiveness. Allocate time quarterly to:
- Assess new data categories requiring backup.
- Review storage health and expand capacity if nearing limits.
- Update documentation outlining recovery steps and responsible personnel.
- Incorporate feedback from test restores to refine procedures.
By mastering the built-in Windows Backup Utility and augmenting it with advanced practices, you ensure that your critical data remains accessible and secure, no matter the unexpected event.