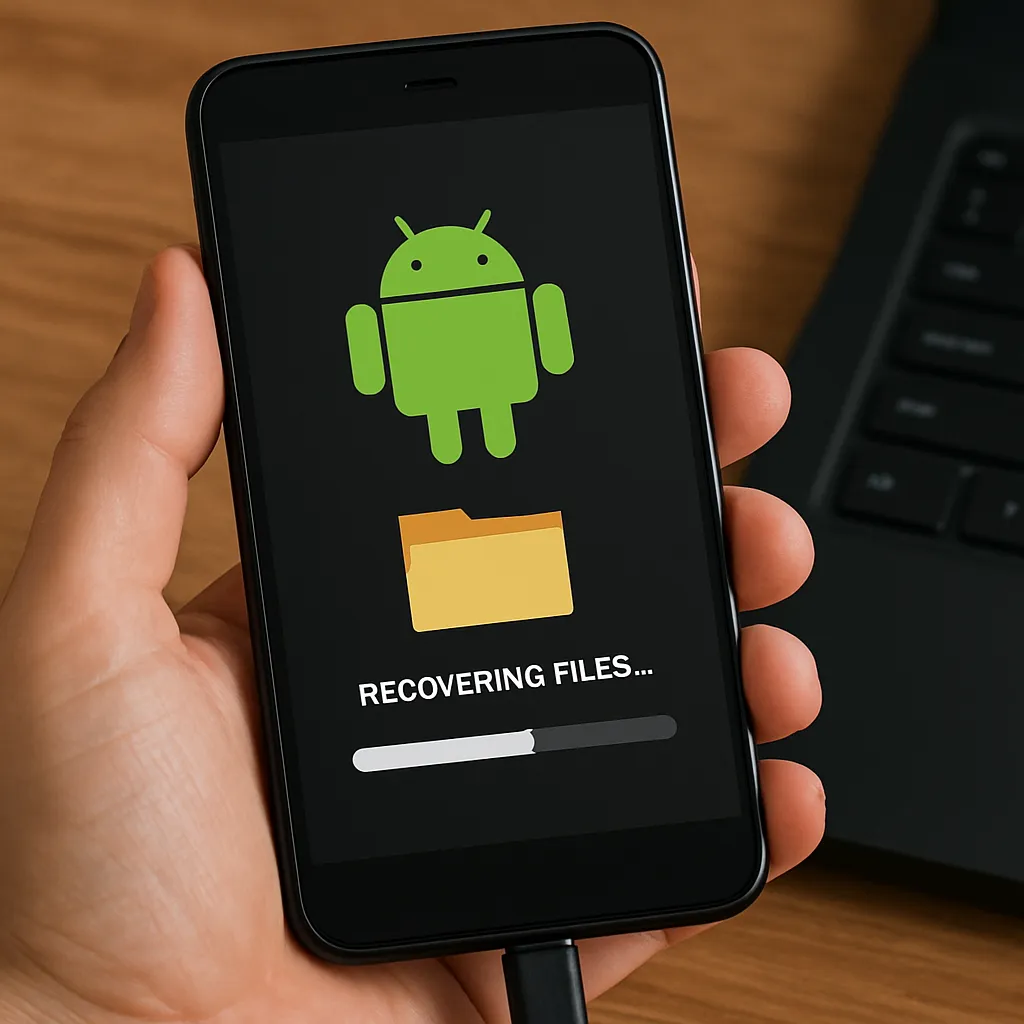
Android devices often become the primary repository for invaluable photos, documents, and messages. When files disappear due to accidental deletion, system crashes, or corruption, the panic sets in immediately. Fortunately, specialized recovery tools can help you recover lost data from your device’s internal memory without requiring advanced technical skills. This article explores the mechanisms behind data loss, highlights the software features that matter most, and guides you through a practical process to restore your files efficiently.
Understanding Data Loss in Android
Common Causes of Data Loss
- Accidental deletion of photos, videos, and documents
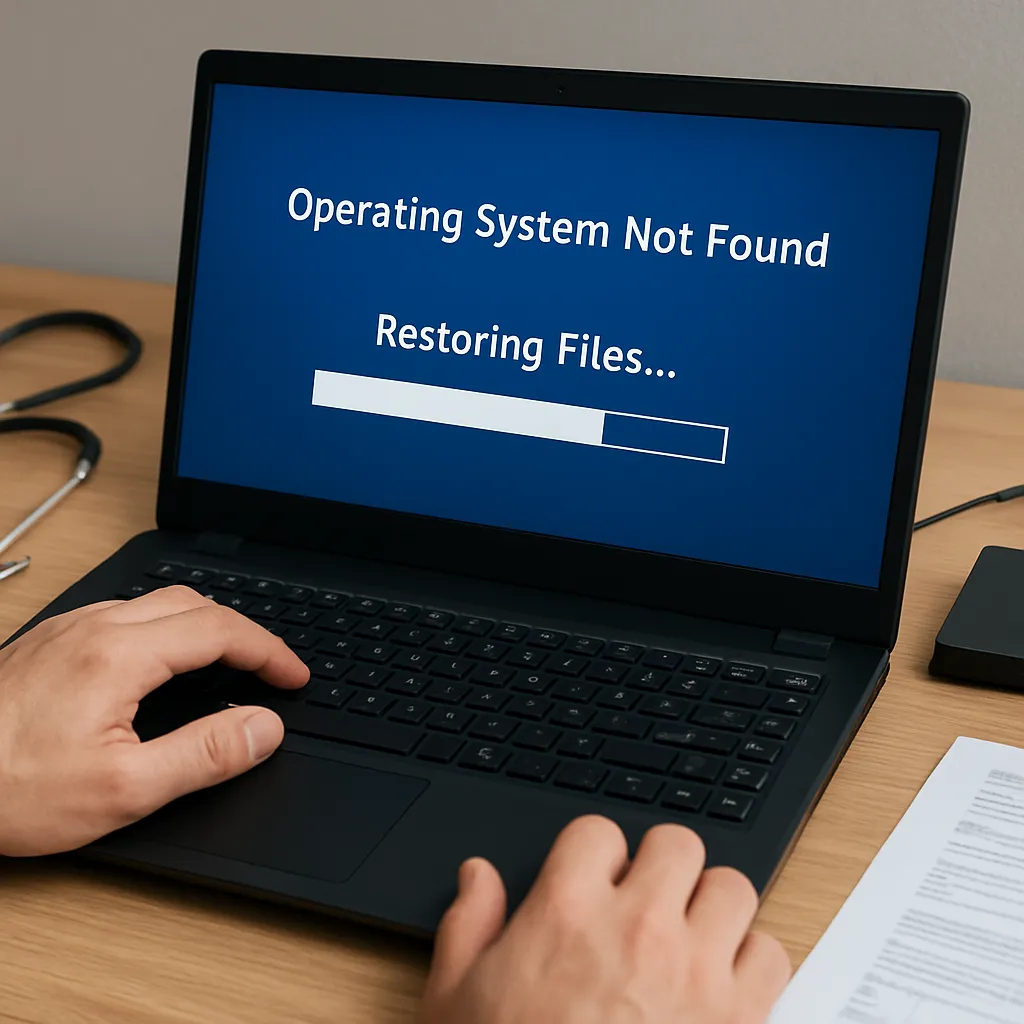
- System corruption during firmware updates or OS upgrades
- Factory reset without proper backup
- Malware or virus attacks targeting the file system
- Hardware failures such as damaged flash storage
- Interruption during file transfers between the device and computer
How Android File Storage Works
Most Android devices use flash-based storage organized into partitions. User files reside in the “data” partition, which employs a journaling file system (e.g., Ext4 or F2FS). When a file is deleted, the system marks its space as available but doesn’t immediately wipe the data. Recovery tools exploit this window to scan and identify residual file fragments.
Impact of Overwriting
Continuing to use your device after data loss can lead to overwriting critical sectors. Each new photo or app installation risks replacing lost content, making it impossible to retrieve. To maximize recovery success, power down the device or enable airplane mode until you’re ready to perform the rescue.
Essential Features of Android Recovery Software
Not all recovery tools are created equal. Selecting the right application can mean the difference between complete data restoration and disappointment. Here are the must-have capabilities:
- Deep Scan Mode: Thoroughly examines unallocated space and reconstructs fragmented files.
- Wide File-Type Support: Recovers a variety of formats, including JPEG, MP4, DOCX, and more.
- Partition Recognition: Detects multiple partitions and file systems on rooted and unrooted devices.
- Preview Functionality: Allows viewing of recoverable items before committing to the retrieval process.
- Selective Restore: Offers the option to pick individual files or entire folders for recovery.
- User-Friendly Interface: Simplifies navigation and reduces the learning curve.
- Cross-Platform Compatibility: Works on Windows and macOS to connect and examine Android devices.
Step-by-Step Guide to Recovering Files from Android Internal Memory
1. Preparation
- Stop using the device immediately to avoid further overwriting.
- Charge your phone to at least 50% battery to ensure the recovery process isn’t interrupted.
- Enable USB Debugging in Developer Options: Navigate to Settings > About Phone, tap Build Number seven times, then return to Developer Options and toggle on USB Debugging.
- Install the chosen recovery software on your computer.
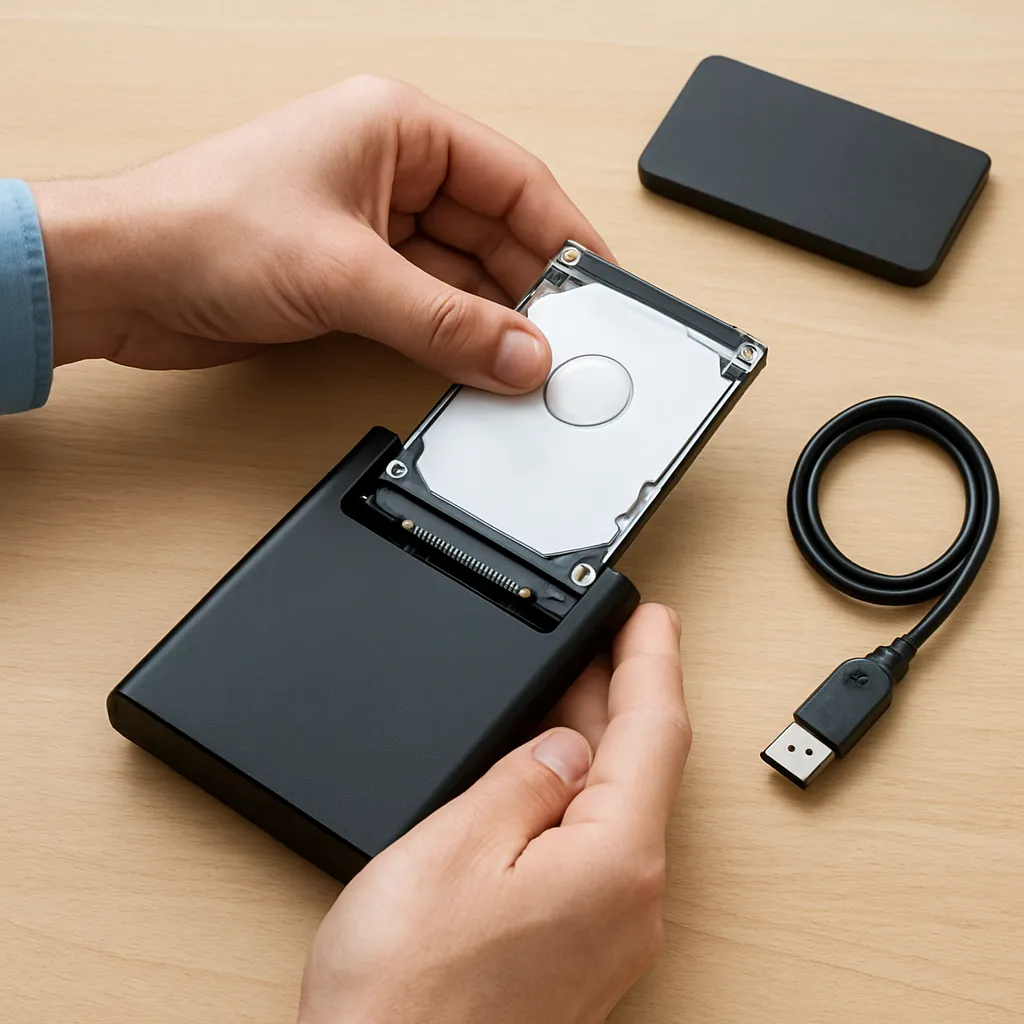
2. Establishing a Connection
Connect your Android device to the computer via USB. The recovery tool should recognize the phone model and file system. If prompted, grant permission on the mobile device to allow data access.
3. Performing a Deep Scan
Select the scan mode that targets the internal memory. A standard scan may locate recently deleted items quickly, while a deep scan dives into raw data to retrieve items lost long ago or after a system crash.
4. Previewing Recoverable Files
Once the scan concludes, the software will categorize found items by file type. Use the preview pane to verify the integrity of images, documents, and videos. This prevents saving corrupted files.
5. Selecting and Restoring Data
- Tick the checkboxes next to desired files or folders.
- Choose an output directory on your computer. Avoid restoring directly to the Android device to prevent any conflicts or further data overwriting.
- Click the Recover button and wait for the process to complete.
Advanced Tips and Best Practices
- Rooted vs. Unrooted Devices: Root access can enable deeper scanning but may void warranties. Evaluate the trade-offs before proceeding.
- Batch Export: When dealing with hundreds of files, use batch export features to streamline the workflow.
- File Naming Filters: Many tools allow filtering by date, size, or file extension to quickly locate specific items.
- Read-Only Operations: Opt for read-only scanning to ensure no modifications are made to the original storage medium.
- Monitor Scan Logs: Review logs for errors or sectors that couldn’t be accessed, which might indicate physical damage.
Preventive Measures to Safeguard Your Data
Proactive strategies can minimize the risk of future data loss and reduce reliance on recovery efforts:
- Regular Backup: Use cloud services or local backup apps to create redundant copies of crucial files.
- Auto-Sync: Enable automatic synchronization for photos and documents with trusted cloud platforms.
- Periodic Health Checks: Run file system integrity checks and clean temporary caches.
- Use Secure Delete Apps: Permanently erase sensitive data when disposing of or selling a device.
- Install Reliable Security Software: Prevent malware infections that can corrupt your file system.