Recovering important files from a damaged USB stick can feel like a daunting task, but with the right approach and tools, you can restore valuable data even when the device’s hardware shows signs of physical distress. This article will guide you through the essential steps to assess, prepare, and execute a successful file recovery process, focusing on the selection and use of advanced recovery software.
Understanding USB Stick Damage
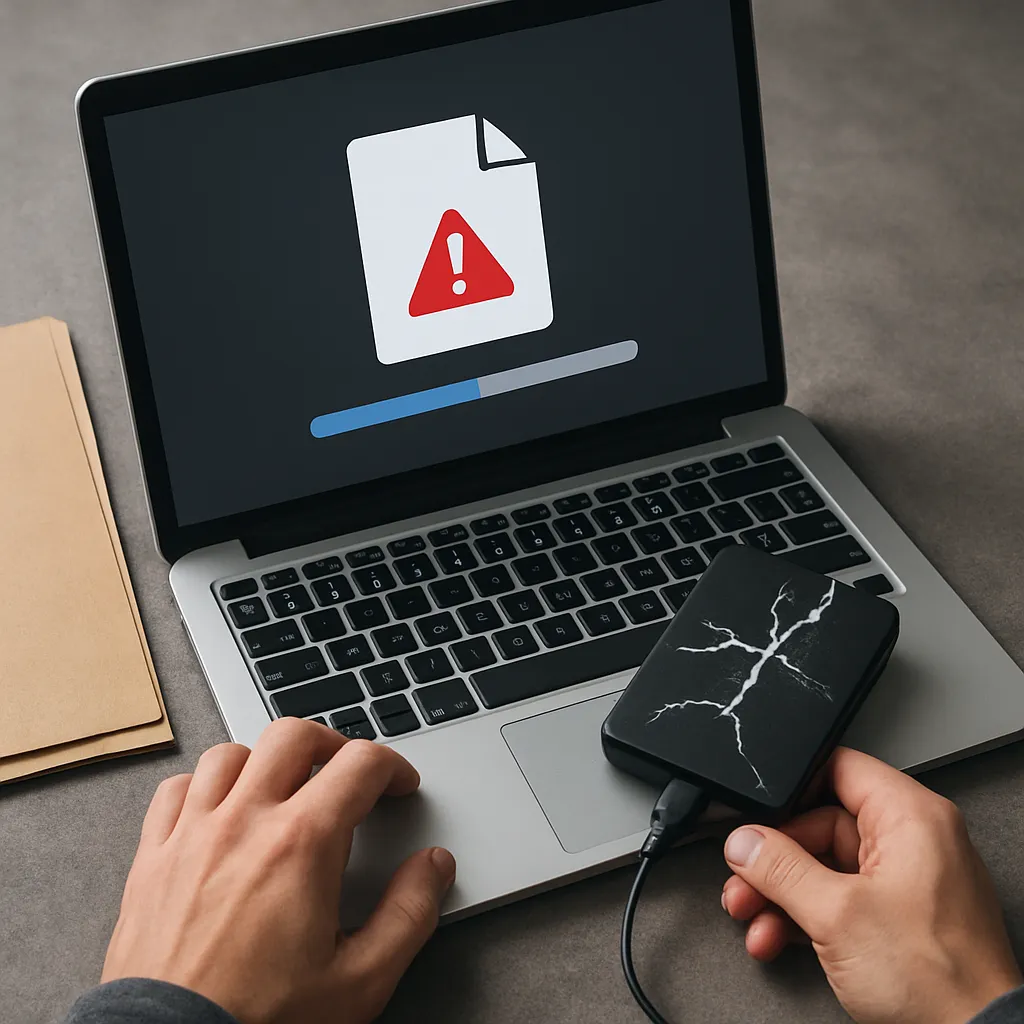
USB flash drives are popular for their portability and ease of use, yet they remain vulnerable to both hardware and logical issues. A bent or broken connector can interrupt data pathways at the physical level, while corrupted firmware or file system errors may render files inaccessible. Recognizing the type of damage is crucial before attempting any recovery operation.
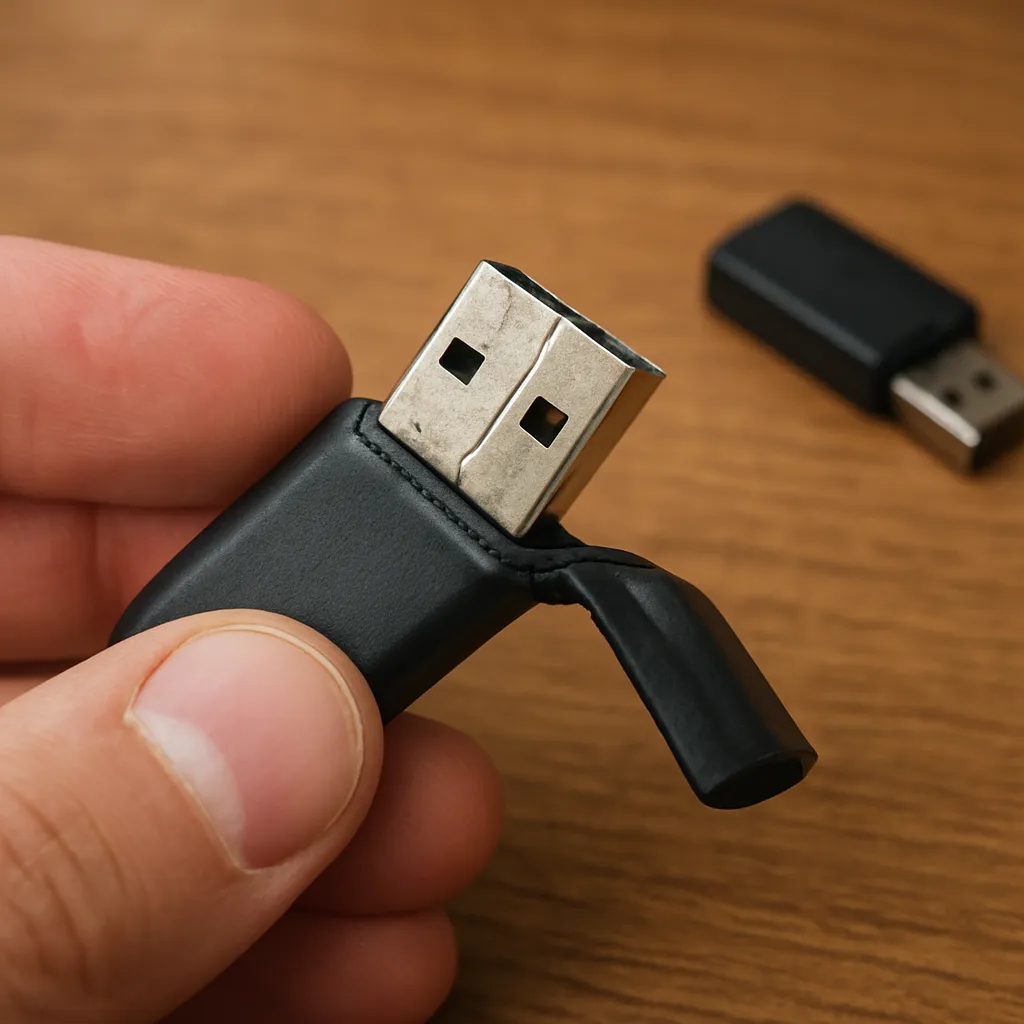
- Physical Damage: Signs include cracked plastic casing, exposed circuitry, or a loose USB connector. Even minor bends can break internal solder joints.
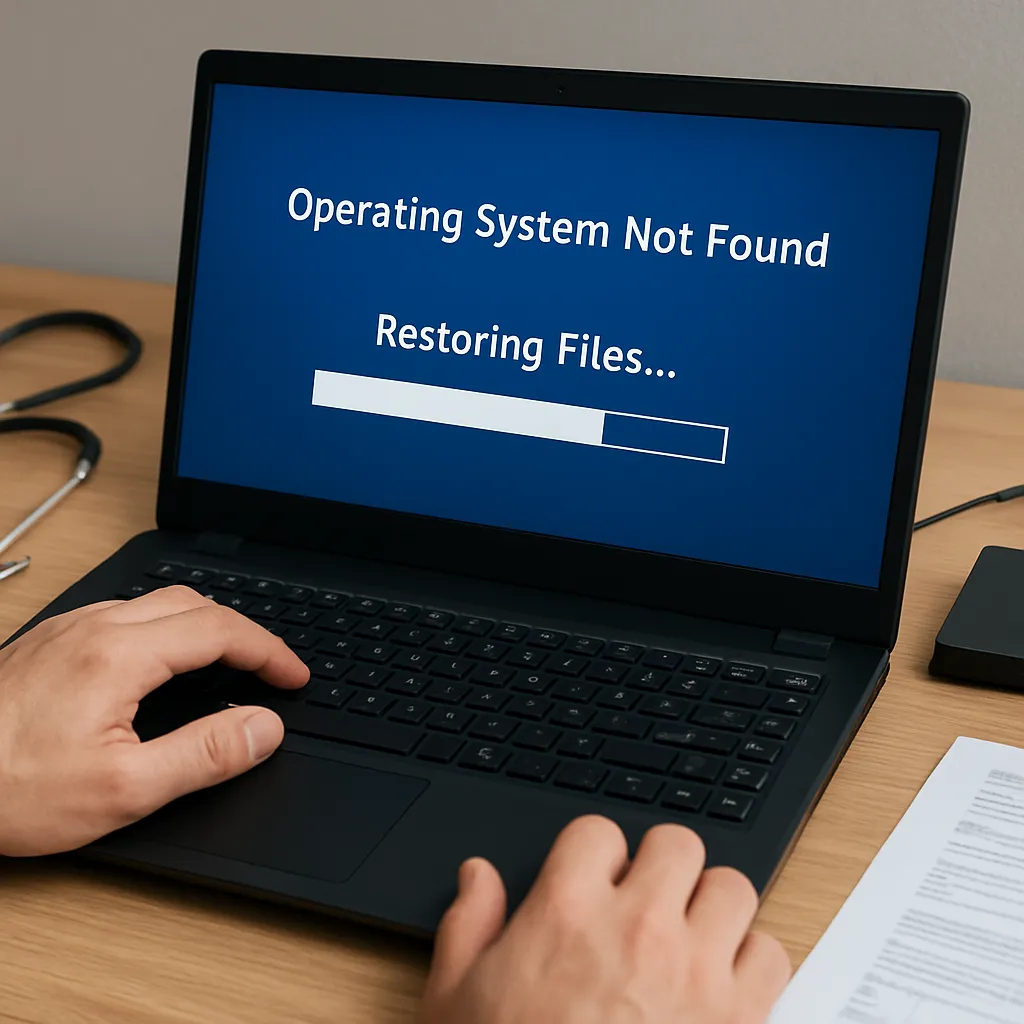
- Logical Corruption: Occurs when the drive’s firmware or file system becomes scrambled, leading to inaccessible partitions, missing directories, or error messages like “device not recognized.”
- Mixed Faults: Often, a drive may present both physical and logical problems, requiring a two-phase recovery approach.
Assessing Physical Damage and Preparing for Recovery
Before launching into advanced data recovery, conduct a careful inspection to determine if the drive can still interface safely with your computer. Missteps at this stage can cause irreversible harm to the internal memory chips.
- Visual Inspection: Look for broken components, burnt traces, or loose connectors. If the USB plug is bent, attempt to straighten it gently with precision tools.
- Secure Connection: Use a reliable USB extension cable or a PCB adapter if the port is wobbly. This reduces stress on the tiny solder joints.
- Temperature Control: Overheating can worsen damage. Avoid using a blown port or untested hubs that might deliver unstable power.
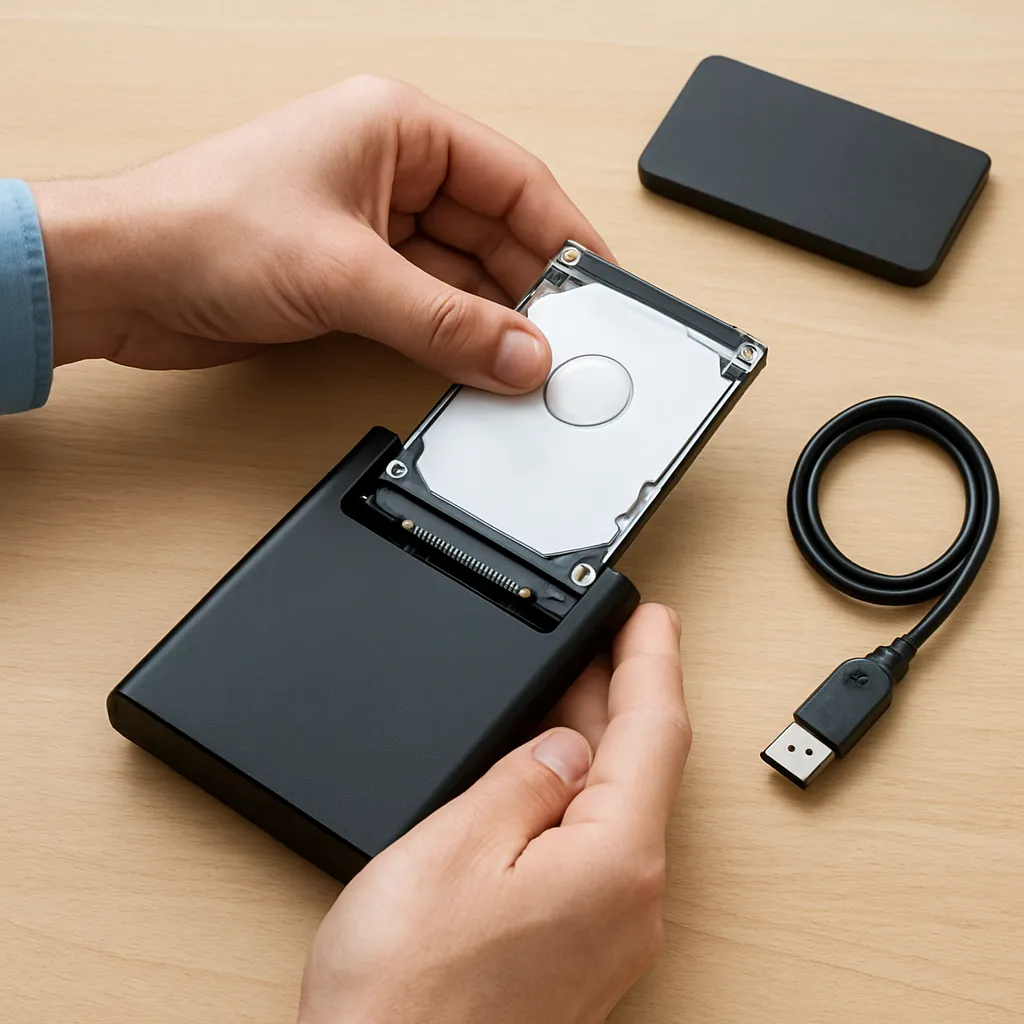
- Imaging the Drive: Create a sector-by-sector copy of the damaged drive using specialized utilities. Working on a clone preserves the integrity of original data and prevents further wear.
Choosing the Right Recovery Software
Not all recovery programs are created equal. Some excel at retrieving deleted files, while others specialize in reconstructing corrupted file systems or bypassing firmware anomalies. Here are key factors to consider:
- Compatibility: Ensure the software supports the USB drive’s file system (FAT32, exFAT, NTFS, ext4, etc.) and your operating system (Windows, macOS, Linux).
- Deep Scan vs. Quick Scan: A quick scan locates recently deleted files, while a deep scan rebuilds directory structures and rescues data from severely damaged sectors.
- Preview Functionality: Allows you to verify recoverable files before committing to a restoration, saving time and storage space.
- Write Protection: Some tools operate in read-only mode to safeguard the original data—ideal when dealing with unreliable media.
- Customer Support and Documentation: Comprehensive guides, live chat, or phone support can help you navigate complex scenarios, such as firmware-related failures.
Step-by-Step Guide to Recover Files
1. Create a Forensic Image
Start by generating a full image of the damaged USB stick. Tools like ddrescue (Linux) or specialized commercial utilities can handle bad sectors gracefully. Working on an image file ensures you can retry recovery without stressing the original device.
2. Launch the Recovery Application
Install your chosen program on a separate healthy drive to avoid writing to the target USB stick. Configure the tool to scan the image file rather than the physical device.
3. Configure Scan Parameters
- Select a deep scan if the drive exhibits corrupted sectors or missing partitions.
- Adjust the scanning range to cover the entire image or specific segments where important data resided.
- Enable advanced options like file signature search to detect common formats (JPEG, PDF, DOCX) even if directory entries are lost.
4. Review and Select Files
After the scan completes, most recovery tools present a directory tree or list of recoverable files. Use the preview feature to verify file integrity before restoration. Select only the files you truly need.
5. Restore Recovered Data
Choose a destination on a different physical drive to avoid overwriting any remaining data on the damaged USB stick. Confirm available space and initiate the restore process. Many applications allow you to maintain the original folder structure or rename files automatically to prevent conflicts.
6. Verify File Integrity
Once recovery is complete, open a sample of restored files to confirm they are intact and uncorrupted. If issues appear, rerun the scan with adjusted parameters or try an alternative tool.
Advanced Techniques for Severe Damage
When simple recovery methods fail, advanced procedures may be required. These steps often demand technical expertise or professional intervention.
- Chip-Off Recovery: Involves physically desoldering the memory chips and reading them with specialized hardware. Expert labs can reconstruct data directly from flash memory dies.
- Firmware Repair: Some USB controllers use proprietary firmware. Corrupted firmware can be rewritten or emulated to regain drive recognition, using manufacturer-specific tools.
- Cross-NAND Migration: Migrating flash chips to a matching donor board when the original PCB is irreparably damaged.
Preventive Measures to Avoid Future Data Loss
Prevention remains the best strategy. Implementing strong habits and reliable tools reduces the risk of needing complex recovery in the future.
- Regular backups: Maintain multiple copies of critical files on different media or cloud services.
- Use Quality Drives: Invest in USB sticks from reputable brands known for robust connectivity and firmware stability.
- Safe Removal: Always use the “eject” feature before unplugging to prevent file system corruption.
- Encryption and Access Control: Protect sensitive data with encryption to deter unauthorized tampering.
- Routine Integrity Checks: Run disk utilities periodically to detect bad sectors or early signs of corruption.