Recovering essential documents and cherished media after performing a system reset can seem like an impossible mission. Yet, with the right strategies and tools at hand, it’s entirely feasible to restore your valuable files without professional intervention. This article explores proven methods, highlights leading recovery tools, and offers practical advice to guide you through the retrieval process step by step.
Understanding Data Loss After a System Reset
A system reset typically wipes the primary drive and reinstalls the operating system, erasing references to your personal files. However, unless the sectors on the disk are overwritten, the actual file entries often remain intact. Grasping how your file system works is crucial in maximizing recovery success. Most desktop and laptop drives use NTFS, FAT32, or exFAT, each with its own method of indexing and marking sectors as free. Immediately following a reset, the operating system begins allocating space anew—but until your old data is overwritten, specialized tools can locate and reconstruct the original files.
Why Immediate Action Matters
Every minute spent using the computer after a reset potentially overwrites residual data. Installing new software, downloading updates, or even simply browsing the internet can place new information on the disk sectors previously occupied by your lost files. By minimizing disk activity and adopting a swift recovery approach, you preserve more of the erasure-free data, boosting the chances of a complete restoration.
Choosing the Right Recovery Software
Selecting dependable recovery tools is the foundation for successful data retrieval. A robust application offers deep scanning algorithms, supports various file types, and delivers a user-friendly interface. Below are critical features to evaluate:
- Scan Depth and Speed: Effective software balances thorough sector-level scans with reasonable processing time.
- File Format Compatibility: Ensure support for your document, photo, video, and archive types.
- Corrupted Data Repair: Advanced suites can partially rebuild damaged files, reducing post-recovery frustration.
- Preview Function: A quick preview of found items helps you decide what to recover before committing disk space.
- Read-Only Operation: True recovery tools never write to the damaged drive, protecting remaining data integrity.
Leading brands often offer free editions with basic functionality alongside paid versions with premium capabilities. Always review user feedback to confirm real-world performance.
Step-by-Step Guide to File Retrieval
Follow this structured approach to navigate the recovery process effectively:
- Stop Using the Reset Drive: Immediately cease all writes. If possible, shut down the computer and mount the drive as a secondary volume on another system.
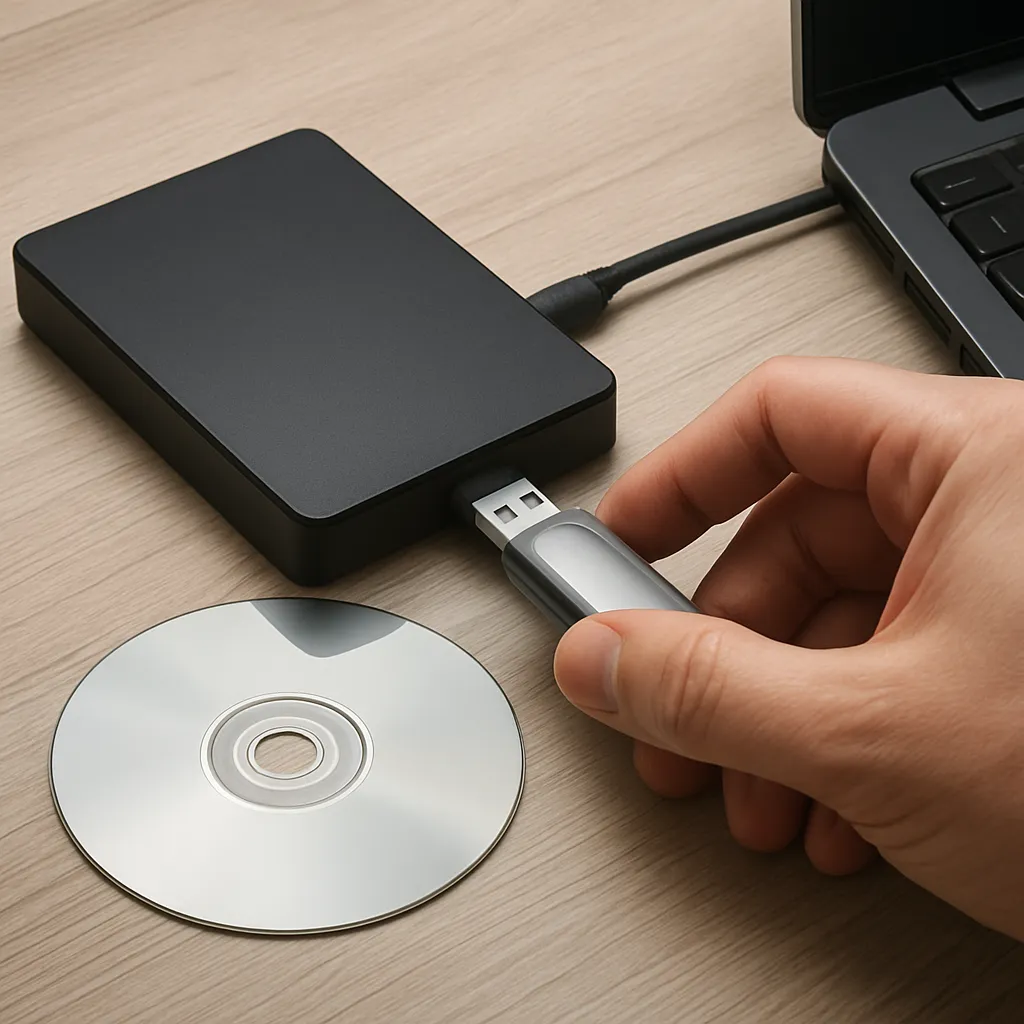
- Install Recovery Software on a Separate Device: Prevent overwriting by downloading and installing your chosen tool onto a different storage device or an external USB drive.
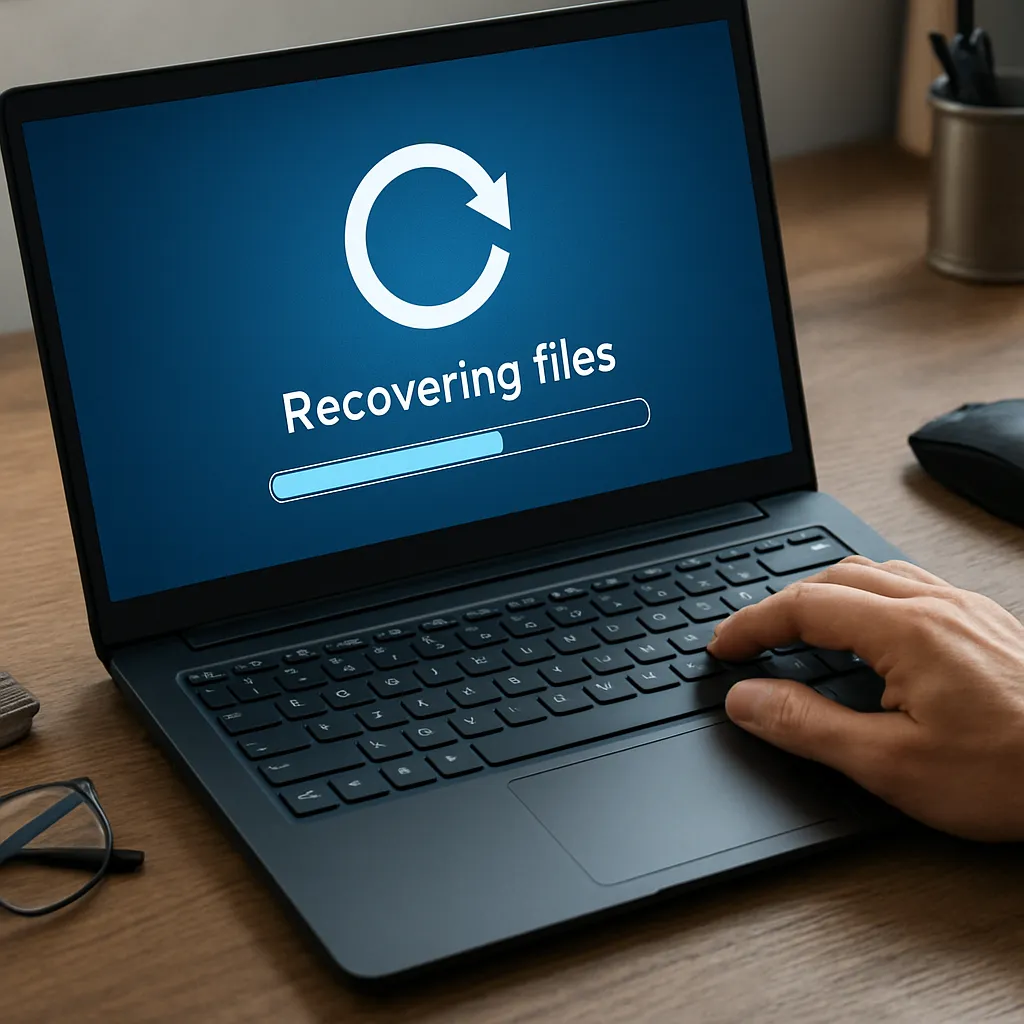
- Initial Scan: Launch the application and select the reset drive. Opt for a “Quick Scan” first to detect recently deleted entries. Document the number and types of files found to gauge success rates.
- Deep Scan: If the quick pass yields limited results, proceed to a “Deep Scan” or “Full Disk” analysis. This method combs through each sector, flagging file signatures even when directory structures are missing.
- Preview and Select: Use the built-in preview feature to confirm file integrity—look for readable thumbnails of photos and playable snippets of videos. Mark essential files for retrieval.
- Choose Recovery Destination: Always restore to a different drive or external medium. Recovering back to the source disk risks overwriting other lost data.
- Verify Restored Files: After recovery, open a selection of the retrieved documents, images, and media. Check for corruption or inconsistencies. If any files fail, consider running a secondary scan with altered settings.
Handling Special Cases
- Encrypted Drives: If your drive was encrypted, ensure you have the correct decryption key before starting recovery.
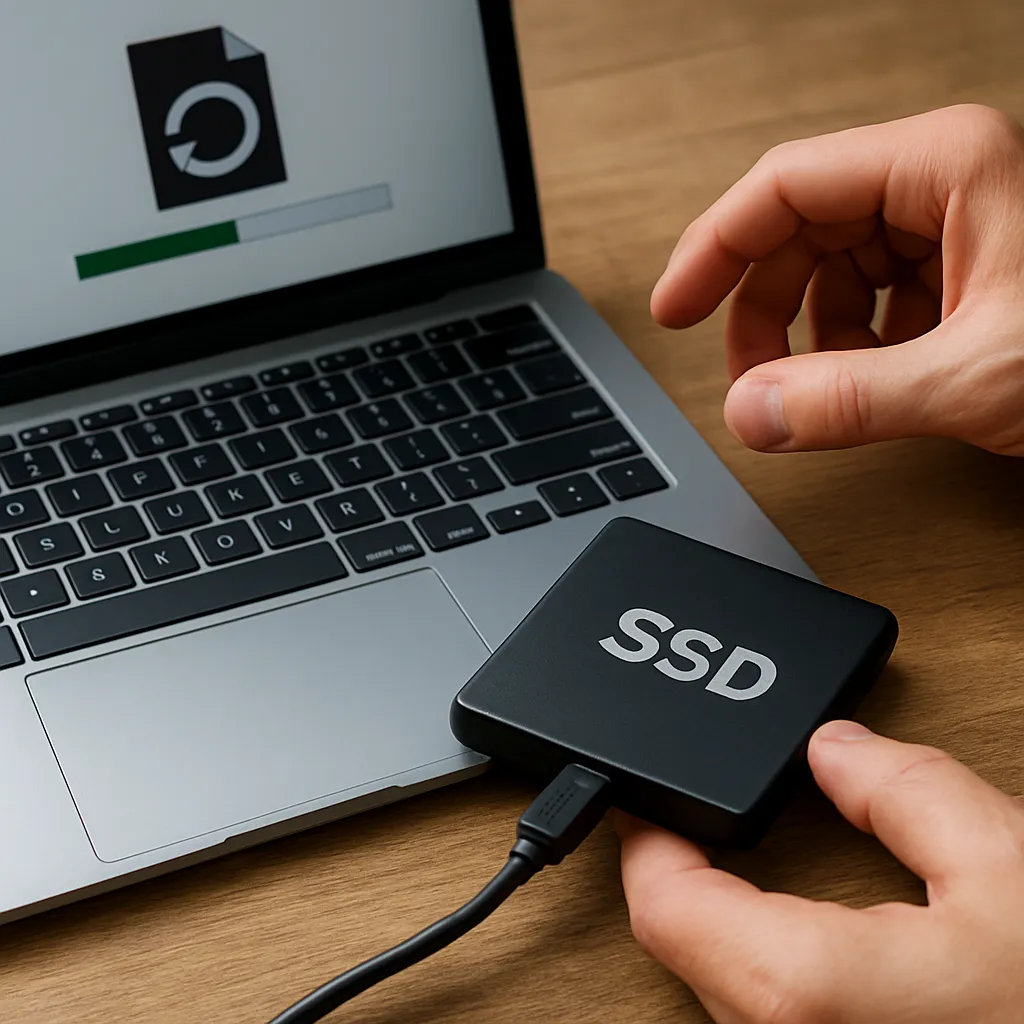
- SSD with TRIM Enabled: Solid-state drives may automatically erase freed sectors, complicating restoration. Early intervention and specialized SSD-friendly tools are critical.
- RAID Arrays: Recovery on RAID setups demands software aware of stripe sizes and parity. Choose a suite explicitly listing RAID support.
Best Practices to Prevent Future Data Loss
Once your files are safe, adopt a preventative strategy to minimize risk going forward. Implementing a robust backup regimen and adhering to disciplined maintenance habits transforms potential catastrophes into manageable events.
- Backup Strategy: Employ the 3-2-1 rule—three copies of your data, on two different media, with one copy stored offsite or in the cloud.
- Scheduled Imaging: Create full-disk images periodically. System snapshots allow you to roll back Windows or macOS environments without affecting personal files.
- Test Restores: Periodically verify your backups by restoring sample files. This ensures reliability when an actual emergency occurs.
- Access Controls: Restrict administrative privileges to prevent accidental resets or unauthorized software installations.
- Software Updates: Keep your OS and applications current. Patches often include fixes that reduce the likelihood of system corruption prompting a reset.
By combining proactive backup measures with vigilant monitoring, you safeguard your digital assets against unexpected system resets and other data disasters.