When a crucial backup drive refuses to mount, panic often sets in. You may have spent hours, days, or even months populating that external storage with invaluable files. Fortunately, a combination of careful diagnostics and the right software can guide you through a reliable recovery journey. This guide walks you step by step—from identifying the cause of the mounting issue to restoring data using professional-grade tools, and finally, implementing strategies to maintain future integrity.
Understanding the Root Causes of Mount Failures
Before diving into data extraction, it’s essential to diagnose why your backup medium refuses to appear. Mount errors can arise from a variety of sources, sometimes overlapping:
- File System Corruption: Unexpected shutdowns, improper ejection of the device, or malware attacks can damage the file system table, preventing the operating system from recognizing the partition.
- Physical Hardware Damage: Connectors, circuit boards, and spinning platters (in HDDs) or memory cells (in SSDs/Flash) can degrade or break, leading to partial or total failure to mount.
- Driver or OS Incompatibility: Operating system updates or missing drivers can interrupt proper communication between your computer and the external drive.
- Partition Table Issues: A corrupted partition table or accidental reformatting may render the storage inaccessible while the physical medium remains intact.
Identifying the likely culprit shapes the approach you’ll take. For instance, if the problem stems from file system damage, focused software solutions may suffice. In contrast, severe mechanical wear may require expert intervention.
Diagnostic Steps Before Recovery
Physical Inspection and Connection Check
Begin with the obvious: ensure that cables, ports, and power adapters are functioning. Perform these quick checks:
- Swap cables: Try alternate USB, Thunderbolt, or SATA cables to rule out a faulty connector.
- Change ports: Plug the drive into another port or computer. A sporadic port failure could be the root cause.
- Inspect for visible damage: Look for bent pins, burn marks, or loose components on the drive’s casing.
- Listen for unusual noises: Grinding or clicking sounds in HDDs often indicate mechanical faults that software can’t fix.
Software Diagnostics and Logs
Once you’ve confirmed that the hardware connections are sound, turn to your operating system’s built-in utilities:
- Disk Management (Windows) or Disk Utility (macOS): Check whether the drive is detected but unmounted, showing a RAW or unallocated partition.
- Event Viewer (Windows): Scan for disk-related errors in system logs that mention timeouts, I/O failures, or driver errors.
- dmesg (Linux/macOS): On Unix-like systems, review kernel logs for repeated mounting attempts, read/write errors, or device resets.
These clues help you decide whether a file system-level approach or a deeper partition table repair is needed. If the OS can detect the drive at a basic block level, chances are good that you can recover your files with the right utility.
Selecting and Using Professional Recovery Tools
General-purpose file managers won’t work on RAW partitions or severely corrupted volumes. You need specialized software designed for robust scanning, repair, and extraction.
Key Features to Look For
- Deep Scan Algorithms: The ability to reconstruct directory trees from fragmented metadata.
- Partition Table Recovery: Automatic detection and repair of MBR/GPT tables.
- File Signature Recognition: Identification of popular file types (JPEG, DOCX, MP4) even when directory entries are missing.
- Read-Only Operation: Guarding against accidental overwrites by ensuring all actions remain non-destructive.
- Preview Functionality: Allowing you to see recoverable files before committing to extraction, saving time and disk space.
Step-by-Step Recovery Process
- Install the Recovery Tool on a Different Drive
- Never install onto the affected backup. Using a separate disk prevents overwriting recoverable sectors.
- Perform an Initial Quick Scan
- Identify intact partitions or recently deleted files. This scan takes minutes and can reveal easy wins.
- Initiate a Full / Deep Scan
- A comprehensive sector-by-sector analysis locates traces of lost files and damaged directories. This process may take hours, depending on drive size and speed.
- Review and Filter Results
- Use built-in filters (file type, date, size) to pinpoint critical documents, images, or media.
- Preview thumbnails or text snippets to validate file integrity before extraction.
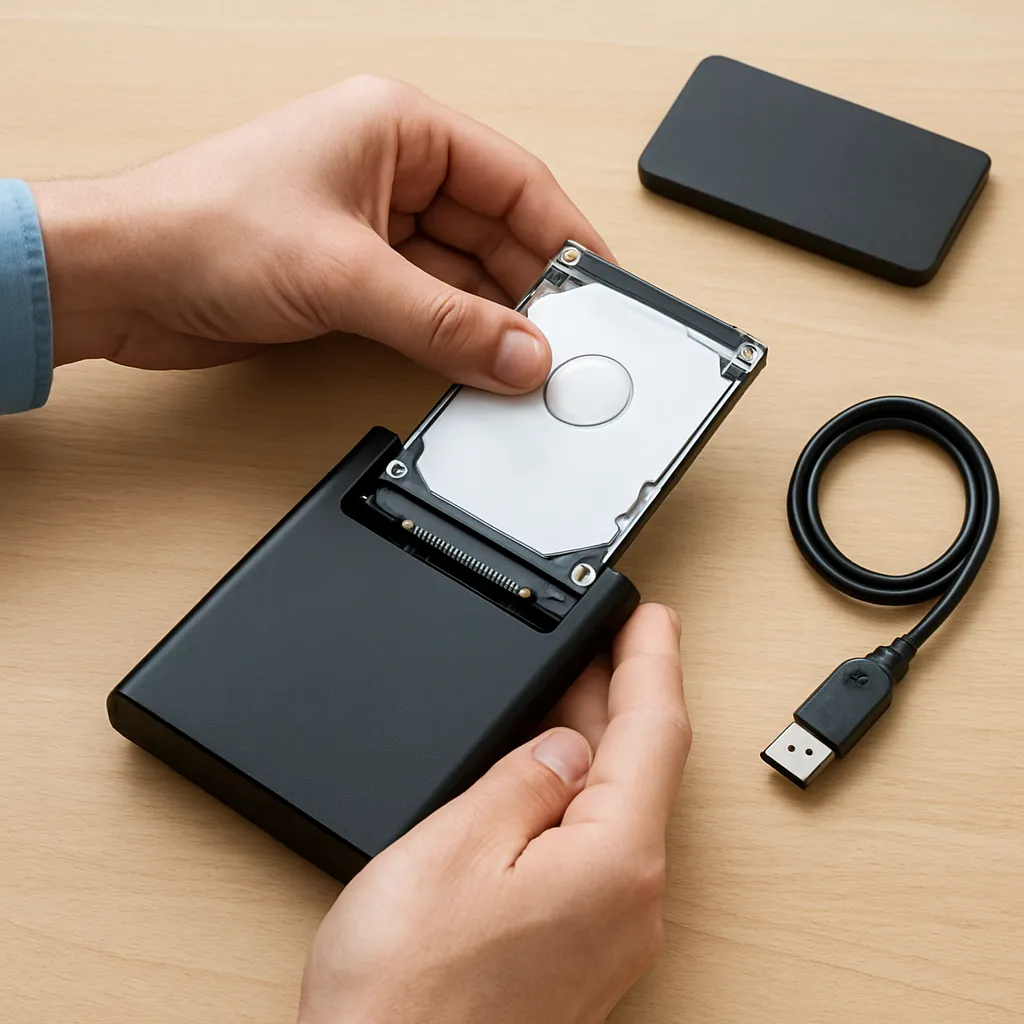
- Recover to a Safe Destination
- Choose another physical disk with sufficient free space. Avoid recovering to the same failing volume.
When to Seek Professional Services
Home-grade software excels in logical repairs and data extraction but can’t mend broken circuits or misaligned read/write heads. Consider a professional solutions provider if:
- Your drive emits persistent mechanical noises.
- Initial scans fail to detect any readable sectors.
- Irreplaceable archives require a no-risk approach.
Best Practices to Safeguard Backup Drives
Recovering lost data is never a substitute for proper maintenance and redundancy. Incorporate these proactive measures to ensure future peace of mind:
- Implement 3-2-1 Rule: Maintain at least three copies of data, on two different media types, with one copy off-site or in the cloud.
- Schedule Routine Health Checks: Use S.M.A.R.T. monitoring tools to track drive temperature, reallocated sectors, and read/write error rates.
- Safe Ejection Policies: Always follow the operating system’s eject protocol to prevent file system corruption.
- Periodic Media Refresh: Replace drives every 3–5 years, especially HDDs, before they approach end-of-life.
- Maintain Secure Storage Environments: Keep drives away from extreme heat, humidity, and magnetic fields.
By understanding the causes behind a non-mounting backup drive and engaging the right recovery software tools, you can reclaim your most valuable files without compromise. Coupled with robust preventive hardware and procedural strategies, you’ll build a bulletproof data preservation ecosystem.