Recovering data after a RAID rebuild failure can feel like navigating a maze without a map. When a rebuild process goes wrong, critical files may become inaccessible or even appear corrupted. However, with the right approach and reliable recovery software, it is possible to retrieve valuable information without resorting to complete data loss. This article guides you through identifying failure causes, preparing a safe environment, and executing a structured recovery plan.
Understanding the Causes of Rebuild Failures
Before launching into recovery, it is essential to understand why a RAID array rebuild can fail. Common triggers include:
- Faulty or degraded hard drives that cannot synchronize data blocks correctly.
- Controller firmware bugs leading to incomplete parity calculations.
- Interruptions in power or network connectivity during the rebuild.
- Misconfiguration of RAID levels, especially when mixing new and existing disks.
- Preexisting file system corruption that surfaces under the stress of a rebuild.
Identifying the root cause helps prevent further damage. Check logs in your RAID management utility or operating system event viewer for error codes and warnings. Consult SMART metrics to assess each drive’s health before proceeding.
Preparing for a Safe Recovery
A hasty reaction can worsen data loss. Implement these preparatory steps:
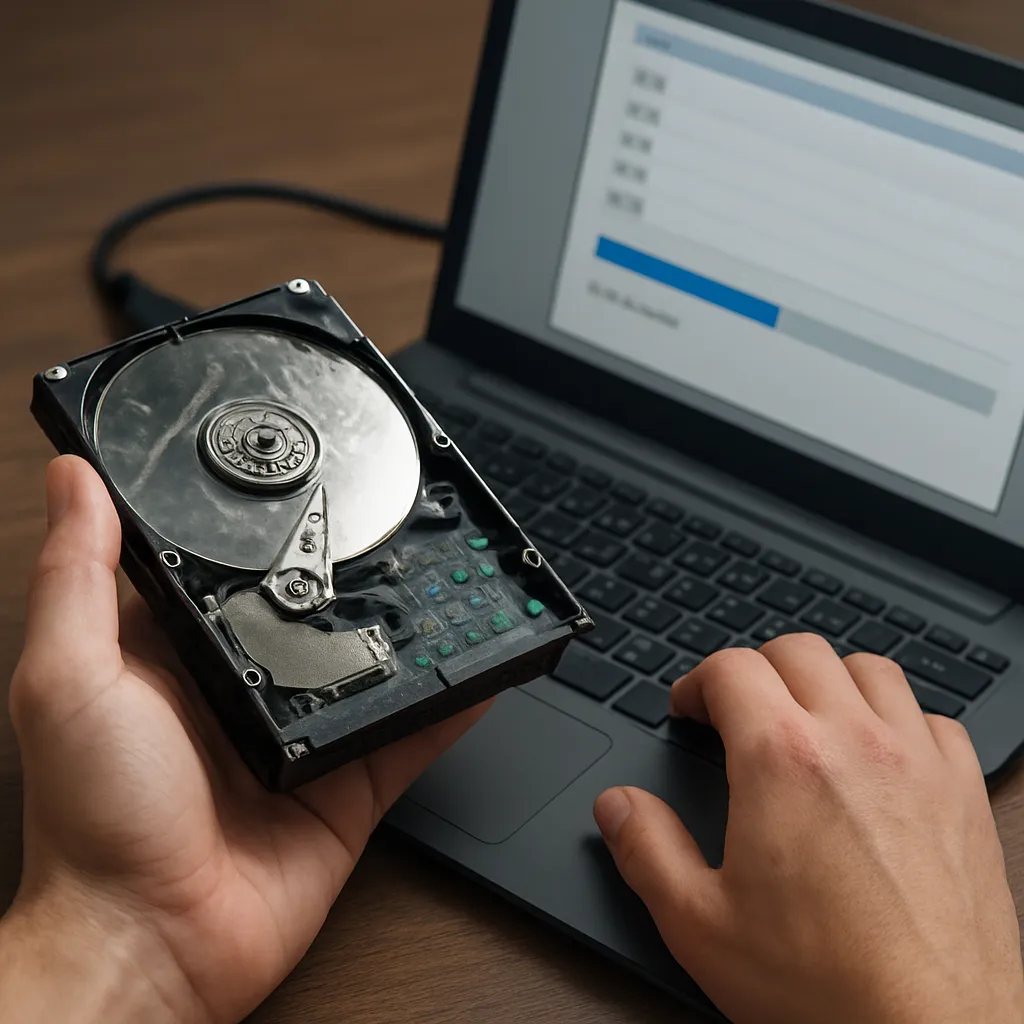
- Power down the RAID array if you suspect imminent disk failure. Continued rebuild attempts on a failing drive can overwrite critical sectors.
- Create sector-by-sector disk images of all member drives using a reliable imaging tool. Work with these images to avoid altering the original disks.
- Assemble a recovery workstation with sufficient storage and processing power. Operating on a dedicated machine reduces interference from other processes.
- Install and verify your chosen recovery software—ensure it supports the specific RAID level (RAID 0, 1, 5, 6, 10, etc.) and file systems (NTFS, EXT4, HFS+, XFS).
- Back up any remaining critical files from other arrays or backup repositories before starting the retrieval process.
Step-by-Step Recovery with Specialized Software
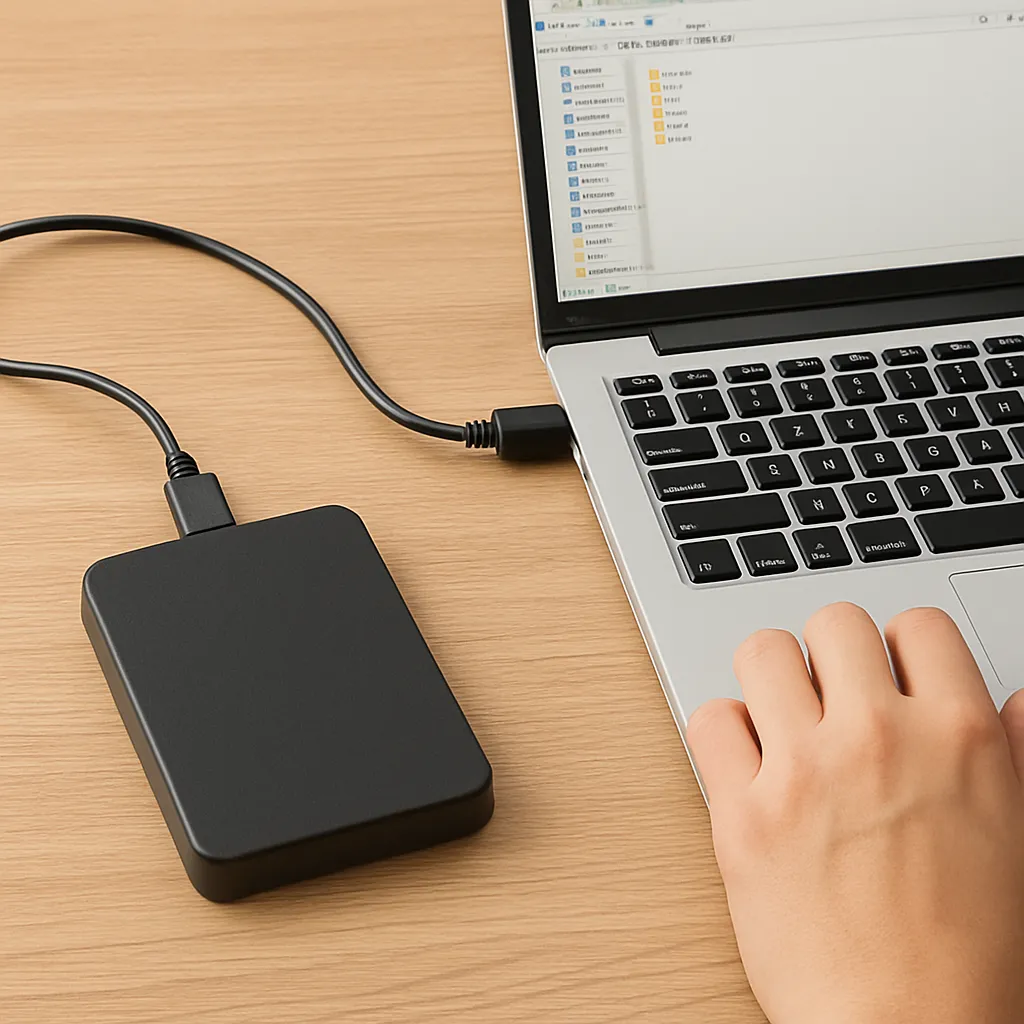
1. Import Disk Images
Launch the recovery application and import the previously created disk images. Some tools allow you to mount these images as virtual disks, simplifying the recognition of RAID parameters such as strip size, order, and parity rotation.
2. Configure RAID Parameters
If the utility can’t auto-detect the RAID layout, input manual settings:
- Stripe size (commonly 64KB or 128KB)
- Member sequence (identify which disk is Disk 1, Disk 2, etc.)
- Parity algorithm (left or right rotation for RAID 5/6)
Accurate settings maximize the chances of a coherent reconstruction.
3. Scan for File System Signatures
Initiate a deep scan mode to search for known file system signatures and recoverable file fragments. Depending on the size of your array, this may take several hours.
4. Preview and Filter Recoverable Data
Once scanning completes, preview hierarchical structures and locate the most important directories. Use filters to isolate:
- Specific file types (documents, databases, multimedia)
- Files modified before the failure date
This selective approach saves time and storage when exporting.
5. Export Recovered Files
Choose a separate output drive with sufficient free space. Initiate the export process and verify the integrity of critical files by opening or running checksums. Some advanced recovery solutions allow you to consolidate fragmented parts automatically, restoring files to their original state.
Advanced Techniques and Troubleshooting
In challenging scenarios where standard recovery fails, consider these techniques:
- Use hex editors or specialized forensic utilities to manually inspect and assemble file headers.
- Swap RAID controllers or connect disks to a Linux environment to bypass proprietary firmware issues.
- Leverage redundant parity in RAID 6 to reconstruct data from two simultaneous disk failures.
- Engage professional data recovery services that provide cleanroom environments and advanced chip-level recovery.
Be mindful that each intervention carries a risk of further data corruption if not executed carefully.
Best Practices for Future Protection
Successful recovery is only part of the equation. To minimize future risks:
- Implement a robust backup strategy that includes offsite copies or cloud-based solutions.
- Regularly monitor drive health using S.M.A.R.T. and RAID controller alerts.
- Document your RAID configuration and maintain an updated inventory of spare drives.
- Test rebuild procedures in a controlled environment before applying them to production arrays.
- Invest in enterprise-grade hardware with redundant power supplies and proactive failure notification.