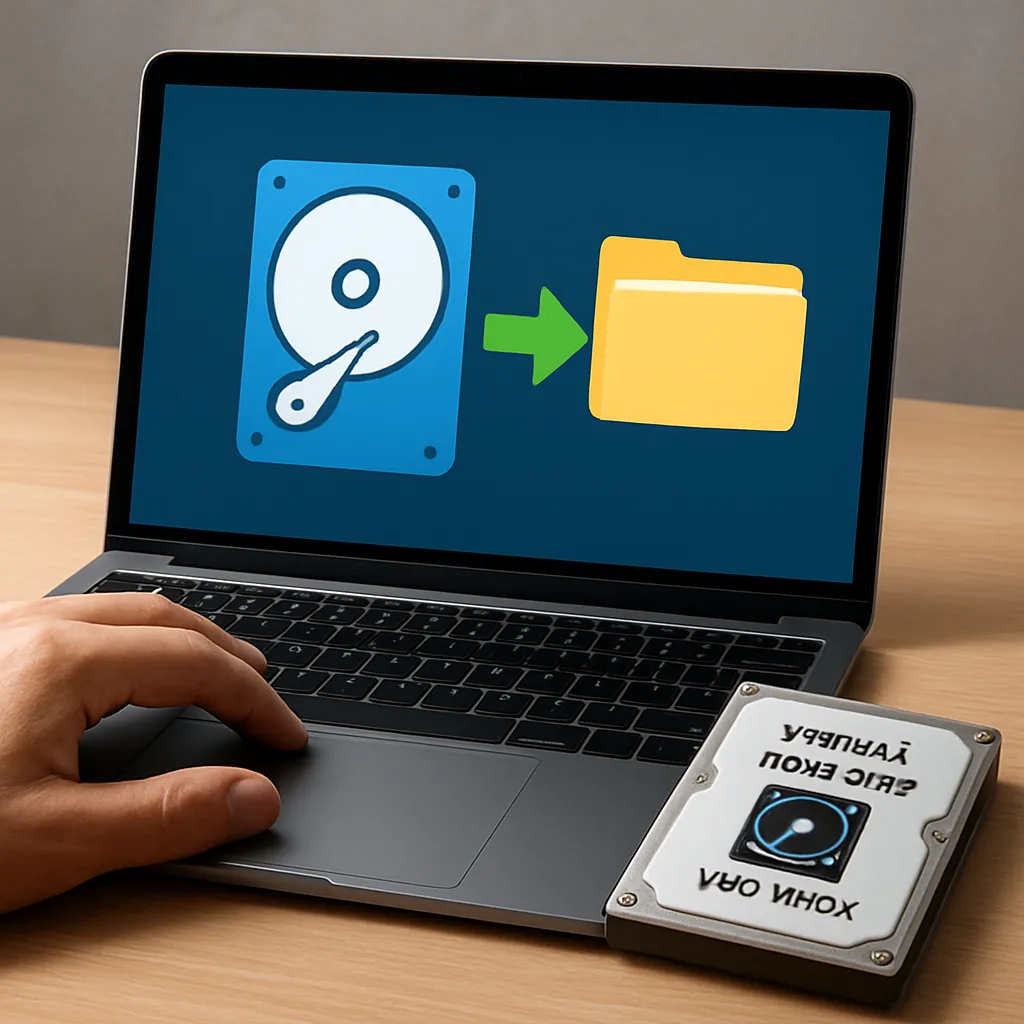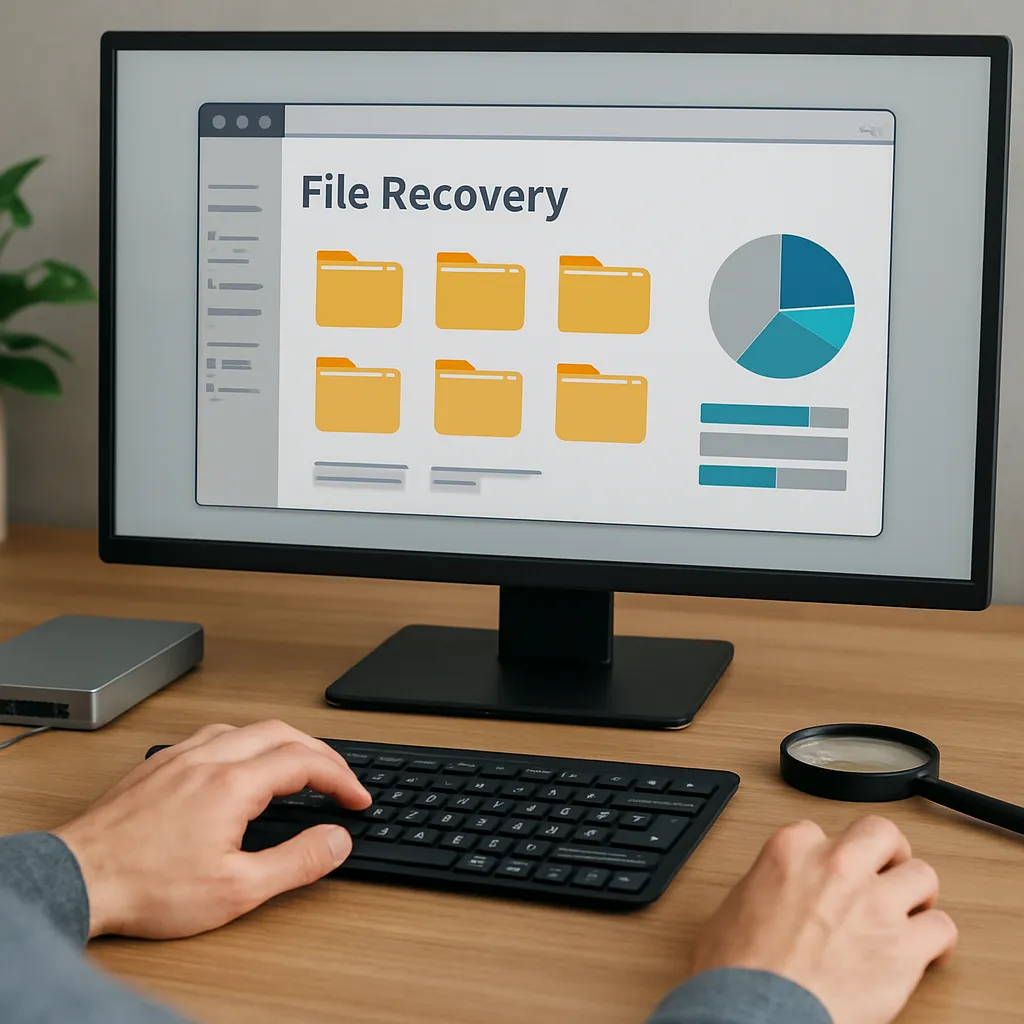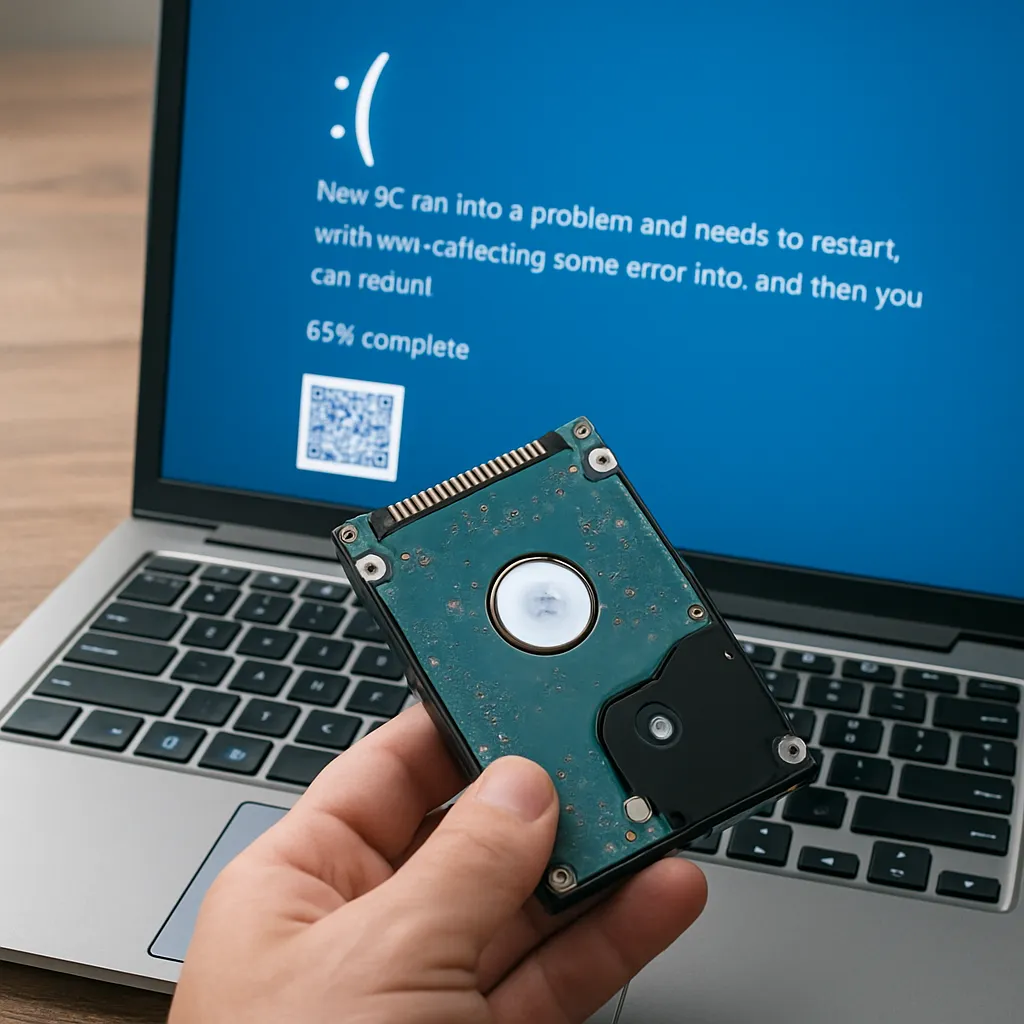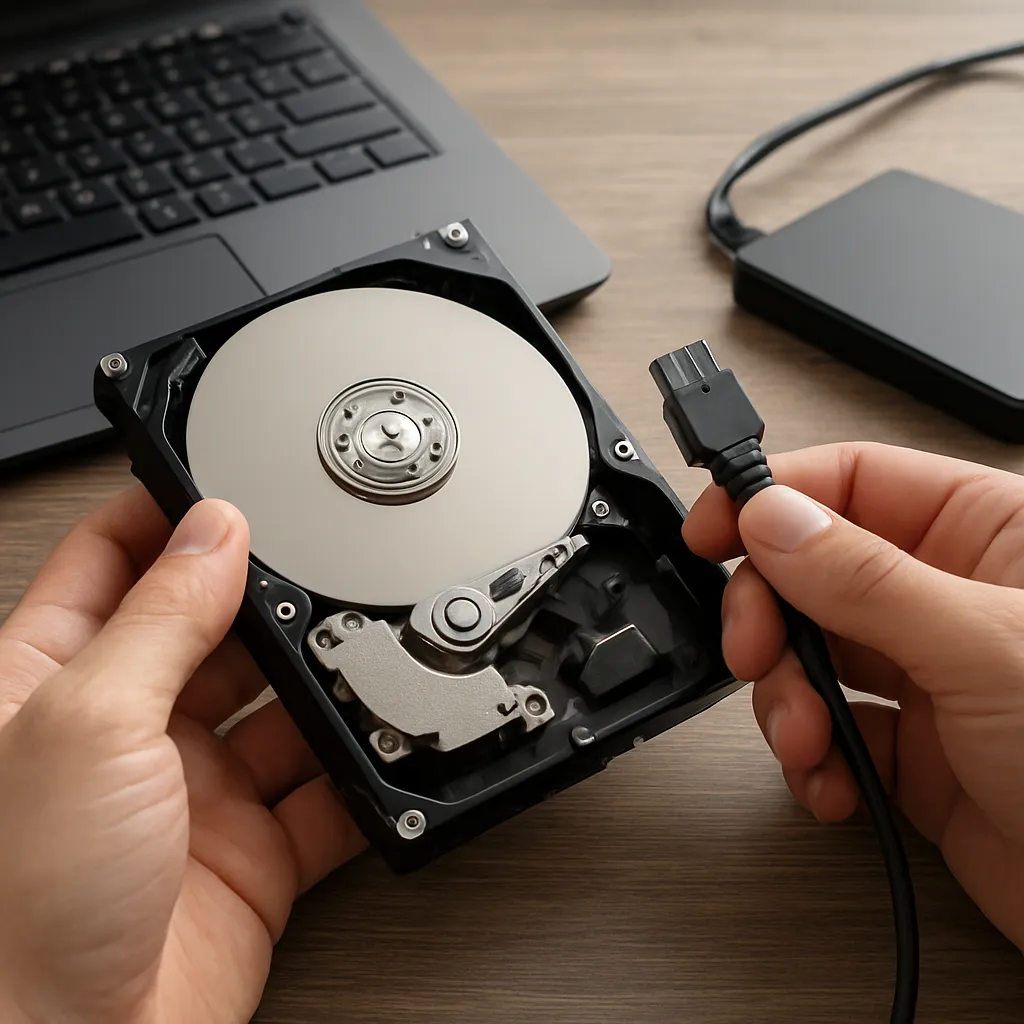
Recovering valuable data after a device has been initialized can be a challenging endeavor. Whether accidental formatting or an unintentional partition reset caused the issue, having the right approach and tools is crucial. This article explores key concepts and practical steps for successful file retrieval following disk initialization.
Understanding Disk Initialization and Its Impact on Data
What Happens During Initialization
Disk initialization involves creating or resetting the partition table and preparing the storage medium for a fresh operating system setup. Although it may seem like a complete wipe, initialized disks often retain raw data in sectors until they are overwritten by new information.
Common Causes of Data Loss
- Accidental formatting when installing an OS
- Using disk management utilities without a clear backup plan
- System crashes leading to corrupted file system structures
- Unintended initialization prompted by misconfigured settings
Why Immediate Action Matters
Continuing to use the disk after initialization can overwrite critical sectors, making lost files irrecoverable. It is crucial to power down or unmount the device as soon as possible to preserve the underlying information.
Selecting the Right Recovery Software
Key Features to Look For
- Deep scan capabilities that search for signatures rather than relying solely on intact file tables
- Support for multiple file systems (NTFS, FAT32, exFAT, Ext4, HFS+)
- Preview mode allowing you to validate recoverable files before extraction
- Raw sector scanning to locate data fragments beyond recognized structures
- User-friendly interface and step-by-step wizards for non-expert users
Comparing Popular Solutions
Some recovery tools excel at specific operations. For example, Tool A might offer a sophisticated recovery algorithm for damaged partitions, while Tool B prioritizes a straightforward user experience. Consider a trial version to test the preview feature and scan speed.
Pro-Level vs. DIY Applications
Professional-grade software often includes advanced logs, command-line options, and scripting abilities, which are ideal for IT specialists. For everyday users, a graphical interface with clear wizards ensures a smoother data recovery process without risking mishandling of sensitive storage areas.
Step-by-Step Guide to Retrieve Files
Preparatory Steps
- Do not install recovery software on the initialized disk; use a different computer or external drive.
- Gather details about the original storage device (model, capacity, file system).
- Ensure you have sufficient space on a separate medium for recovered files.
Performing the Initial Scan
After launching your chosen application, select the target disk and choose an initial scan or quick scan. This stage attempts to reconstruct existing partition structures and directory trees.
Interpreting Scan Results
- Recovered partitions listed by size, name, and file system type
- File lists grouped by category: documents, images, videos, archives
- Indicators of file integrity, such as green icons for fully intact items
Focus first on high-priority items. Use the search filter to locate specific filenames or extensions.
Deep or Raw Scan for Hidden Data
If the initial scan fails to display crucial files, switch to a raw sector scanning or deep scan mode. This process examines every sector on the disk, reconstructing files based on embedded signatures. While more time-consuming, it can uncover data in unallocated spaces.
Previewing and Exporting Recovered Files
Before writing recovered data to your destination drive, verify file contents via the built-in preview. Look for complete images, readable documents, and playable media. Once confirmed, execute the export to restore your lost files safely.
Preventing Future Data Catastrophes
Implementing Regular Backups
- Automated cloud backups for critical folders
- Local incremental backups using versioning software
- Periodic full disk images stored on an external device
Using Reliable Partition Management
Adopt a utility known for safe operations and clear warnings before making changes. Always review the actions—especially initialize or format commands—to avoid accidental data loss.
Monitoring Disk Health
Tools that regularly check SMART indicators and surface conditions can alert you to a failing drive, prompting early migration of data before a complete failure occurs.
Advanced Recovery Techniques
Command-Line Utilities
For advanced users, utilities like TestDisk and PhotoRec offer powerful features:
- Partition rebuilding with manual sector offset settings
- Custom signature files for niche file formats
- Batch recovery scripts for bulk operations
Enlisting Professional Services
When software methods fall short, professional labs can perform:
- Chip-off recovery by physically extracting memory modules
- Electron microscope analysis for severe mechanical damage
- Specialized hardware tools for read-only imaging
Legal and Privacy Considerations
Always ensure that recovered data does not violate privacy regulations. For corporate environments, maintain an audit trail of recovery steps and tools used.
Conclusion
Retrieving files after a disk initialization is a multi-step operation that demands immediate action, correct software tools, and careful handling of physical media. By following this guide and selecting a robust recovery solution, you can significantly increase the chances of restoring priceless digital assets. Remember that each second of disk activity can overwrite residual data, so act swiftly and methodically.