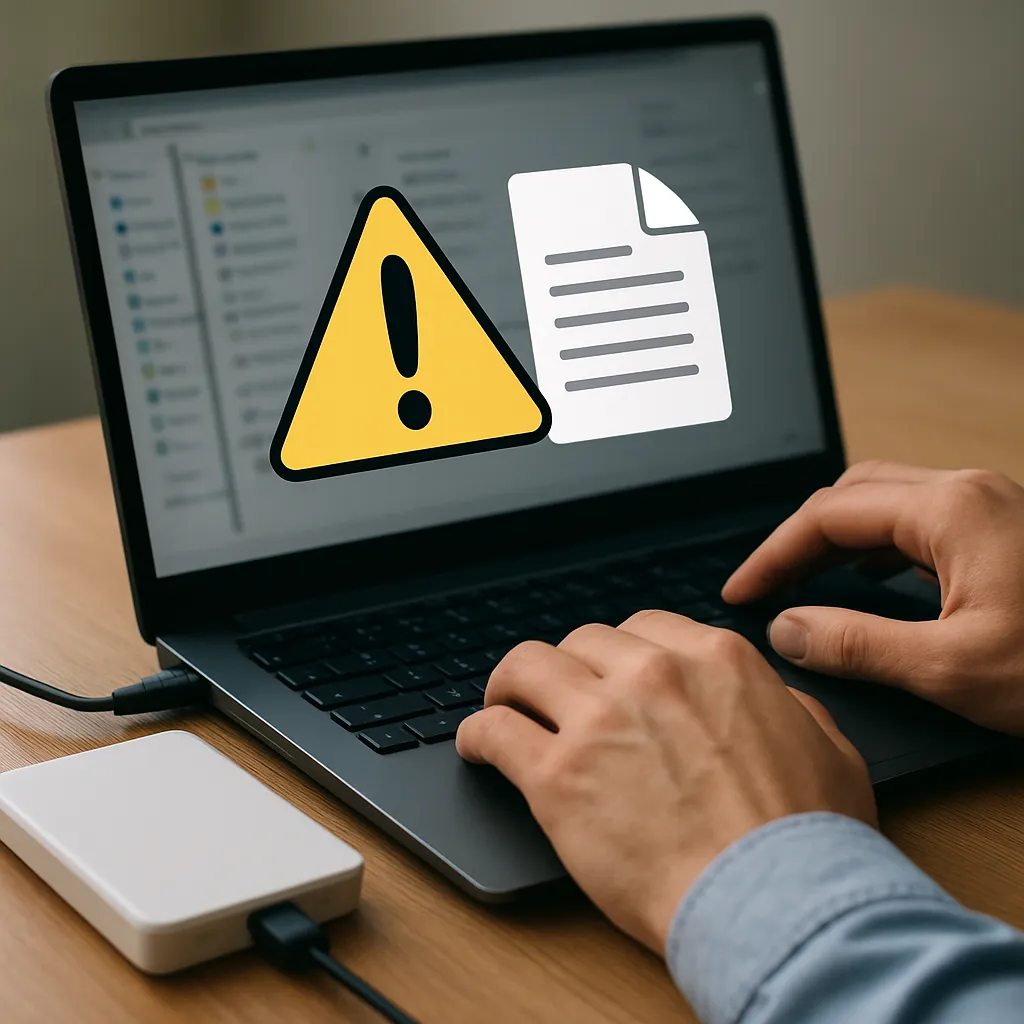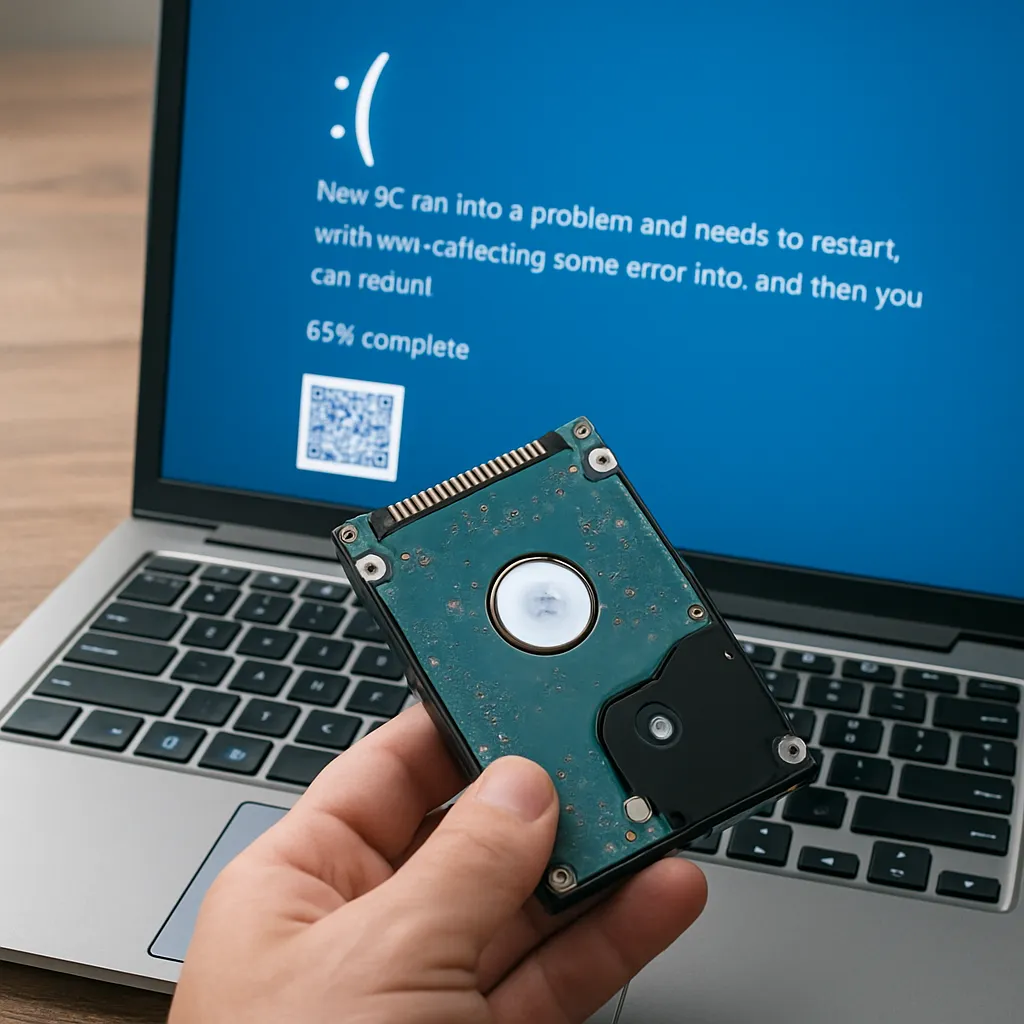
Losing important files due to an accidentally erased drive can be a harrowing experience. However, with the right recovery software and knowledge of effective techniques, you can significantly improve your chances of retrieving lost documents, photos, and other critical data. This article explores key concepts, tool selection criteria, and a step-by-step guide to help you restore your priceless files and maintain data integrity in the future.
Understanding Data Loss Scenarios
Before diving into solutions, it’s crucial to comprehend the common circumstances that lead to file loss. Identifying the root cause helps choose the most suitable recovery approach and prevents further complications.
Accidental Deletion and Formatting
One of the most frequent mishaps is hitting “Delete” on files or formatting a partition without realizing it contains vital information. When a volume is formatted, the file system’s index is reset, but the underlying data sectors often remain intact until they are overwritten.
Partition Table Corruption
A corrupted partition table renders entire sections of a drive inaccessible. Causes range from power failures during write operations to malware attacks. Specialized tools can reconstruct or rebuild damaged partition tables, enabling access to previously unreachable data.
Hardware Failures and Logical Errors
Physical issues like bad sectors, malfunctioning controllers, or head crashes can block normal read/write processes. Logical errors—such as corrupted file system structures—can also prevent access. A combination of deep scan techniques and hardware diagnostics is often required to successfully recover files in these scenarios.
Selecting Reliable Recovery Tools
With countless recovery applications available, choosing high-quality software is critical. Here are factors to weigh when evaluating potential solutions:
- Compatibility: Ensure support for your operating system (Windows, macOS, Linux) and file systems (NTFS, FAT32, HFS+, ext4).
- Scanning Options: Look for both quick and deep scan modes—shallow scans identify recently deleted items, while deep scans reconstruct lost data structures.
- User Interface: A clear, intuitive UI reduces mistakes. Wizards and step-by-step guides help beginners avoid missteps that could further jeopardize data.
- Preview Functionality: The ability to preview recoverable files (images, documents, videos) before restoration ensures you retrieve exactly what you need.
- Read-Only Operation: Software that operates strictly in read-only mode prevents accidental writes to the affected drive, safeguarding remaining data.
- Performance and Speed: While speed is important, accuracy and thoroughness of the scan should not be sacrificed.
- Technical Support and Documentation: Comprehensive guides, FAQs, and responsive customer service can provide critical assistance when complications arise.
- Pricing and Licensing: Compare free trials, feature limitations, and full license terms. Avoid dubious free tools that bundle malware or impose hidden costs.
Reliable vendors often provide trial versions so you can evaluate scanning depth and preview capabilities before purchasing a full license.
Executing File Recovery: Step-by-Step Process
Recovering files from an erased or damaged drive follows a systematic workflow. Carefully follow each step to maximize your recovery success rate.
Step 1: Cease All Write Activity
Immediately stop writing new data to the affected drive. Any write operation—including installing recovery software directly onto that drive—risks overwrite of recoverable data.
Step 2: Prepare a Separate Destination
Select an alternate storage medium (external HDD, SSD, network share) with sufficient free space. All recovered files should be saved here to avoid interfering with remaining data on the source drive.
Step 3: Install and Launch Recovery Software
Install your chosen recovery tool on a different drive or computer. Launch the application and select the target volume for scanning.
- Quick Scan: Identifies recently deleted files or those in the recycle bin. Completes within minutes on smaller volumes.
- Deep Scan: Analyzes raw sectors to reconstruct lost file systems, partitions, and orphaned files. May take hours depending on drive size.
Step 4: Review Scan Results
Once scanning completes, browse recoverable items using the software’s built-in preview function. Filter results by file type, size, or modification date to quickly locate crucial documents.
Step 5: Recover and Validate Files
Select required files and initiate recovery to your prepared destination. After restoration, open several samples to verify file integrity. Corrupted items may require additional passes or alternative tools.
Advanced Techniques and Best Practices
When basic recovery attempts fall short, advanced methods and proactive measures can salvage data and prevent future loss.
Disk Imaging and Clone Extraction
Create a sector-by-sector image of the failing drive using forensic tools. Working on a cloned copy prevents further damage to the original medium and allows repeat attempts at recovery.
Command-Line Utilities
Power users may leverage CLI tools like TestDisk or PhotoRec for granular control over scanning parameters. These utilities excel at partition recovery and file carving without relying on graphical interfaces.
Regular Backup Strategies
Implement a robust backup regimen using the 3-2-1 rule: three copies of your data, on two different media types, with one copy offsite. Automated scheduling ensures that backups remain current without manual intervention.
Monitoring Drive Health
Use SMART monitoring software to track metrics like reallocated sector count and power-on hours. Early warnings enable you to migrate data before catastrophic drive failures occur.
Professional Data Recovery Services
When software-based methods fail or physical damage is severe, consider accredited recovery labs. These facilities employ clean rooms and specialized hardware to repair faulty components and extract data directly from platters.
Conclusion
Recovering files from an accidentally erased drive demands a combination of the right tools, disciplined workflow, and preventive best practices. By understanding common data loss scenarios, selecting reliable software, and following a structured recovery process, you can restore critical files with confidence while reducing the risk of future data disasters.