Losing access to important files because of a failing disk can be frightening, especially when those files contain irreplaceable memories or critical work data. When a drive begins to show errors, slows down, or becomes unreadable, every action you take can either increase or decrease your chances of recovering its content. It is essential to proceed calmly, avoid rash formatting or reinstallation attempts, and focus on safe methods that preserve what is left on the storage device. Professional data recovery solutions are often the most reliable option for severely damaged hardware, but there are also practical steps that any user can follow at home. Understanding how different types of damage affect a drive, what tools are available, and when to stop experimenting and call an expert will greatly improve your odds of a successful recovery.
Understanding Types of Drive Damage
Before attempting to recover lost files, it helps to determine what kind of problem affects the drive. Not all failures are the same, and certain symptoms point to specific types of damage. In many cases, a drive might still be logically accessible but have corrupted file structures, while in more severe situations the hardware itself may be failing.
Logical damage occurs when the file system or partition table is corrupted, but the physical components are mostly intact. This usually happens after improper shutdowns, malware attacks, software errors, or accidental formatting. Typical signs include missing partitions, error messages when opening folders, or a drive that appears with the wrong capacity. Logical issues often allow for DIY tools and methods because the drive can still be read consistently, even if the information is disorganized.
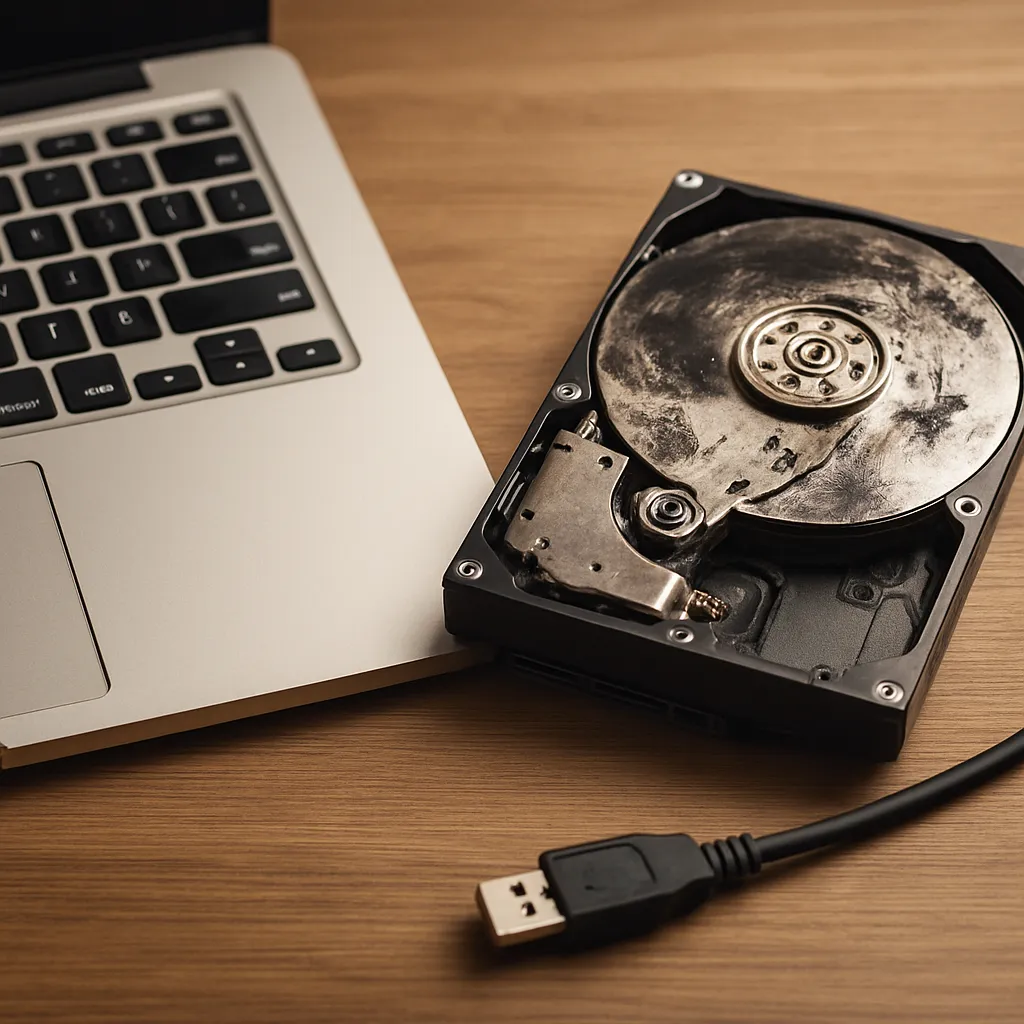
Physical damage is more serious. It involves mechanical or electronic failures such as a broken read/write head, worn bearings, scratched platters, burned circuitry, or damage caused by shock, water, or fire. Common symptoms are clicking or grinding noises, a drive that is not detected by the operating system, or a disk that repeatedly disconnects. In these cases, continued use can worsen the damage and overwrite fragile data. Drives with physical faults should be handled carefully, ideally by specialists working in a cleanroom who can temporarily restore the device to a readable state.
Sometimes, the situation is mixed: a drive might have suffered minor physical wear and then developed severe logical errors. Recognizing these patterns allows you to choose the right recovery path. If the disk spins quietly, is detected correctly by the BIOS, and sometimes lets you read files, logical damage is more likely. If it fails to spin, makes unusual sounds, or overheats quickly, hardware failure is the main concern and user-level experimentation should be minimized.
Immediate Steps to Protect Your Data
The first decisions made after discovering a damaged drive are crucial. Once files begin to disappear or the system reports read errors, your priority is to prevent further harm. Every write operation, installation, or repair attempt can overwrite sectors that still contain recoverable information, turning a partial loss into a permanent one.
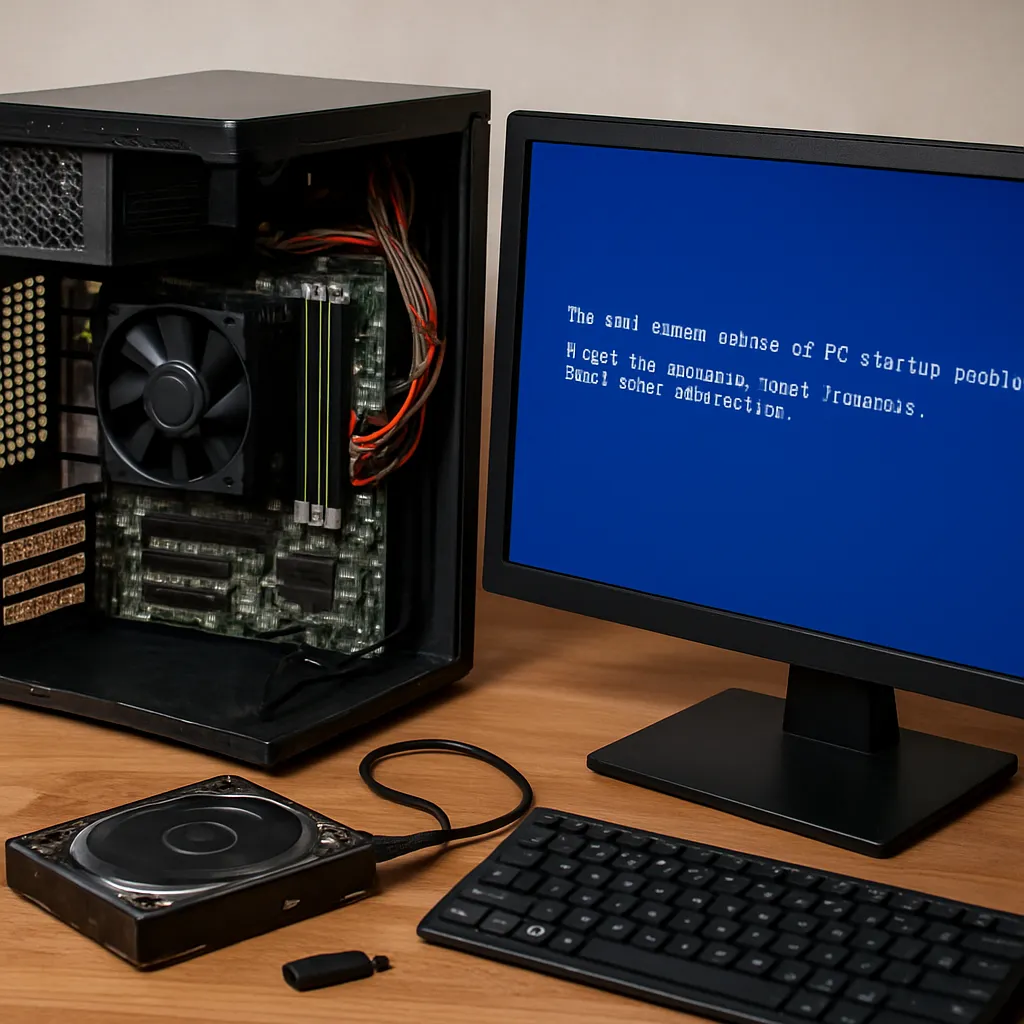
Immediately stop using the drive for regular tasks, especially anything that writes new data, such as installing programs, saving large files, or running disk optimization tools. Power the system down gracefully if possible to avoid additional file system inconsistencies. If the damaged disk is the system drive containing the operating system, avoid reboot cycles that repeatedly stress failing hardware. Instead, consider booting from external media to work in a safer environment.
Do not run file system repair tools like check disk utilities, automatic repair wizards, or formatting functions before you have a verified copy of the drive. Such tools are designed to correct errors, not to preserve forensic traces of deleted or fragmented files. While they sometimes fix minor issues, they can also reorganize directories and overwrite sectors that data recovery software or experts might have used to reconstruct missing documents.
If the drive shows severe physical symptoms, especially scratching noises, clicking loops, or repeated electrical failures, disconnect it as soon as possible. Continued power cycles can degrade it further. Label the disk, store it in an antistatic bag, and keep it in a cool, dry place until you have the chance to consult with a professional. Avoid opening the enclosure yourself, because dust and improper tools can destroy delicate internal components.
Preparing a Safe Recovery Environment
Once the immediate risk is contained, you can prepare a controlled environment for data recovery. The goal is to reduce accidental writes to the damaged disk while giving yourself tools to copy whatever remains. This usually involves working from a separate, healthy computer or at least a separate system drive that does not rely on the failing unit.
Use another machine or another internal disk as the primary system drive. Install the operating system, recovery tools, and any necessary utilities there, not on the damaged volume. Connect the failing drive as a secondary disk using SATA, an external USB enclosure, or a docking station. This arrangement ensures that the operating system does not automatically place temporary files or paging activity on the suspect disk.
Disable features that might write to the drive without your consent. For example, turn off automatic indexing, defragmentation, or scheduled maintenance tasks that attempt to optimize performance. In some systems, antivirus software can also trigger writes while scanning, so configure it to avoid scanning the damaged device directly during the recovery phase.
Whenever possible, work in read-only mode. Some advanced tools and adapters support write blocking, which prevents any modification to the drive while still allowing data to be read. Even if you do not have hardware write blockers, discipline and careful configuration can greatly limit accidental modifications. Always choose recovery options that explicitly state they will save found files to another drive, never back to the original one.
Creating a Disk Image Before Recovery
One of the most reliable strategies is to create a sector-by-sector image of the damaged drive before working on the files themselves. A disk image is a complete snapshot of every readable sector, including free space and deleted data. By operating on that snapshot, you avoid additional wear on the failing hardware and preserve a stable base you can analyze multiple times if needed.
Use specialized imaging tools capable of handling unstable media. These utilities can skip bad sectors, retry reads with controlled limits, and log where problems occur. They are designed to continue copying as much as possible even when encountering errors, unlike simple cloning tools that may stop completely at the first issue. The result is a single large image file or a set of image fragments stored on a healthy storage device with sufficient capacity.
When creating the image, choose conservative settings. Limit the number of retries for unreadable sectors to avoid stressing the mechanism. Allow the tool to prioritize capturing the most critical parts of the disk first, such as the file system structures and central areas where operating systems usually place important data. If the drive begins to behave erratically, pause the process and let the hardware cool before attempting further reads.
Once the image is created, perform the remaining recovery operations on that copy instead of on the original disk. This approach gives you the freedom to experiment with different recovery programs, adjust parameters, and perform deeper analysis without risking the last working sectors on the physical drive. If needed, you can even duplicate the image itself to preserve an untouched master copy.
Using Data Recovery Software
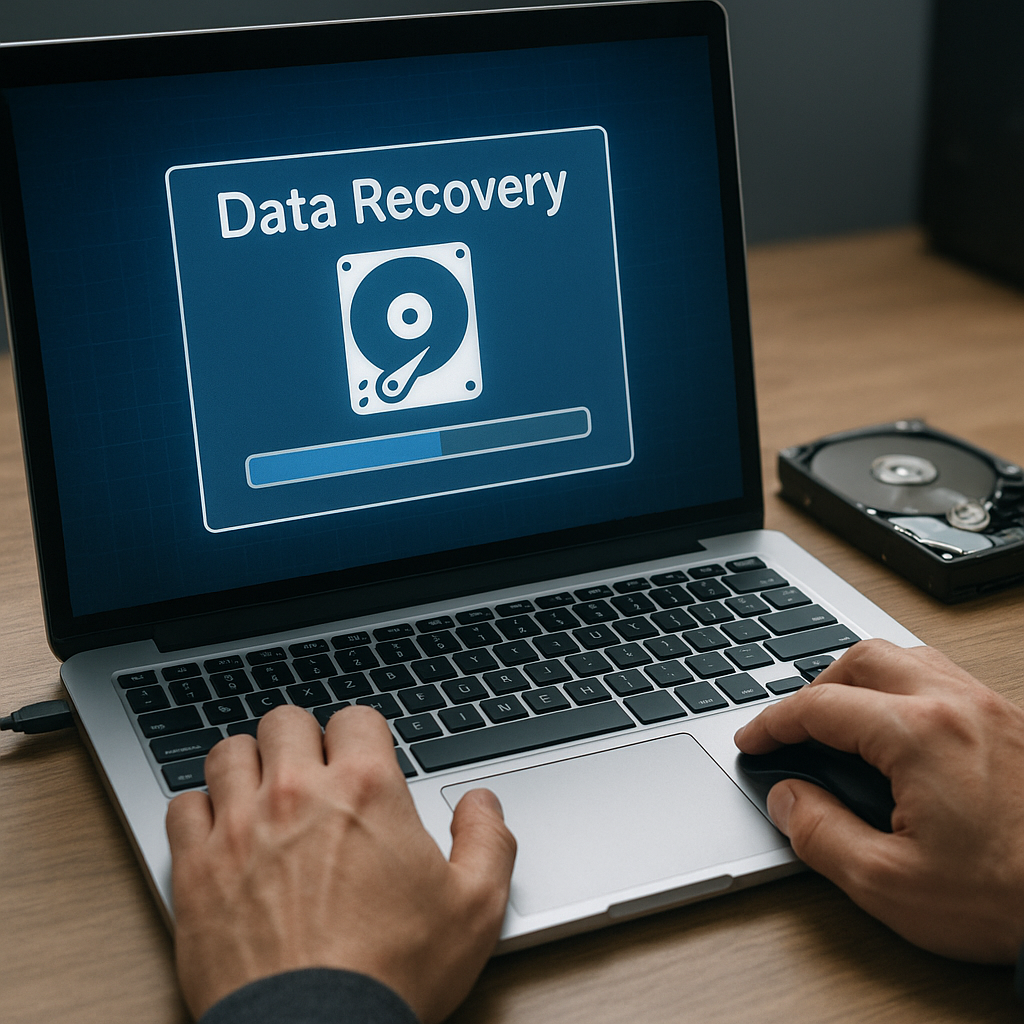
With a disk image ready, or in cases of mild logical damage where the drive still behaves reliably, you can proceed with software-based recovery. Numerous tools exist to scan the file system, locate deleted or lost files, and reconstruct directory trees. Their success depends on how much of the original structure remains and whether the data blocks have been overwritten.
Start with a quick scan that analyzes existing partitions and file tables. This type of scan often recovers recently deleted items and folders that have simply become disconnected from the index. If this approach finds the material you need, save it immediately to a separate disk. Do not browse every possible file just for curiosity, because extended activity prolongs the operation and increases the chances that an unstable drive may fail mid-process.
If the quick scan does not reveal the necessary documents, proceed to a deep scan. Deep scans read the entire addressable space of the disk, searching for recognizable file signatures such as headers and footers. This method can recover files even when the partition table or file system is heavily corrupted, though it may lose original filenames, timestamps, and folder structures. Recovered items may be placed in generic folders that require manual sorting.
Pay close attention to the storage destination for recovered items. Always choose another physical drive, never another partition of the same disk you are rescuing. Use clear directory structures and meaningful names to separate confirmed good files from partial or corrupted ones. After each major recovery session, verify the integrity of critical documents by opening them in their native applications or using checksum tools.
Working with Different Storage Media
Not all drives behave in the same way when damaged. Traditional mechanical hard disks, solid-state drives, and removable media such as USB flash drives or memory cards have distinct failure modes. Adapting your strategy to the specific medium can save time and reduce risk.
Mechanical hard drives are prone to head crashes, platter scratches, and bearing wear, which can progressively escalate from occasional read errors to total failure. When dealing with such drives, limit power cycles and long continuous scans. If imaging progress slows dramatically or the disk begins making new noises, stop and consider professional help. Mechanical problems rarely improve with time or repeated attempts.
Solid-state drives rely on flash memory cells that wear out after many write cycles and often employ advanced controller firmware, wear leveling, and encryption. When these elements malfunction, symptoms can appear suddenly: the drive may vanish from the system or show drastically reduced capacity. DIY recovery on faulty SSDs is particularly difficult because data distribution is complex and controller failures can render raw memory content unreadable. In these cases, specialist facilities with access to controller-level techniques and proprietary knowledge are the safest path.
Removable media such as SD cards and USB flash drives often suffer from connector damage, file system corruption, or low-cost memory defects. As with other media, begin with write protection if possible, then image the device and perform logical recovery on the image. If the connector is broken or the device is physically cracked, electronic repair by experienced technicians may be needed before any data access is possible.
When to Choose Professional Data Recovery
While many scenarios allow for partial or even full recovery using home methods, some cases strongly justify contacting professionals. Knowing when to stop experimenting can mean the difference between successful salvage and irreversible destruction. Professional recovery labs combine specialized equipment, cleanroom facilities, and deep knowledge of storage technologies that go far beyond consumer tools.
Consider expert intervention if the drive has clear physical damage, such as clicking heads, grinding noises, failed spin-up, or signs of electrical burning. Also, seek help if you have already tried standard software recovery without success, especially when the lost files are business-critical, legally important, or emotionally irreplaceable. Every unsuccessful attempt that writes to the disk narrows the window for advanced methods that might otherwise have worked.
Before sending a drive, document its history: describe the symptoms, any unusual events such as drops or power surges, and the recovery steps you have already taken. This information helps specialists choose appropriate procedures faster and reduces the risk of repeating ineffective actions. Pack the disk securely in antistatic material with adequate padding to prevent shocks during shipping.
Professional services may seem expensive compared to consumer software, but they also invest in cleanroom environments, firmware libraries, and custom tools tailored to specific drive models. For highly valuable or sensitive information, this investment often provides the best balance between cost and the probability of success. In addition, reputable providers typically offer diagnostic reports and estimated success rates before proceeding with complex interventions.
Preventing Future Data Loss
Recovering files from a damaged drive is stressful, time-consuming, and never guaranteed. The most effective strategy is to reduce the likelihood of needing recovery at all by adopting robust prevention habits. Thoughtful planning transforms a catastrophic failure into a minor inconvenience from which you can recover quickly.
Implement a consistent backup strategy based on redundancy. Combine local backups on external drives with offsite or cloud copies to protect against physical disasters and theft. Follow the widely recommended 3-2-1 rule: keep at least three copies of your data, on two different types of media, with at least one copy stored offsite. Automate backups where possible to avoid relying on memory or manual routines.
Monitor the health of your storage devices proactively. Many modern drives support SMART attributes and other diagnostic indicators that can reveal rising error counts, reallocated sectors, or temperature issues. Periodically review these metrics and replace drives that show persistent or accelerating problems, even if they still appear to work in daily use. Preventive replacement is far cheaper and safer than emergency rescue.
Practice careful operating habits to protect your data. Shut down systems properly instead of forcing power cuts, use uninterruptible power supplies in areas prone to outages, and avoid moving laptops or external drives while they are actively reading or writing. Keep devices cool and free from dust buildup by ensuring adequate ventilation and cleaning. These small steps significantly extend the lifespan of storage hardware.
Finally, treat sensitive or mission-critical files with extra caution. Encrypt backups when necessary, verify them regularly by performing test restores, and keep clear records of where each copy is stored. With strong prevention in place, even if a drive fails without warning, your most important information remains safe, and recovery shifts from an emergency effort to a routine restoration.
Bringing It All Together
Recovering lost files from a damaged drive is a careful process that balances urgency with caution. By identifying whether the issue is logical or physical, taking immediate steps to protect the drive from further harm, creating a complete disk image, and using appropriate recovery software, you greatly improve your chances of success. When the situation exceeds safe DIY boundaries, professional laboratories offer advanced methods capable of rescuing data from severely compromised media.
Although no technique can guarantee full restoration in every case, a structured approach allows you to extract the maximum possible information from failing hardware. More importantly, the experience underscores the value of robust, recurring backups and responsible hardware management. By translating hard lessons into improved habits, you can ensure that future drive failures become manageable events rather than devastating losses, keeping your most important documents, photos, and projects protected over the long term.


Leave a Reply