Upgrading or reinstalling Windows can leave behind a Windows.old folder containing previous system files, user data, and settings. While this directory often serves as a safety net following an operating system migration, locating and retrieving specific files can be complex. This article explores proven methods—both manual and automated—to recover lost information, using reliable software tools and sound data management strategies.
Understanding the Windows.old Directory
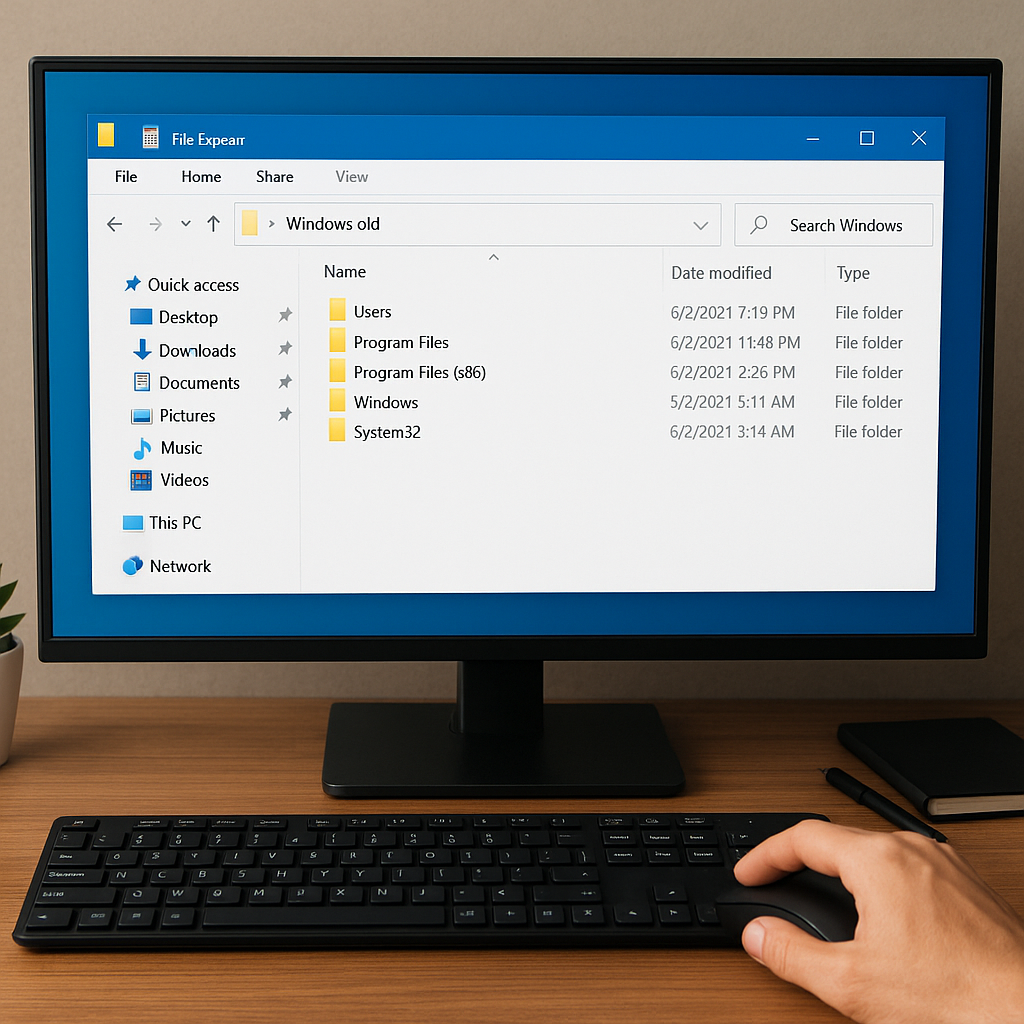
When you perform a major Windows update, upgrade, or clean installation without formatting the system drive, the installer relocates your existing system and user folders to Windows.old. This directory typically resides at the root of the OS volume (e.g., C:Windows.old) and mirrors the standard Windows folder structure:
- Windows.oldWindows – Core operating system files.
- Windows.oldUsers – User profiles, including Documents, Pictures, and Desktop.
- Windows.oldProgram Files and Program Files (x86) – Installed applications.
Although this folder simplifies access to previous versions of files, Windows automatically purges Windows.old after 10 days (on Windows 10/11). Losing valuable data within that window can be frustrating. Recognizing the critical importance of timely action and the range of recovery techniques available ensures you can salvage lost content before it’s permanently erased.
Manual File Retrieval from Windows.old
Before leveraging any third-party software, try manually copying your content. This approach works for intact files that haven’t been corrupted during the migration:
1. Navigating the Directory Structure
- Open File Explorer and browse to the root of your system drive (usually C:).
- Locate and expand the Windows.old folder.
- Drill down through Users -> [YourUsername] to find personal data folders (Documents, Pictures, Videos, Desktop).
2. Copying and Pasting
- Select specific files or entire folders.
- Right-click and choose Copy, then navigate to a safe location (secondary partition or external media).
- Right-click and choose Paste.
Note: This method fails if the Windows.old folder is inaccessible due to permission restrictions or partial deletion. In such cases, move to an automated recovery approach.
Using Recovery Software to Restore Files
When manual methods fall short—permissions errors, incomplete folders, or accidental deletion—dedicated recovery tools can help. These applications scan disk sectors, reconstructing lost or damaged files from the raw data. Below is a step-by-step guide for leveraging recovery utilities effectively.
1. Selecting the Right Recovery Tool
- Evaluate features: Look for software that supports NTFS scanning, deep recovery, and preview functions.
- Check compatibility: Ensure the tool works with your Windows version and file system (NTFS, FAT32).
- Assess reputation: Read user reviews and professional testimonials to gauge reliability.
Popular options include Disk Drill, Recuva, EaseUS Data Recovery Wizard, and Stellar Data Recovery. Each offers a free trial that allows you to preview recoverable items before purchasing a license.
2. Installing and Configuring the Tool
- Download the installer from the developer’s official website.
- Install on a different drive or external media. Avoid writing to the same partition where Windows.old resides, preventing data overwrite.
- Launch the application and grant administrator privileges if prompted.
3. Scanning for Lost Data
- Select the system drive (often C:) as the target scan volume.
- Choose a scanning mode: Quick Scan for recently deleted files, Deep Scan for more thorough sector-by-sector analysis.
- Initiate the scan and monitor progress. Deep Scan may take several hours on large drives.
4. Previewing and Restoring Items
- Once scanning completes, browse the discovered folder tree. Look for Windows.old subdirectories, or filter by file type (documents, images, videos).
- Select desired files and preview them to verify integrity.
- Click Recover and choose a safe output location on a separate partition or external drive.
By following this workflow, you can maximize the chance of retrieving intact copies of your lost data without further damaging the original disk.
Best Practices and Preventive Strategies
Restoring from Windows.old is a reactive measure. Building a robust backup and recovery plan minimizes future data loss and streamlines restoration processes:
1. Regular Backups
- Implement automated backup schedules using built-in tools (Windows File History, Backup and Restore) or third-party services (Acronis True Image, Macrium Reflect).
- Store backups on separate physical devices or cloud repositories to safeguard against hardware failure.
- Test your backups periodically by performing trial restores to verify integrity.
2. Partition Management
- Maintain distinct partitions for system files and data to isolate OS upgrades from user content.
- Label partitions clearly (e.g., “C-System,” “D-Data”) to avoid accidental formatting during reinstalls.
- Allocate sufficient free space for system snapshots and Windows.old storage.
3. Routine Health Checks
- Run disk integrity tests (chkdsk) and SMART monitoring tools to detect early signs of drive failure.
- Keep device drivers and firmware up to date, reducing the risk of upgrade interruptions.
Adopting these proactive measures elevates your overall data resilience, lowering dependence on emergency recovery scenarios.
Advanced Recovery Scenarios
Some situations demand specialized techniques and tools beyond standard scanning:
1. Corrupted File Systems
- Utilize partition recovery utilities (TestDisk, Minitool Partition Wizard) to repair or rebuild damaged NTFS tables.
- Extract files directly from the raw partition if directory entries are lost.
2. RAID or Multi-disk Setups
- Employ enterprise-grade recovery suites capable of recognizing RAID configurations.
- Imaging each disk to separate files and reconstructing the logical volume offline reduces risk of further corruption.
3. Encrypted Volumes
- For BitLocker-encrypted drives, ensure you have the recovery key or password before initiating any restore operation.
- Recovery tools must support decryption on-the-fly; otherwise, mount the volume in Windows and then run the scan.
Tackling these advanced cases often requires a deeper technical background or professional assistance, but understanding the options empowers you to choose the right path when standard methods fail.