When you accidentally format a USB flash drive, the feeling of panic can be overwhelming. Whether critical work documents or cherished photos seem to vanish in an instant, there’s still hope. This step-by-step guide will walk you through the process of restoring your precious data using reliable software tools, illuminating every essential concept and best practice to maximize your chances of success.
Understanding Formatted USB Drive Restoration
Before diving into tools and procedures, it’s important to grasp what happens during a format. Contrary to popular belief, a quick format typically only erases the file allocation table. The actual file contents often remain intact on the storage medium until overwritten. With the right approach, you can reconstruct the folder structure and retrieve lost files. Key factors that influence the success rate include the type of format performed, subsequent write operations, and the condition of the drive.
Why Files Disappear After Formatting
- File Allocation Table Reset: Formatting reinitializes the table that indexes file locations.
- Volume Header Changes: Some formats modify partition signatures or volume metadata.
- Data Blocks Remain Untouched: The drive’s sectors still hold bits of your original content.
Risks That Threaten Recovery
- Overwriting: Saving new files or installing OS updates can destroy old data.
- Physical Damage: Worn-out flash memory cells may become unreadable.
- Improper Ejection: Pulling the drive abruptly can corrupt file structures.
Selecting the Right Recovery Software
Choosing a trustworthy recovery utility is paramount. While numerous programs promise to resurrect formatted drives, only a handful deliver consistent results. Evaluate potential candidates based on supported file systems, scanning depth, preview capabilities, and customer feedback. A free trial can help you verify whether the tool detects your missing content before committing financially.
Essential Features to Look For
- Scanning Algorithms: Deep and quick scan modes for different scenarios.
- File Type Recognition: Ability to recover documents, images, videos, and archives.
- Preview Functionality: View file fragments to confirm recoverability.
- Partition Support: Handle FAT, exFAT, NTFS, and other common schemes.
- User-Friendly Interface: Clear instructions to guide novices through complex tasks.
Top Software Recommendations
- RestorePro Deluxe – Known for high recovery rates and regular updates.
- FlashRescue Ultimate – Specializes in flash memory recovery with a simple wizard.
- DataHero Free Edition – Offers a robust free tier for basic restoration needs.
Preparing for the Recovery Process
Proper preparation reduces the risk of permanent data loss. Start by assembling the necessary hardware and creating a stable recovery environment. Avoid installing recovery applications on the same drive you wish to restore. Instead, use a separate system drive or an external disk to store recovered files.
Step-by-Step Setup
- Stop Using the Affected USB Drive Immediately: Prevent any further writes.
- Connect to a Secure Computer: Ensure adequate power and avoid laptops with frequent sleep cycles.
- Create a Disk Image (Optional but Recommended): Use an imaging tool to clone the raw sectors of the drive.
- Install Your Chosen Software on a Different Volume: Safeguard against overwriting.
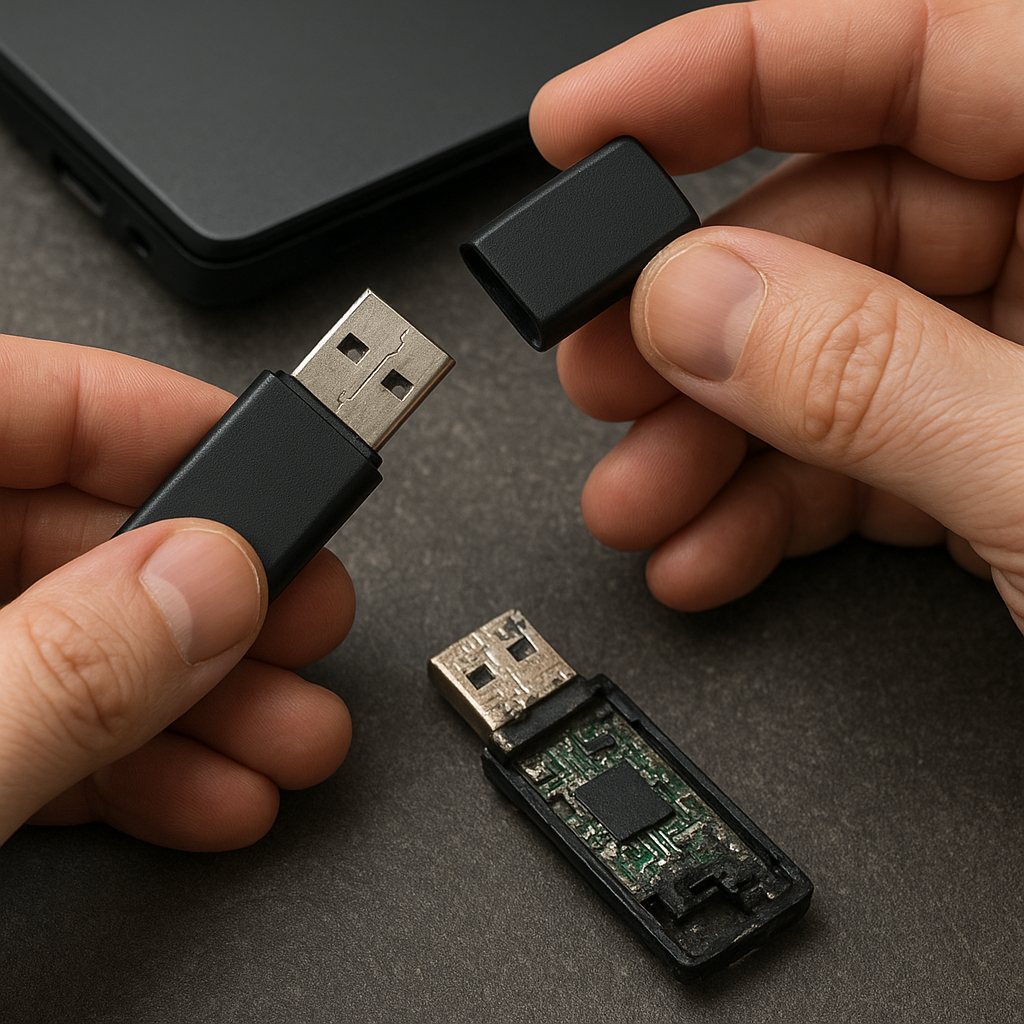
If you notice unusual noises or the drive fails to mount, power down and inspect for hardware issues. In cases of physical damage, seek professional lab-based services to attempt a chip-off recovery.
Executing the Recovery Procedure
With preparations complete, you’re ready to initiate the recovery. The process typically involves selecting the target drive, choosing a scan type, previewing results, and saving restored files to a safe location.
Initiating the Scan
- Quick Scan: Ideal for recently formatted drives; locates basic file structures.
- Deep Scan: Thorough search through unallocated space; may take hours.
Always start with a quick scan to gauge initial results. If file fragments appear incomplete or missing, proceed to the deep scan mode for a more exhaustive search.
Reviewing Found Files
- Preview Images and Documents: Confirm integrity and readability.
- Check File Names and Dates: Helps in organizing recovery priorities.
- Sort by File Type: Focus on critical categories like work docs first.
Once you’ve identified the files you wish to restore, select an external drive or another partition to save them. Never save recovered content back to the original formatted drive, as that could overwrite additional data you may need later.
Post-Recovery Best Practices
After retrieving your files, it’s time to minimize future risks. Implement robust backup routines and periodically verify the health of your storage media.
Data Protection Strategies
- Regular Backups: Automate daily or weekly backups to the cloud or a NAS device.
- Version Control: Keep multiple snapshots of critical files.
- Drive Health Monitoring: Use S.M.A.R.T. tools for HDDs and specialized utilities for flash drives.
Maintaining Drive Integrity
- Safe Ejection Procedures: Always use the operating system’s “eject” feature.
- Avoid Extreme Temperatures: Keep flash drives in moderate conditions.
- Periodic Formatting: Reformat every few months to clear corruption.
Advanced Techniques and Troubleshooting
If standard recovery methods fail, advanced options may save the day. These techniques often require a deeper understanding of file systems and command-line tools.
Command-Line Utilities
- TestDisk: Open-source tool for repairing partition tables.
- PhotoRec: Companion to TestDisk, excels at carving lost files.
- ddrescue: Clones failing drives sector by sector to preserve maximum datum.
Tackling Common Issues
- No Files Found: Try imaging the drive to a larger, error-free disk and rescanning.
- Unreadable Sectors: Use integrity checks to skip bad blocks.
- Fragmented File Systems: Employ deep carve options to reassemble scattered clusters.
When all else fails, consult specialized forums or consider professional data recovery labs, especially if the drive shows signs of severe corruption or physical failure.


